Showing posts with label collage pauge. Show all posts

Wednesday, December 17

Glittery Marble Ornaments

I LOVE ALL THINGS THAT ARE GLITTERY and BRIGHT and WHIMSICAL!!!!
Happy Hump Day all you crafty crafters! It's Jade here showing you how make glittery, swirly ornaments. I know Christmas is almost here but I have an idea for you that you might just love. When we think of "ornaments" we think of buying them and putting them on our tree. This usually happens a few weeks before Christmas, right! BUT, what if you make a dozen DIY ornaments and give them to someone as a gift! Let's face it, decorative ornaments can be pricey but if you make them for a special person next year when they start decorating their tree they will fall in love all over again! They will think of you as they put every single ornament on their tree. Plus its something they can use year after year! Whattya say?! 
Let's get started!

Thursday, September 4

How To Make Paper Beads From Your Children's Drawings

It should come as no surprise that my children love to draw. Another not so big shocker is that my kids love accessories. These two passions got me to thinking: "how can we combine the two?". I had made paper beads from pages in my own art journal, seemed only logical to do the same with my kid's art.

Sunday, July 7

Mixed Media - How to Get the Entire Family Involved

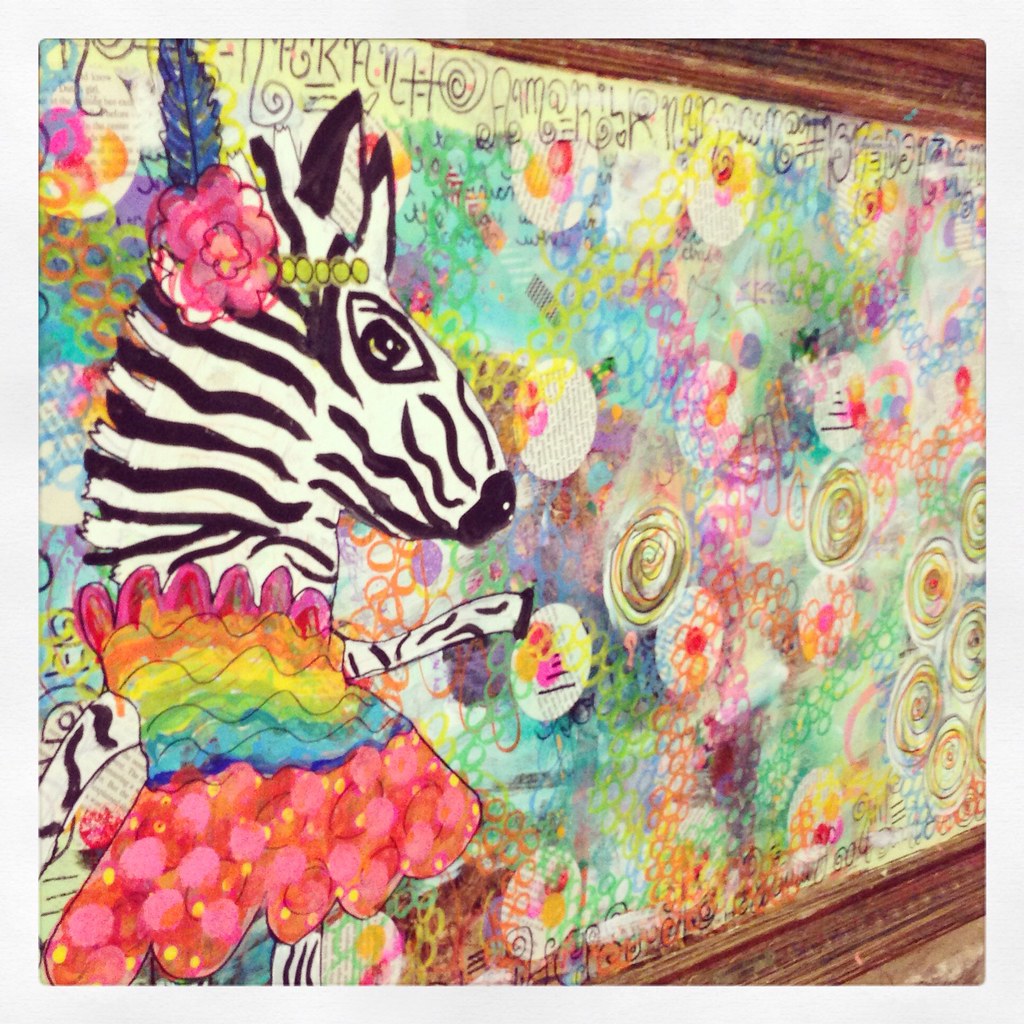
I have had this giant canvas living in my garage for quite sometime. I spotted the picture at a Goodwill and thought: "one day I will do something with this". With my impending move it was time to make a life choice. I can't pack and move every "maybe one day" item in my garage. It was too hot to play outside so I decided to play mixed media in the AC with the kids instead.

Monday, April 1

DIY Collage Pendants

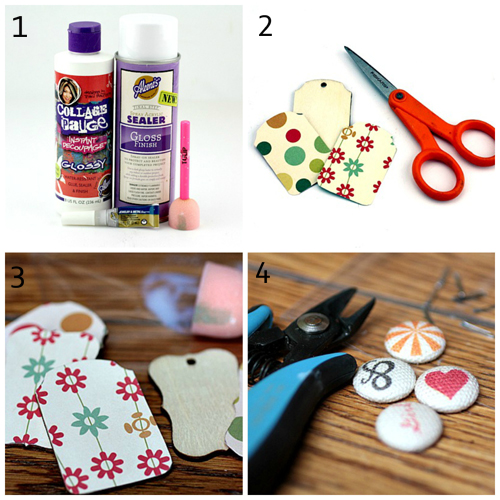
These boutique chic collage pendants are easy peasy lemon squeezy to create!  Collage Pauge, Aleene's jewelry glue and some pretty vintage inspired papers and decorative elements from Cosmo Cricket are adhered to light weight wooden tags and sealed for durability with Aleene's Spray Acrylic Sealer.  This is a great girl's night in project and a fun DIY to do with your teens.  And the best part, you can share your own unique message in a pretty pendant you can wear!
What you need:
-Collage Pauge Glossy
Aleene's Jewelry and Metal Glue
Wooden jewelry tags with drill holes
Decorative papers (Cosmo Cricket)
Decorative fabric brads (Cosmo Cricket)
Tiny text stickers or print your own (Cosmo Cricket)
Jump rings
Chain
Clasp
Scissors
Bent and chain nose pliers
Flush cutters
Pencil
1.) Gather materials.  2.)  Trace and cut papers to fit tags.  3.  Attach paper to wood with decoupage medium.  Add tiny text to tags.  Make sure you line up items on front so tag hole is at the top! Paint two coats of medium on top.  Allow to dry.  4.  Cut metal shanks off of brads.  
5.) Attach brads to tags with jewelry glue.  Allow to dry. 6.) Punch hole in paper, carefully working the hole punch into the pre-existing hole in the back of your pendant.  7.)  Spray one coat of acrylic sealer on pendants.  Allow to dry.  8.) Attach jump rings. 
These turned out so cute, I can't wait to make more.  Adding that acrylic sealer means you won't have to worry about the decoupage medium being sticky on humid days.  I live in the Southeast, it gets hot around these parts!  Try making these with buttons, old jewelry pieces, cabachons, crystals...collages are little miniature artworks and each one should be a reflection of you!

Wednesday, August 8

iLoveToCreate Teen Crafts: Divine Damask Locker Magnets


iLovetoCreate Teen Crafts
Divine Damask Locker Magnets

Miss Avalon started High School this week and I am understandably ferklempt.  When did my beautiful baby turn into a gorgeous young woman?  She's gorgeous, creative, sweet and smart as a whip to boot!  She's taking honors classes this year, which means she's going to be a busy gal for sure.  Proud mama?  Yes indeedy do! 

Have you seen the 'Locker Chic' accessories in the stores this season?  They have everything from mini chandeliers to book shelves in an array of styles and colors all designed to work in a school locker using magnets.  What fun!  Avalon got this lovely damask set at a big box office store and I thought she just might need some coordinating magnets.  These are so easy to make with scrapbook papers or even recycled magazine or greeting cards or printed pictures, just use some matte finish Collage Pauge and add some texture with Tulip Beads in a Bottle and attach Aleene's magnetic tape to the back and just like that, instant locker chic!  Tres jolie, n'est pas?

Materials
4 2 1/4" diameter 1/4" wide wooden circles
Various coordinating scrapbook papers (or any fun papers you wish to use)
Tulip Fashion Bead Paint or Beads in a Bottle White
Tulip Soft Paint Black
Traci Bautista's Collage Pauge Matte
Aleene's Magnetic Tacky Tape

Tools
2" Circle punch
Paint brush
Sponge brush

Wednesday, April 11

iLoveToCreate Teen Crafts: Mothers Give You Roots Mother's Day Planter and Plant Stake

Visit us on Facebook!
Craft on!

iLoveToCreate Teen Crafts
‘Mothers Give You Roots’ Mother's Day Planter and Plant Stake
Margot Potter for Avalon Potter
“Mom crafted, teen approved.

Mothers Day is coming fast and it’s time to start thinking of ways to tell mom just how much you love her. Avalon was super busy this past week, so I stepped in to make this project.  This is the perfect gift for a mom who loves to garden or one who aspires to having a green thumb. We are giving this to my mother-in-law, shhhh...

I started out with a more colorful plan, but this shade of green is my personal favorite and it just seemed perfect in this monochromatic scheme.

The saying is one of my favorites: “Mothers give you roots.” Which is followed by: “Fathers give you wings. You need both.”

I think that’s a truly lovely thought, don’t you?

I am so utterly smitten with this; I may have to make one for myself! A teen can easily handle all of the steps here and all of the accessories were found in the dollar bins, so it’s a very affordable project too!


Materials
Terra Cotta pot
Terra Cotta pot saucer
Dollar bin wooden heart ornament
Dollar bin gloves (green)
Dollar bin mini-shovel
Dollar bin mini-rake
Dollar store flower seeds
Green raffia ribbon
10 gauge tinned copper wire
30 mm silver tone jump ring
Tulip Fabric Marker (thick tip) neon green
Tulip Fabric Marker (thin tip) black
Aleene’s Quick Dry Tacky Glue
Traci Bautista’s Collage Pauge matte finish
Aleene’s Spray Sealer matte finish
Small vine or floral pattern rubber stamp
Crafty Chica little paints green and yellow

Tools
Tulip sponge brushes
Tulip sponge pouncer
Scissors
2 pairs chain nose pliers
Round nose pliers
Memory wire shears or other heavy duty wire cutters
Dowel

1. Make sure pot and saucer are clean and dry. Mix your paints to make a darker and lighter green. Add a small amount of yellow for the dark green and a larger amount for the lighter. You will need to mix up a fair amount of paint here so the colors remain the same, small plastic drink cups and popsicle sticks work well for this task!

2. Use a foam brush to paint the body and inside of the pot and inside and bottom half of the saucer lighter green. This will probably take 2-3 coats, allow to dry in between. Use another foam brush to paint the edge of the pot and saucer darker green, also using 2-3 coats and allowing to dry.

3. Paint heart ornament on both sides and edges in the light green, 2 coats, and allow to dry.


4. Use a paint pouncer to gently apply a layer of light green paint to top of rubber stamp. Rock the stamp from left to right around edge of pot and saucer, taking your time to avoid overlapping. This is meant to be organic, so no worries if it isn’t perfectly perfect. Allow this to dry.  Use pouncer, rubber stamp and darker paint to stamp the surface of the heart ornament on front and back. Allow to dry.

6. Print out: ‘Mothers give you roots.’ Use a green ink and an easy to read font, mine is 18pt. and the font is Abyss.


7. Use green marker to write love around edge of pot working your way around, go over that with the black marker.

8. Working outside and allowing to dry between coats, spray 2 layers of Aleene’s matter sealer on pot and saucer.


9. Use decoupage medium to apply the cut out sentence to one side of your heart. Allow to dry. You can seal this with 1-2 coats of the spray sealer if it’s going to be outside.

10. Use raffia ribbon to tie a multi-loop bow around top of heart ornament. Wrap your gloves and garden tools in raffia making another multi-loop bow.

11. Use round nose pliers to bend a loop on one end of a 2” segment of 10 gauge craft wire. Create a hook by bending wire over a round dowel (I used a metal dowel; you can use a thread spool or whatever you have at hand.) If you want to 'work harden' the wire to make it more stiff, hammer on a bench block with the flat side of a ball peen hammer. Follow by adding texture with the round end. Use jump ring and two pairs of chain nose pliers to attach heart ornament to end of plant stake.

12. To assemble for gifting cut some foam to fit inside center of pot, cutting out a segment for the gloves and tools. Poke a small hole for plant stake. Add some coordinating tissue paper and insert tools, plant stake and add your seed packet.


(This blogger was compensated for this project and given materials for construction.)

Thursday, March 1

Traci Bautista's Doodles Unleashed Blog Tour


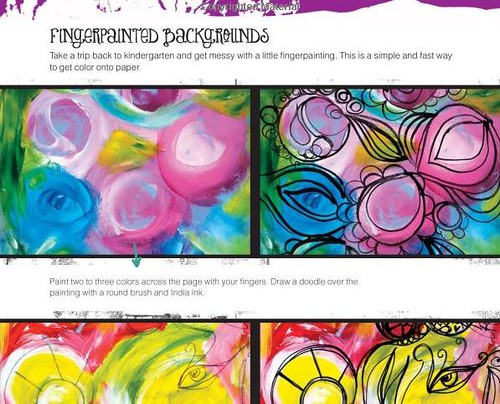
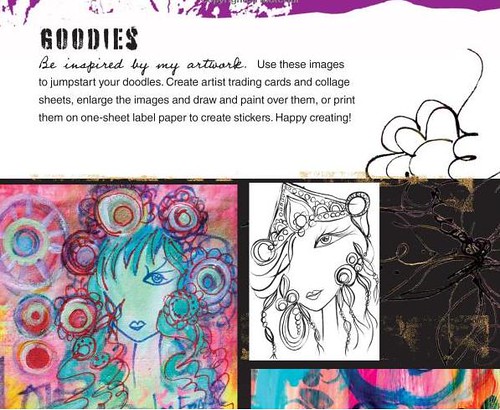
Attention all mixed media artists - brace yourself - Traci Bautista's new book Doodles Unleashed is here. The anxiously anticipated follow up to Collage Unleashed was worth the wait! As someone who has crafted alongside Traci in person many of times this book is the next best thing. The colorful pages pop with inspiration and really get your creative wheels turning. I am thrilled to be today's stop on the Doodles Unleashed blog tour!


From the first time I met Traci it was true crafty love. Traci was a guest on a show I was hosting for the DIY Network called Craft Lab when we first met. She was one of those guests that I loved the project, loved her style and after filming 120 episodes I walked away wanting to explore her version of collage, doodling and mixed media even more. I have used her papers along with her line of decoupage medium called Collage Pauge many of times to create jewelry, art, customized cupcake coozies and various other paper products. Opening up Doodles Unleashed was like being on set with Traci all over again. I had almost forgotten how much her designs and use of color get my creative juices flowing.


For those of you following along on the blog you know that one of my latest crafty endeavors is digital scrapbooking. Doodles Unleashed has a whole section on the topic and made me think of different digital options I had never considered. Traci suggests to-go doodling by using your iPhone and taking advantage of all the various applications. Talk about making your art portable. You get a great collaged look without the paint under your fingernails. Traci has a whole line of digital scrapbooking elements to download that I combined here with some of my other favorite designers like Kitschy Digitals, Minitoko, Maybe Me J and Pugly Pixel.


Traci is known for her artsy girlie meets urban style graffiti doodles. I have long been a fan of her free hand fonts. Traci walks you through typeography in Doodles Unleashed. She has prompts in the book for continuous writing, layering letters, digital lettering, using bold typeface and more. There is also a gallery of hand drawn letters in the back of the book you can use as a jumpstart to hone your own signature style.


Since having kids finding the time to do much mixed media art has been difficult. To create a beautiful piece you need layers and time to create those layers. Doodles Unleashed makes me want to try harder to find that time. Until I find the time I fully intend to download every iPhone app Traci suggests in her book and get busy doing some mobile doodling.

P.S. Thank you Traci for the shout out to my blog in the back and picture of my Crafty Curious in the Found Materials section. Whoo-hoo!

Visit us on Facebook!
Craft on!

Friday, July 15

Faux Embossing With Gift Tissue (video)

This Saturday I leave for Chicago with the iLTC team for the Summer Craft and Hobby Show! I'll be demoing our Tulip Body Art in our exhibit booth, but on Tuesday I'll be teaching a mixed media class to 75 craft industry professionals on Faux Embossing With Tissue. Remember I posted a tutorial here a while back? I had several people write me to ask for a video tutorial, so here it is!

For the project in the photo, all I had was red gift tissue, but you can use any color. I like the Moulin Rouge vibe that this one has! OK, here you go, enjoy!


LINK


Visit us on Facebook!
Craft on! Click here for today's daily giveaway!

Thursday, July 29

The Right Glue for the Job


When embarking on any craft project involving sticking two things together choosing the right glue for the job is crucial. One glance at the adhesives aisle in your local craft store and you can see sometimes choosing which glue you should use can be a daunting task. Don't worry, today for I Love to Create I am going to hold your hand through the entire selection process plus throw in a few gluing tips.


Fabric Glue
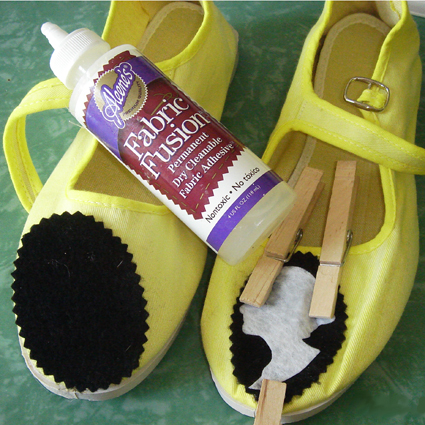
For those that don't sew a fabric glue like Aleene's Fabric Fusion can be your best friend. Without ever threading a needle you can often times fake a stitch or add an applique like on Customizing Your Kicks with just a dab of glue. One word of warning is to be careful not to get too heavy handed when gluing fabrics together as some things will darken from the glue.


Decoupage
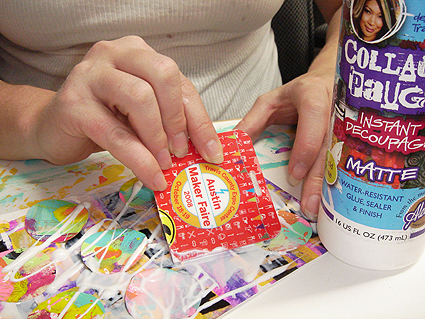
Yup technically it's a glue with a fancy French name. If they sold Collage Pauge Instant Decoupage Medium in Gallon Jugs I'd buy it that way. Unlike most glues that don't show, decoupage can say it loud and proud on your craft project in glossy like I used on my terrarium picture frame, matte or my personal fave glittery!


Temporary Hold
Sometimes as odd as it sounds, you don't want your glue to stick forever. Aleene's Tack It Over and Over is the perfect temporary hold glue for projects like appliques or in my case holding a stencil in place for glass etching.


Fabric Stiffener
Not only does glue adhere things, it also stiffens things. Sometimes you want the stiff without the sticky and that is where Aleene's Fabric Stiffener and Draping Liquid comes in handy. Very handy when making things like say string lamps or doily bowls. Did I mention you can add paint and dye to it to give it color.


All Purpose Glue
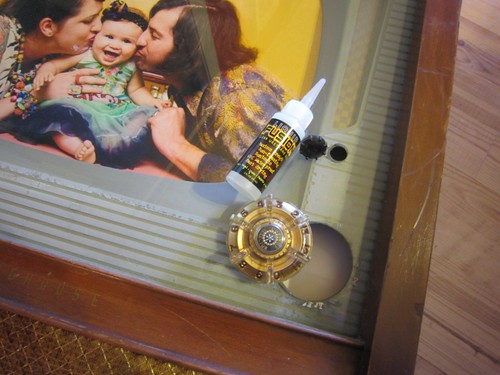
No crafty home is complete without a good all purpose go to glue around. Aleene's Original Tacky Glue is one of my favorites. Now that I have a kiddlet using non-toxic glues is important to me. Liquid Fusion Glue is put to use more often than any other glue in jewelry studio. Not just on jewelry I use Liquid Fusion on majority of my craft projects from turning TVs into picture frames to my neighbors trash into a toadstool. Remember when gluing things together like for jewelry lightly sand the surface when you can to give everything tooth.


Acid Free Glue
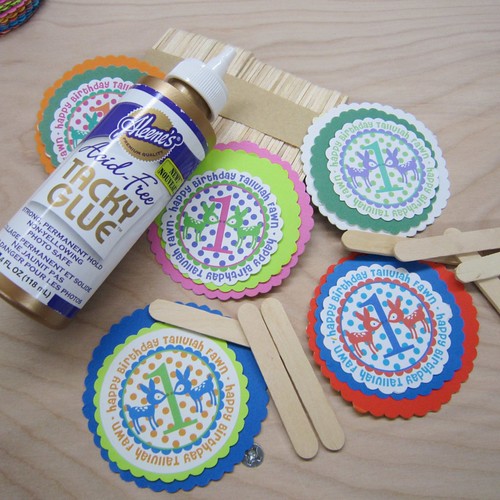
And you thought gluing paper was the easiest of all gluing tasks, wrong. When embarking on a paper crafting journey like perhaps scrapbooking or anything involving photographs you want to be sure and opt for an acid free glue like Aleene's Acid Free Tacky Glue.


Spray Glue
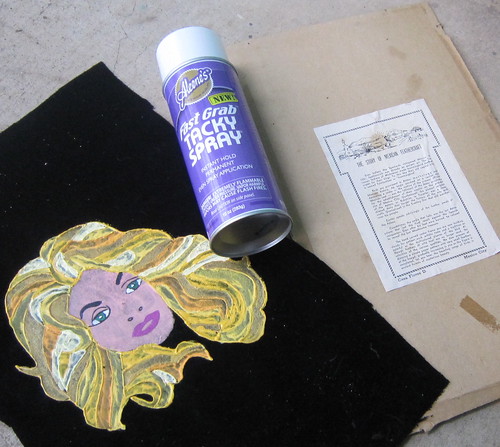
I must admit I have only recently discovered spray glue and all I can say is Aleene's Tacky Spray, where have you been all my life. Sometimes you have a lot of surface to glue like when attaching a piece of painted black velvet to a canvas and a spray glue can be a life saver.

This is just the tip of the adhesive iceberg. There are metal glues, industrial glues foam glues and more. Just remember there is always a specific type of glue for each project.

Thursday, July 8

The Future is so Bright I Gotta Wear Crafty Shades


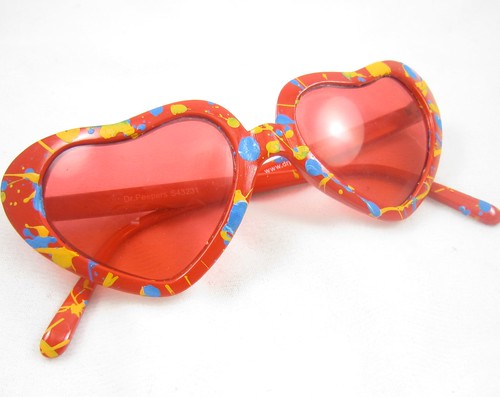
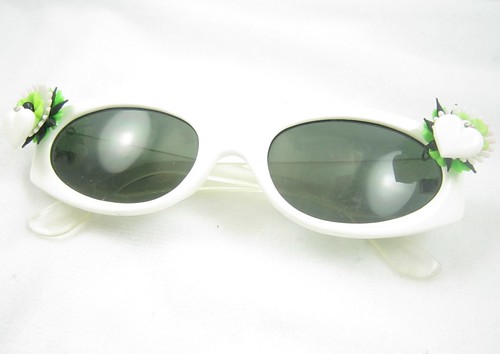
After last week's summer inspired straw fedora make over it seemed only appropriate to keep up the beachy theme with some revamped sunglasses. Since I Love to Create and as it happens I have the mother load of sunglasses, I tried out several different options.


SUPPLIES
Crafty Chica Little Chica Paint Pack
Sunglasses
Petroleum Jelly
Paint Brush
Drop Cloth


Apply petroleum jelly to the lenses of your sunglasses. Place your glasses on a large drop cloth. Fill your brush with paint and flick at your glasses to create splatter effect. Allow paint to dry completely and use tissue paper to wipe jelly off of lenses.


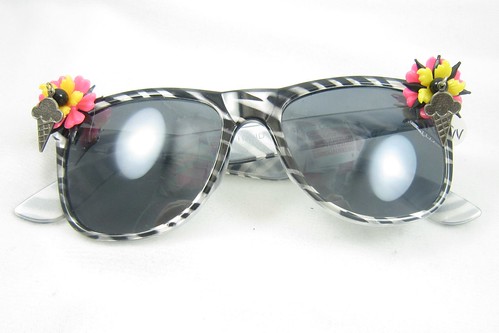
This is a fun pair of sunglasses I made drilling small holes in the frame and wire wrapping with trinkets!


SUPPLIES
Collage Pauge Instant Decoupage Medium
Hole Punch
Sunglasses
Colorful Paper


Use a hole punch to make small dots of colorful paper. Remember hole punches come in more shapes than just circles these days. Use Collage Pauge to adhere your dots to the sunglasses frame. Allow to dry and wear.


It's amazing how much cuter all these sunglasses look after a quick and easy craft make over.


SUPPLIES
Sunglasses
Liquid Fusion Glue
Trinkets


Using Liquid Fusion Glue adhere anything your little heart desires to a pair of sunglasses! I see rhinestones in the very near future.

You could wear those plain black sunglasses again this summer or you could make a custom pair to match every sundress in your closet. I know which option I'm working towards.
Clicky Web Analytics
Pin It button on image hover

Subscribe to our newsletter

* indicates required
I am interested in products and inspiration for...
Close