ILovetoCreate: Joyful Christmas Ornament Avalon Potter"Teen created, Mom approved."I thought I would squeeze in one more holiday project because it is one of my favorite seasons. A few years ago my mom took a clear glass Christmas ornament and put crystals inside making a snow globe for your tree. It was one of my favorite projects she ever made, so I thought why not adapt her old project into something new! My project is a clear ornament that you spray wit Aleene's Tacky Spray Glue and coat the inside with Crafty Chica glitter! I enjoyed making these as gifts for my little cousins because it is fun, easy, and you can personalize each ball with different colors and tag to make it special for the person you give it to.
MaterialsClear ornament with opening top (preferably plastic in case of accident)
Aleene’s
Fast Grab Tacky Spray Tulip
Fashion Glitter (green and red or colors of choice)
Colored paper to match glitter
White printer paper
Paper to make funnel
Aleene’s Original
Tacky Glue Stick Ribbon to match color of ball
ToolsPrinter
Hole punch
Scissors
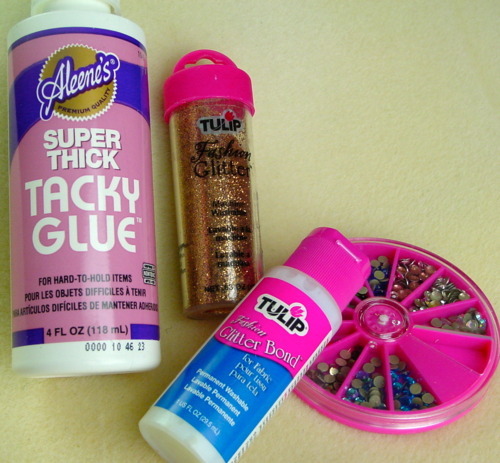
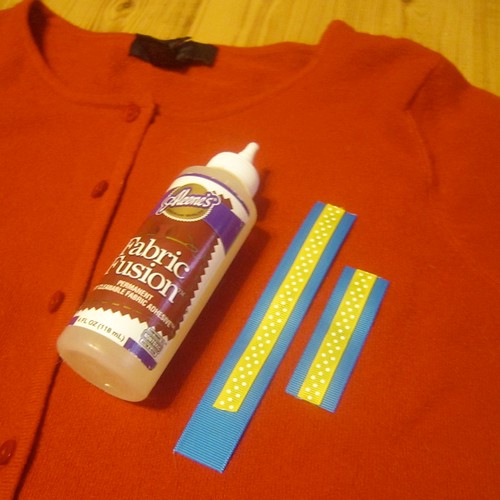
Instructions1. Gather your materials.

2. Open up your ornament and lightly coat the inside with the Aleene’s Fast Grab Tacky Spray.
3. Make a funnel with a piece of paper and insert the bottom into the opening of the ball.
4. Pour a sufficient amount of the color(s) of glitter you choose into the ball. Feel free to mix colors or choose different colors then I used.

5. Close the ornaments top and shake until the ball is completely coated with sparkles. Shake the excess sparkles out of the ball.
6. Using a font you like print out in large letters the word or name you want as the tag. Use a similar color as the one you used in the ball. If you used two or more colors chose one for the font and another for the colored paper behind it.
7. Cut out the word and cut out your colored sheet of paper a slightly bigger into a rectangular card for the word to sit on.
8. Use your Aleene’s tacky glue stick to glue the word to the colored paper.
9. Punch a hole in the corner of the tag.
10. String some colored ribbon that matches the ball through the hole and tie a knot.
11. Tie onto the top of the ornament in a bow to complete the ornament.


.png)