Showing posts with label recycled holiday crafts. Show all posts

Tuesday, December 28

No-tug DIY Headband!

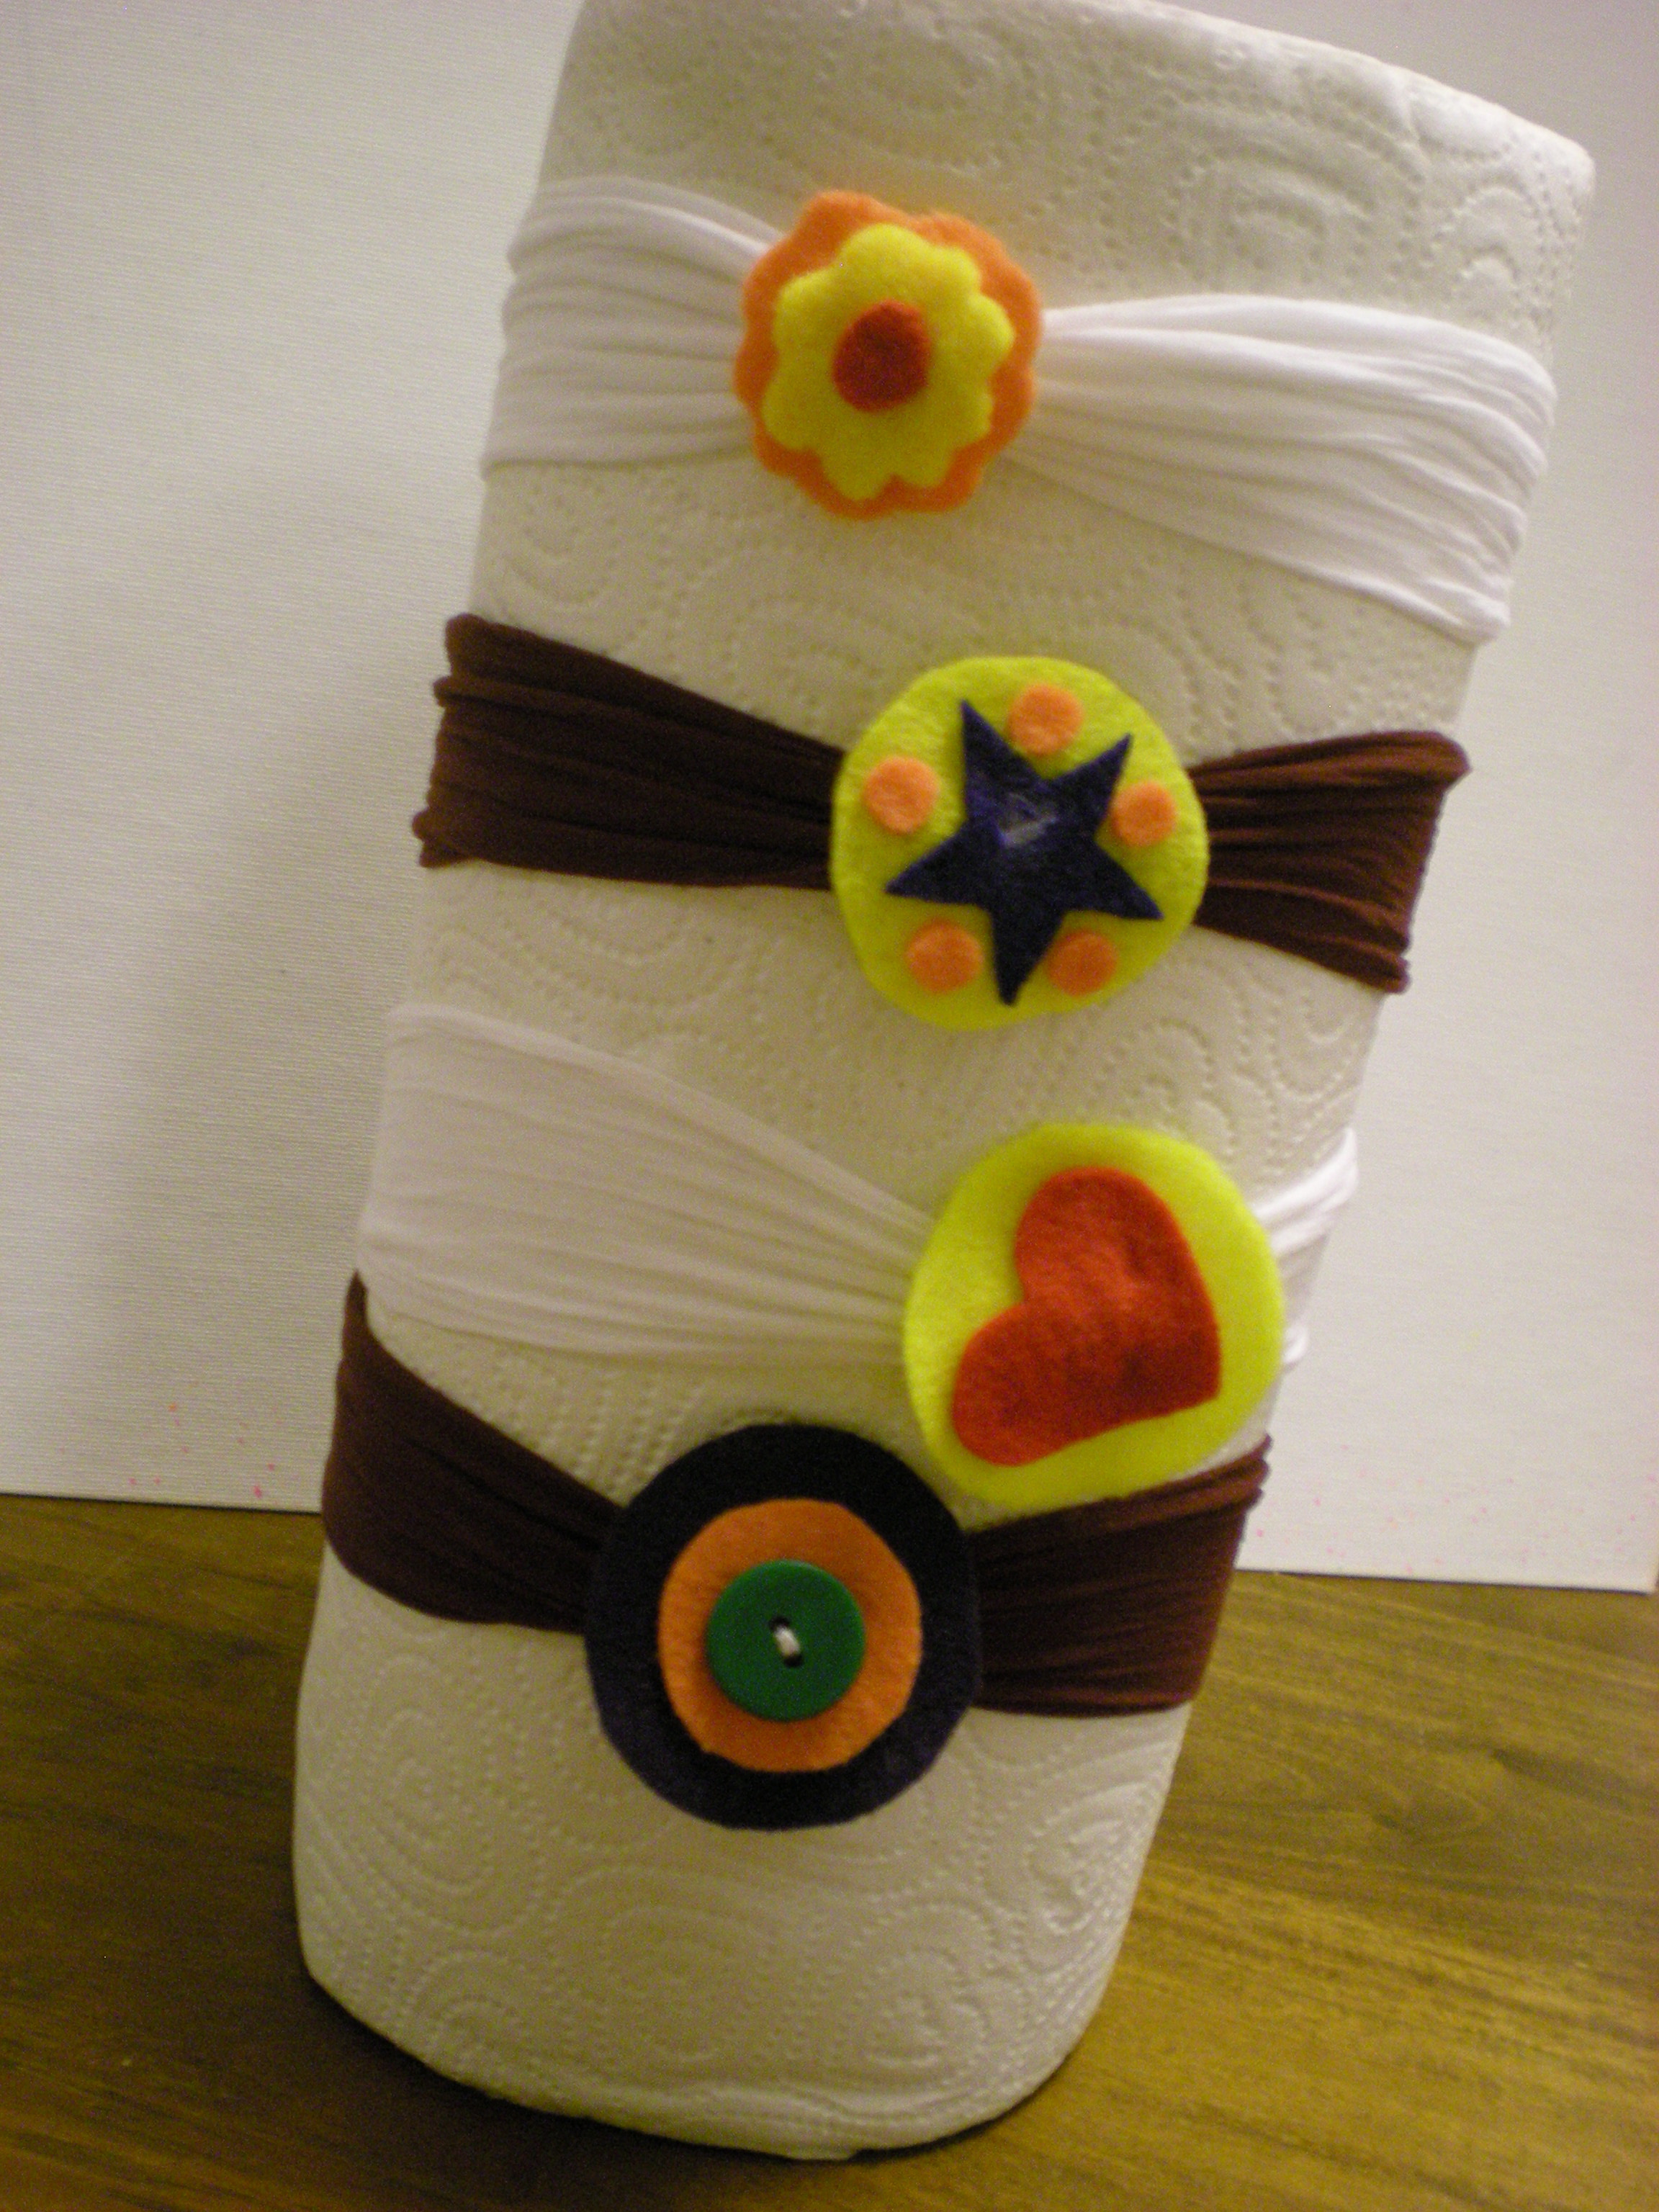
Last month, in preparation for the holiday party circuit, I shared the tutorial for the Softie Spiral Headband. This month, it's about headgear for the younger generation. I made these headbands, adapted from a project in one of my favorite books, Crafty Mama, for my four-year-old niece (though I'm not a Crafty Mama, the Crafty Auntie title is one I take very seriously). She's growing out her bangs and has a classic Goldilocks situation on her hands: The available solutions to bangs-in-the-face poke, prod, or pull, are too tight or too loose. But these stretchy soft headbands are just right.
Materials:

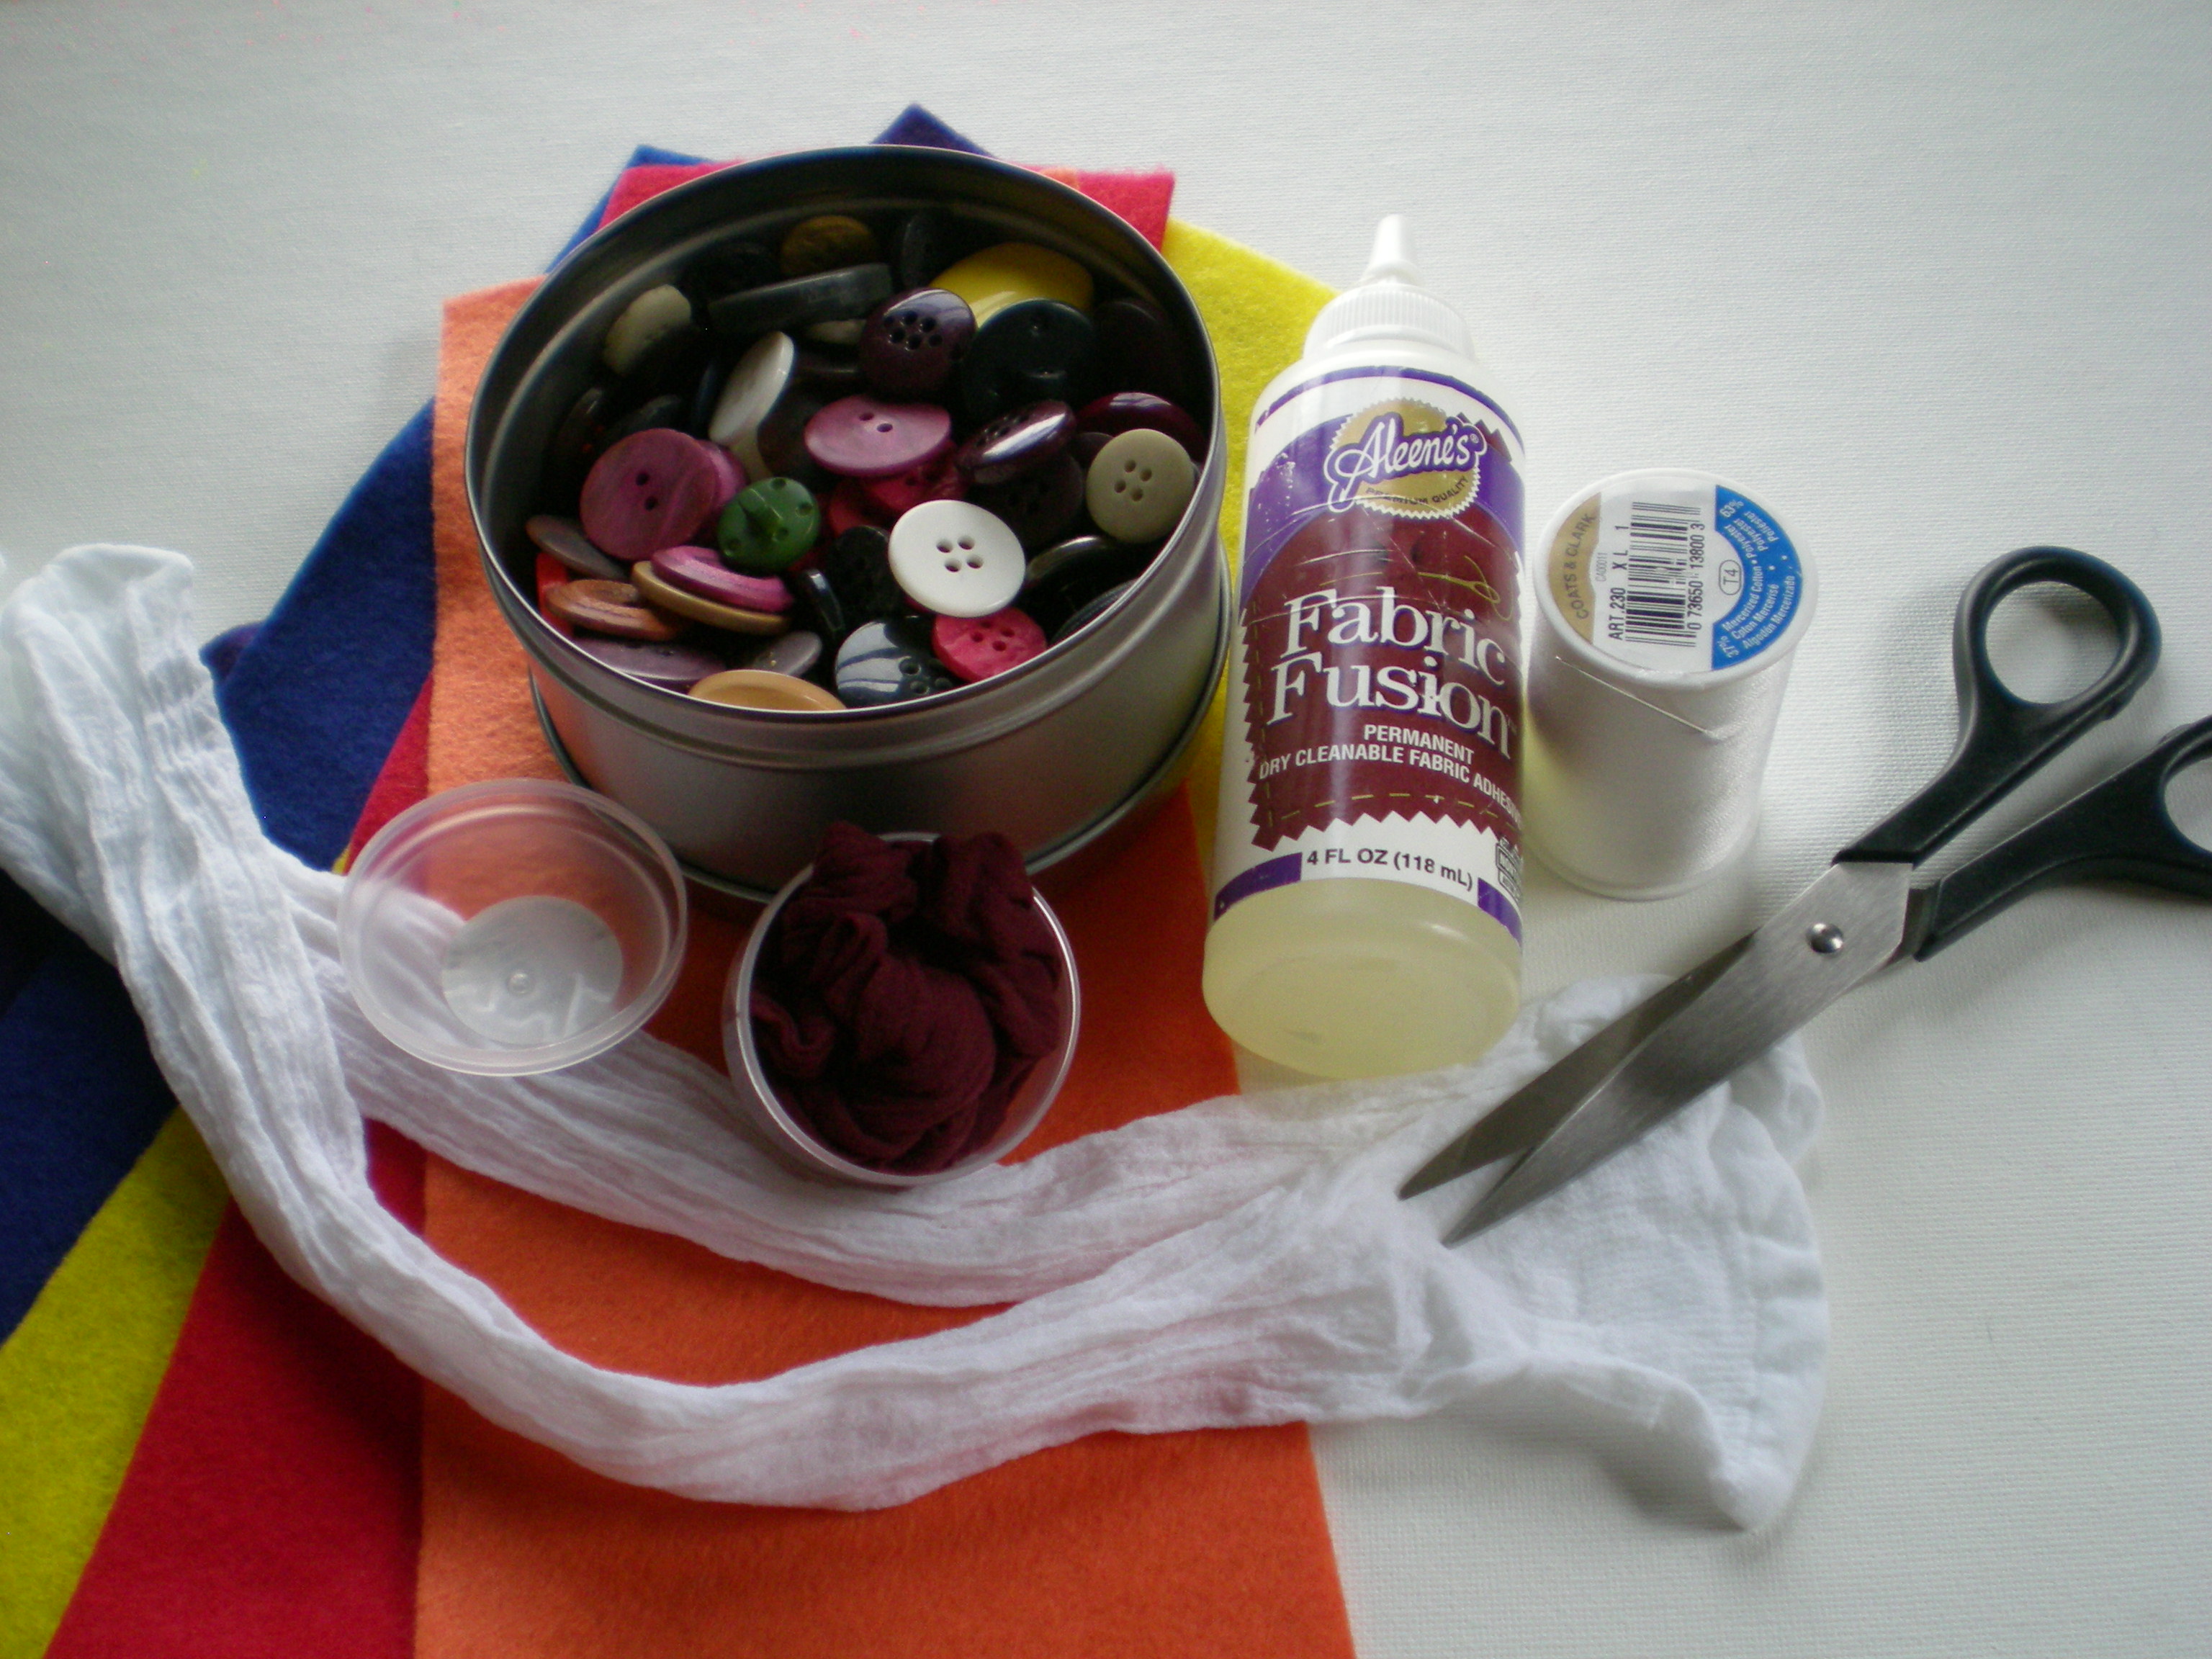
-package knee-high stockings (1 stocking makes 1 headband)

-scissors

-needle and thread (color to match the stockings)

-Aleene’s Fabric Fusion Permanent Dry Cleanable Fabric Adhesive

-colorful felt pieces

-buttons (optional, for embellishment)

-clothespins (optional, for clipping in place while gluing/drying)
Make it:

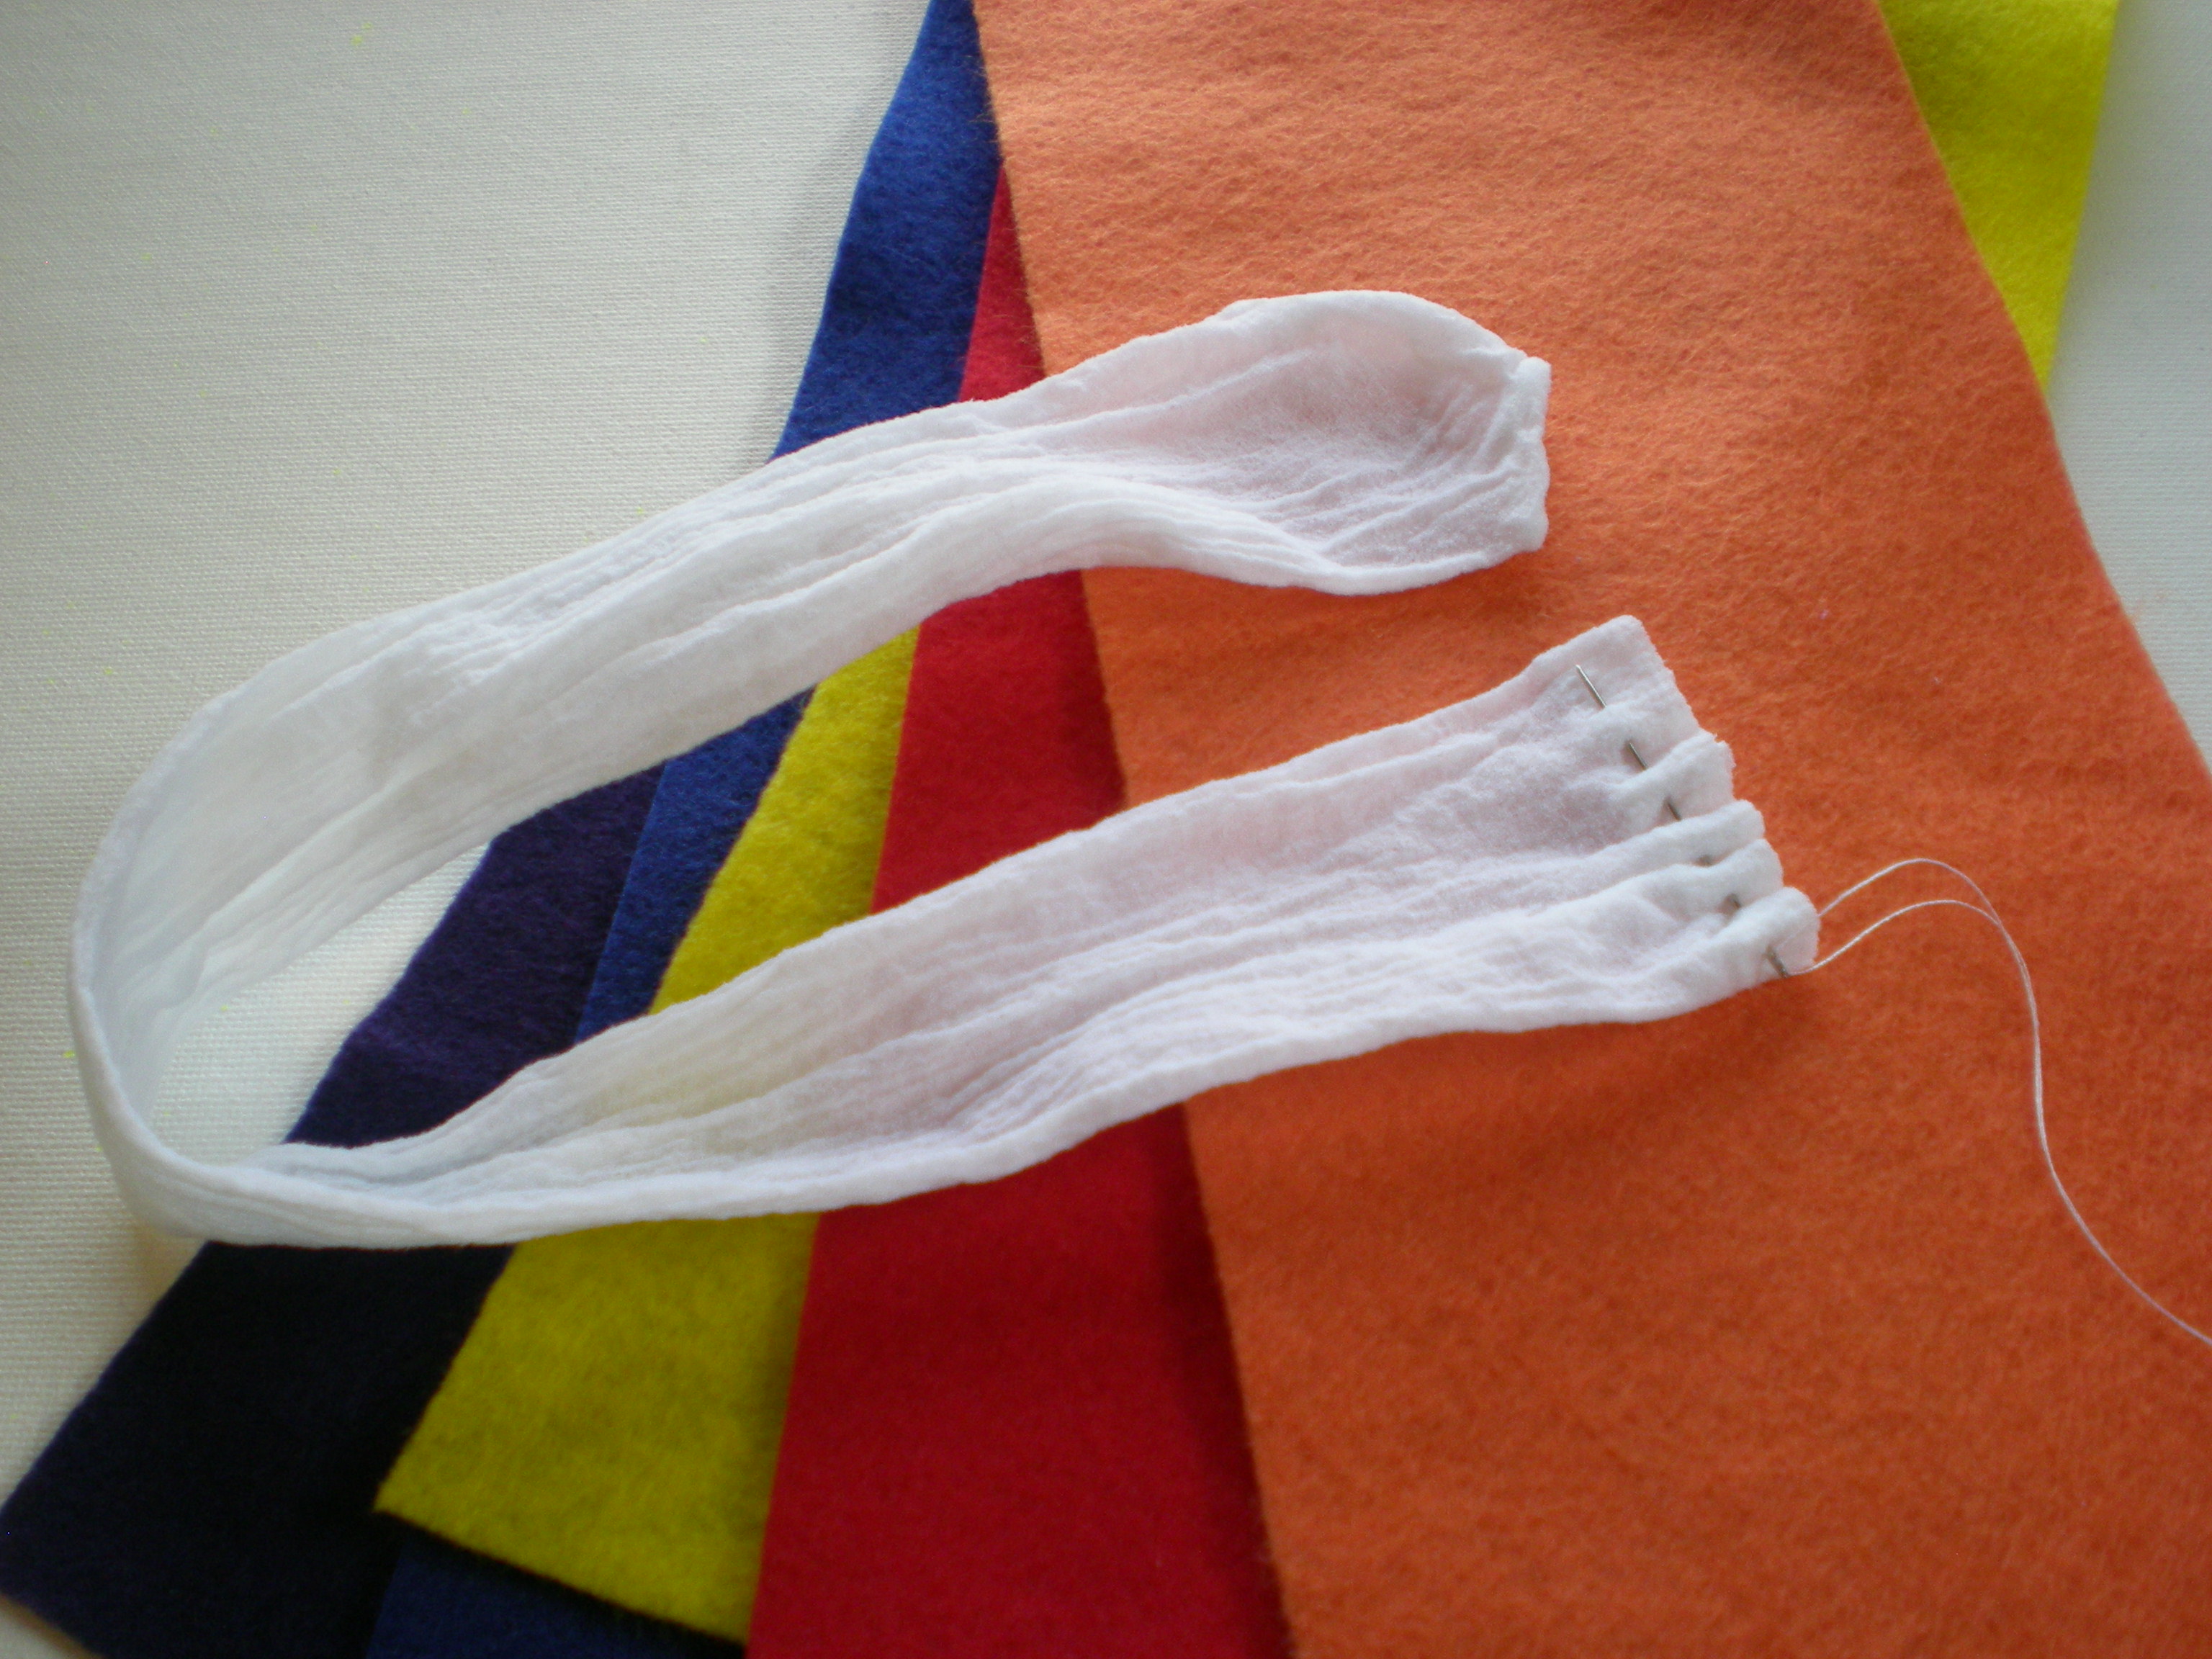
1. Remove the stockings from the packaging and stretch them out. Cut about 1" off the top of one stocking and set it aside. Thread the needle, knot the end, and make a running stitch about 1/4" from the cut end of the stocking.

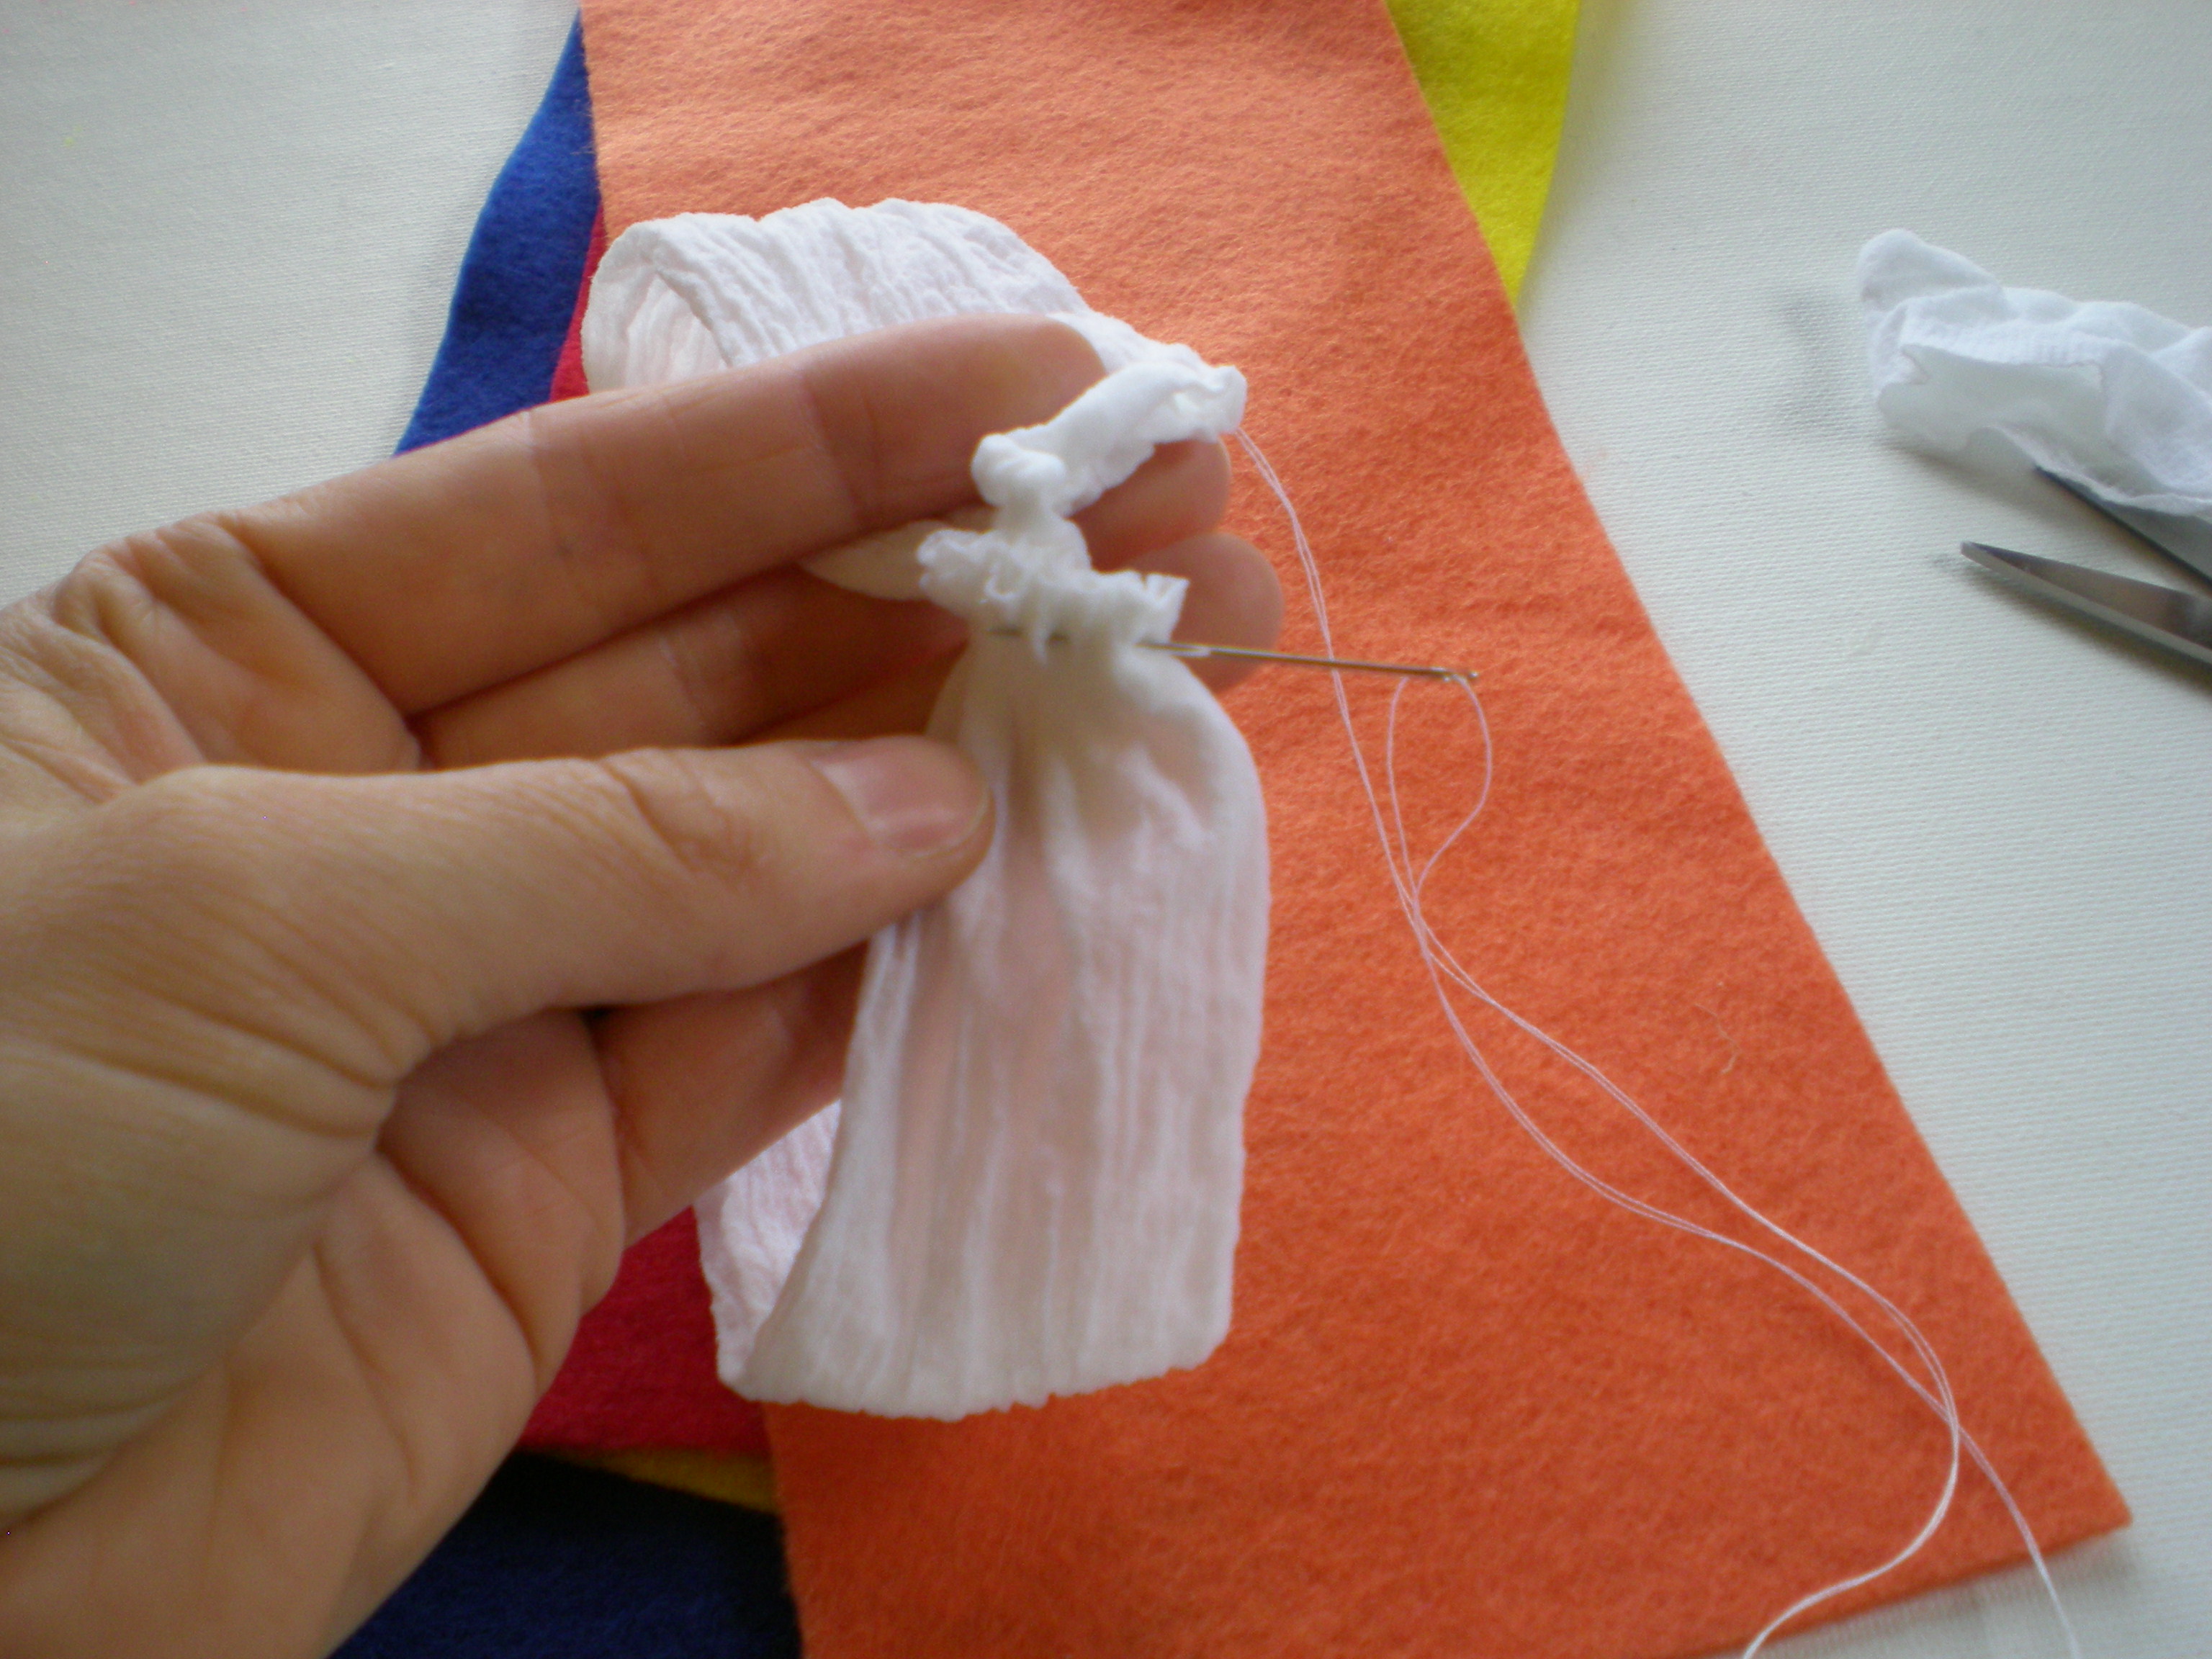
2. Sew a running stitch along the toe end of the stocking and gently pull the thread to gather the two ends of the stocking together, forming a loop. Make a few more stitches to secure the ends, and knot.

3. Set the loop (the headband) aside, and cut decorative shapes from the felt pieces. Cut several felt strips about 1/2" by 3".
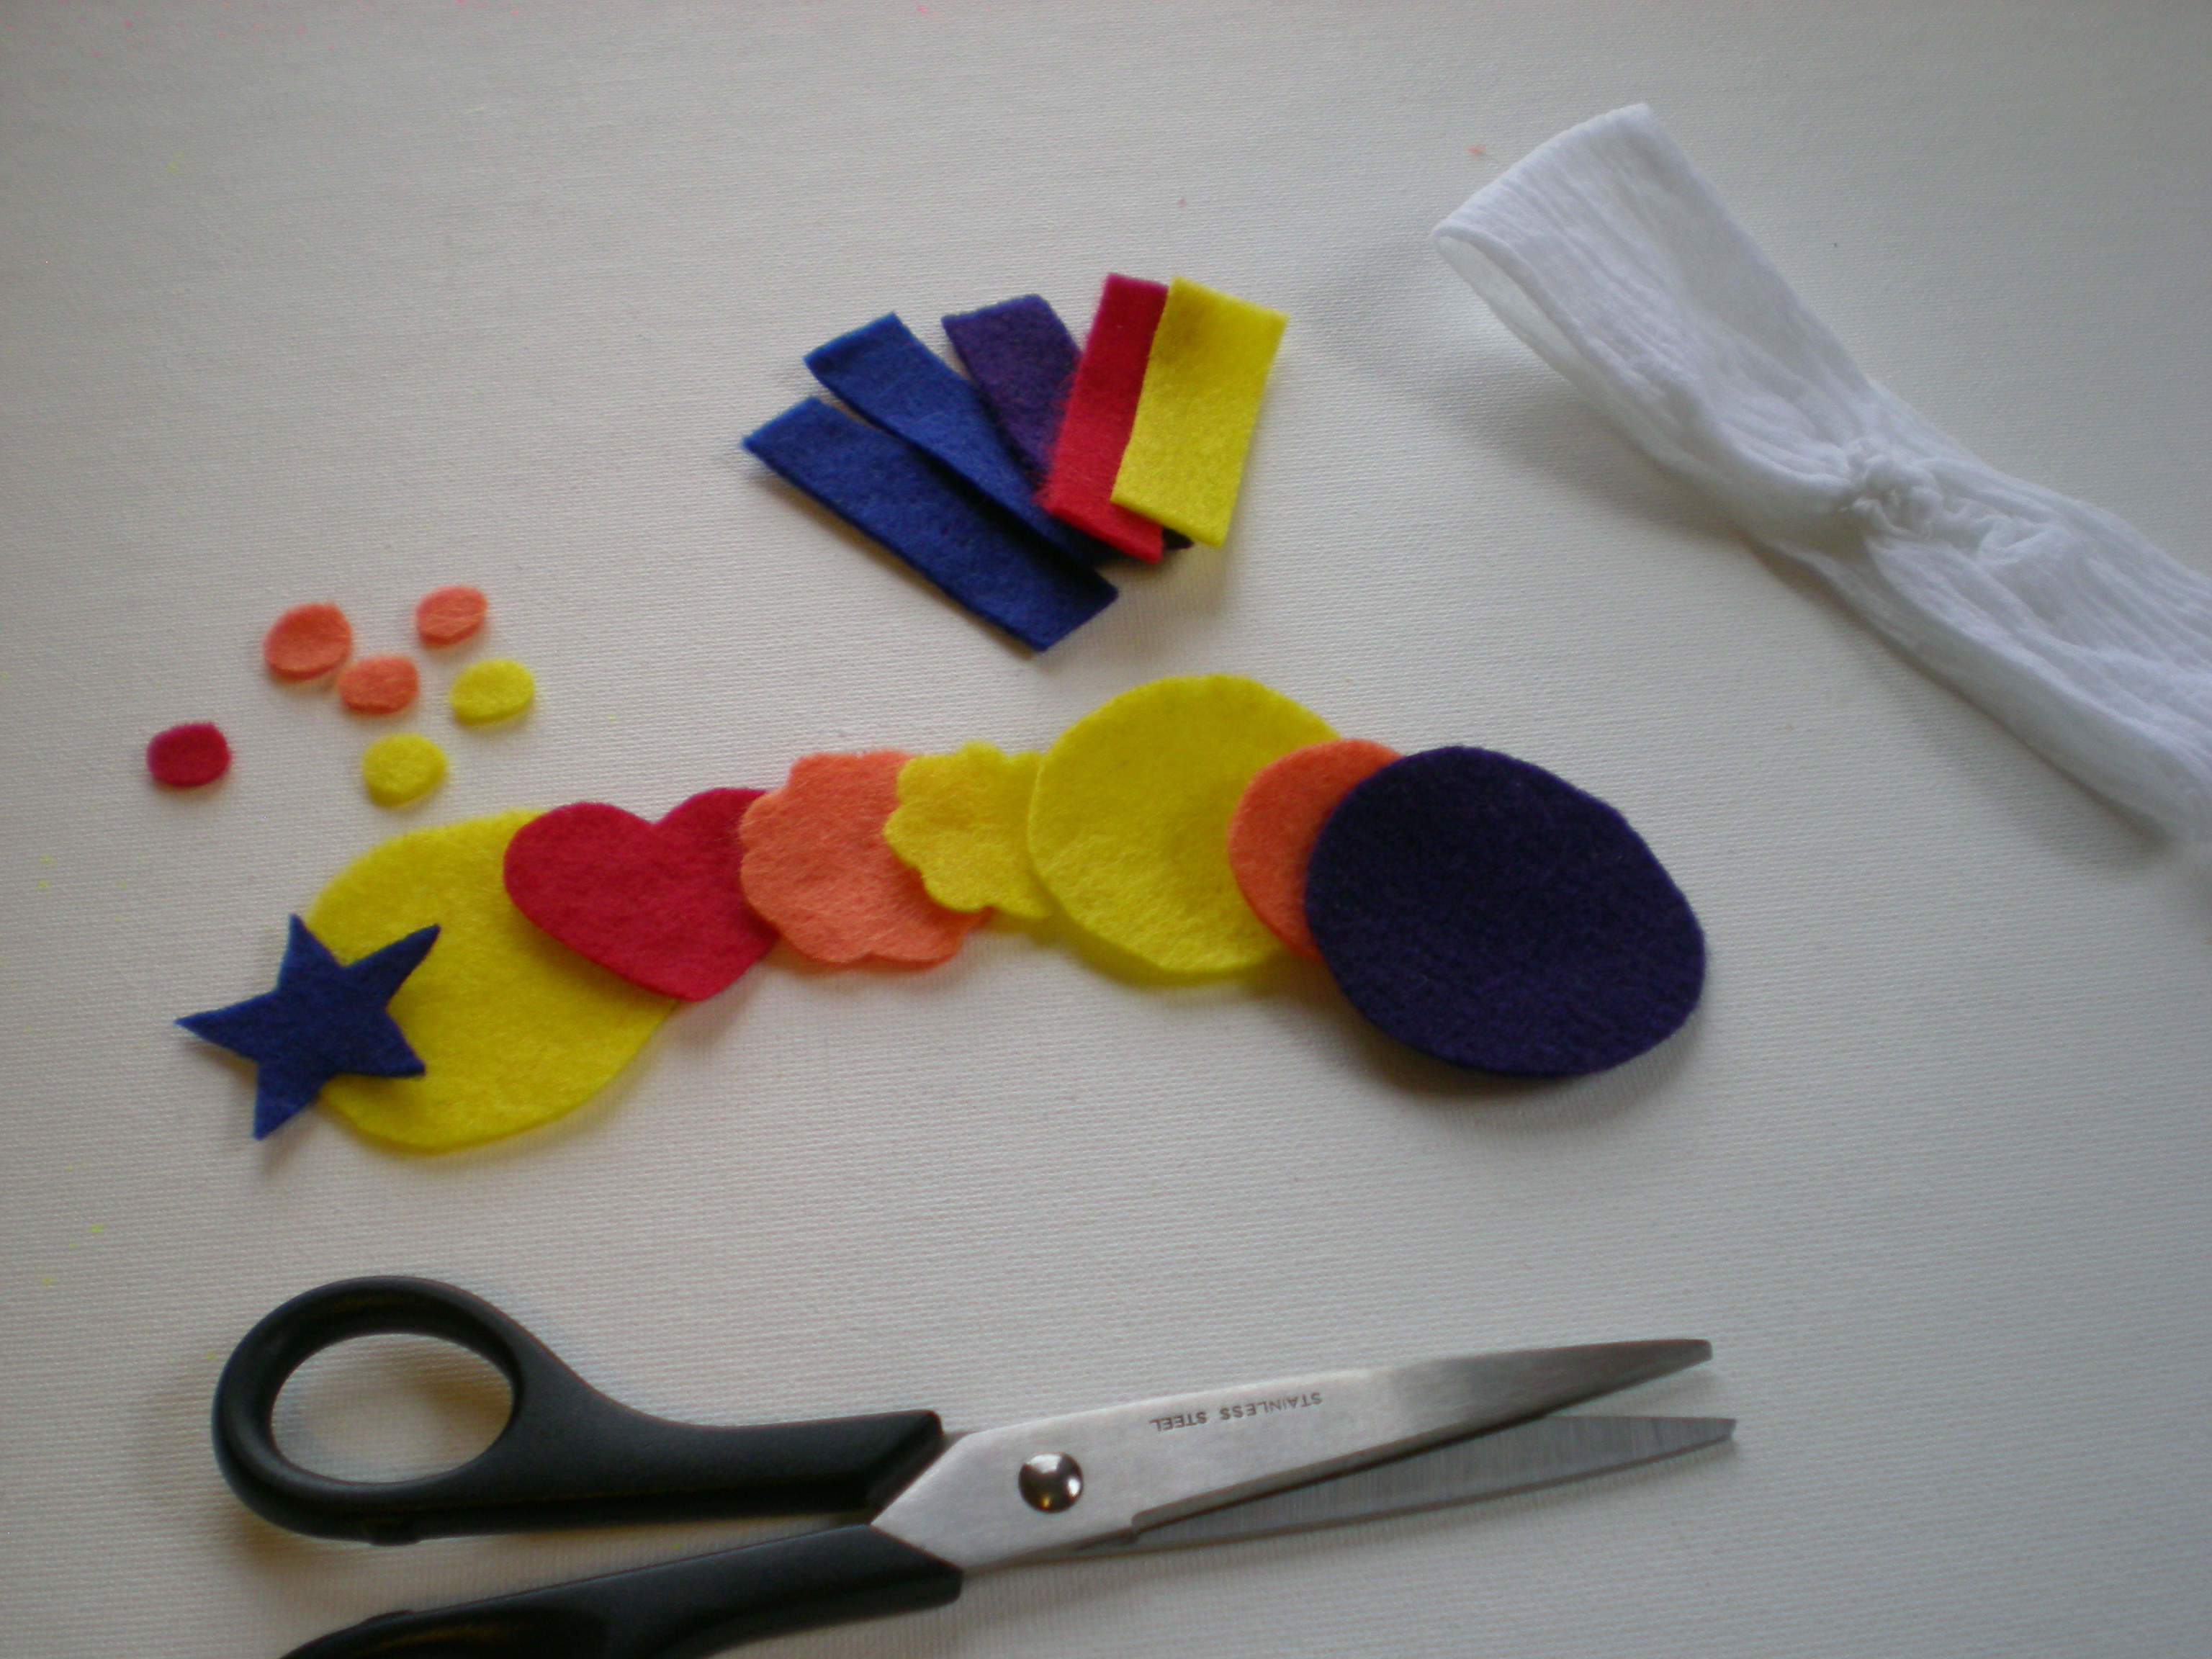

4. Wrap one felt strip around the gather on the headband (to hid the stitching and provide a base for the embellishment). Apply glue liberally to the ends of the strip and fold them over each other. Let dry, and reapply glue as needed. (Felt is very porous, so the glue gets absorbed easily.) While the glue dries on the headband, mix and match felt shapes and glue them together to make embellishments. Optional: Add buttons, glitter, ribbon, T-shirt flowers, even fabric scrapbook decals to personalize the headband.
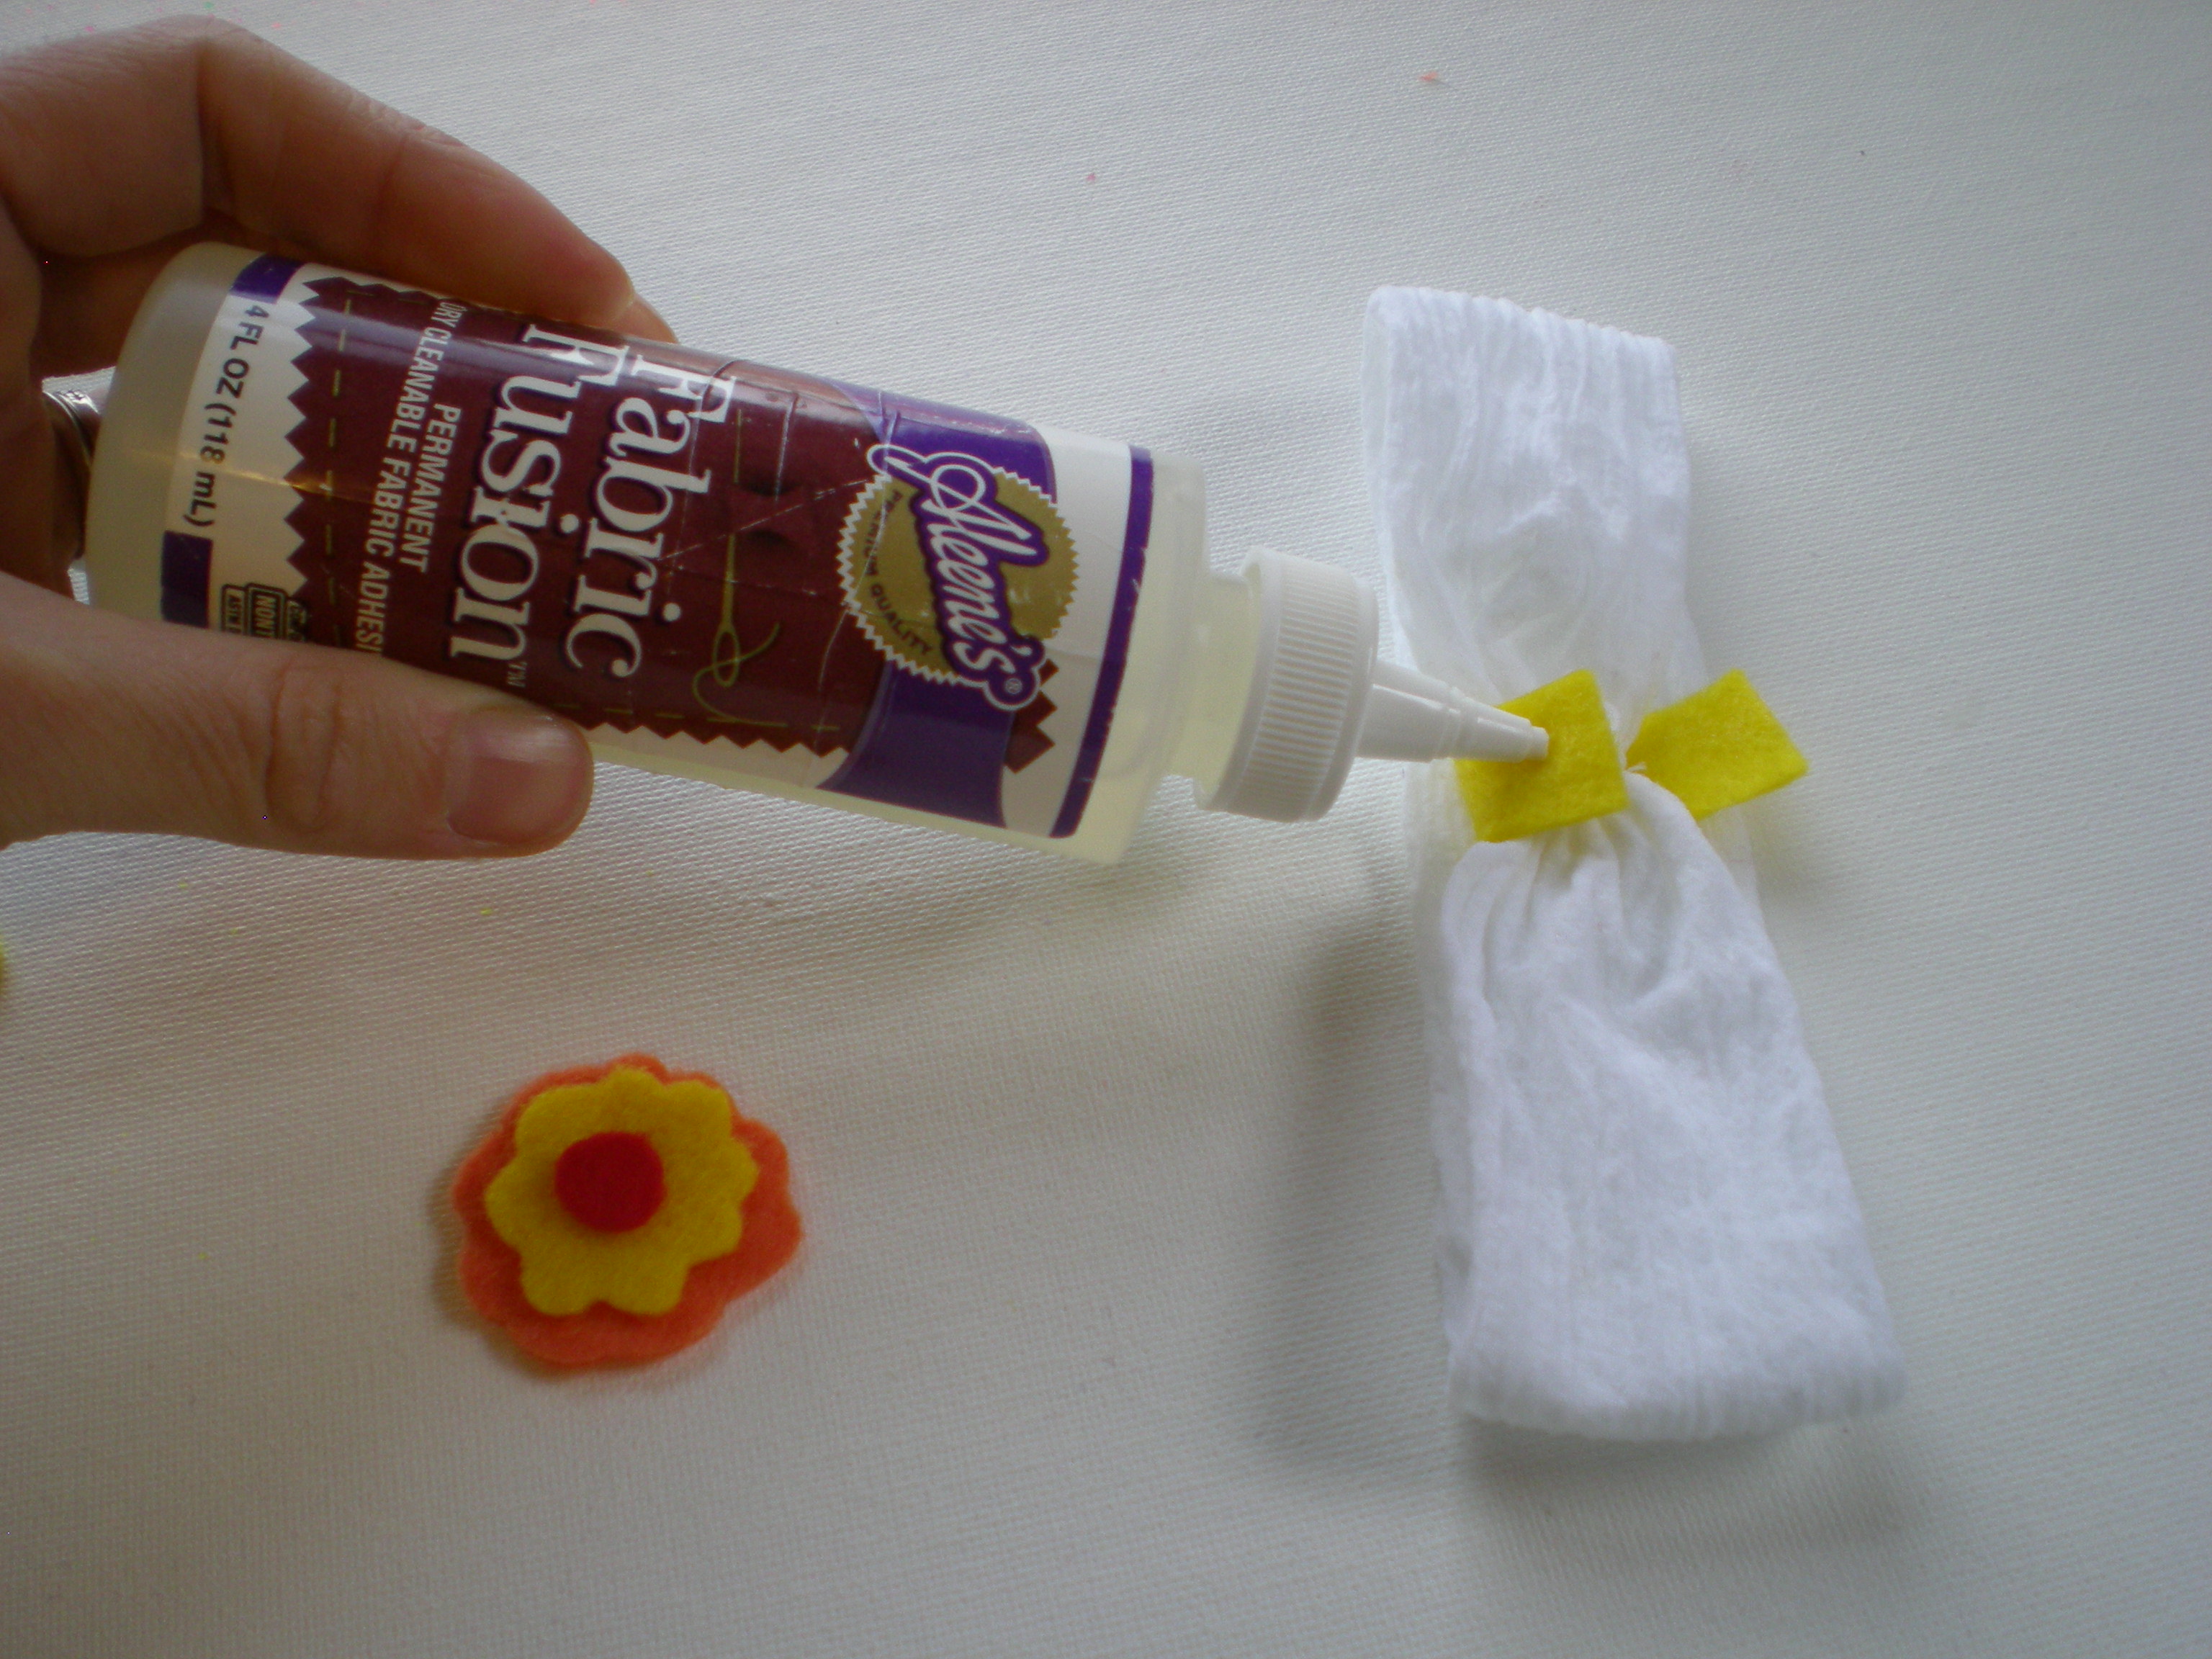

5. Glue the felt embellishment over the felt seam and let dry. (Again, apply that glue liberally!)
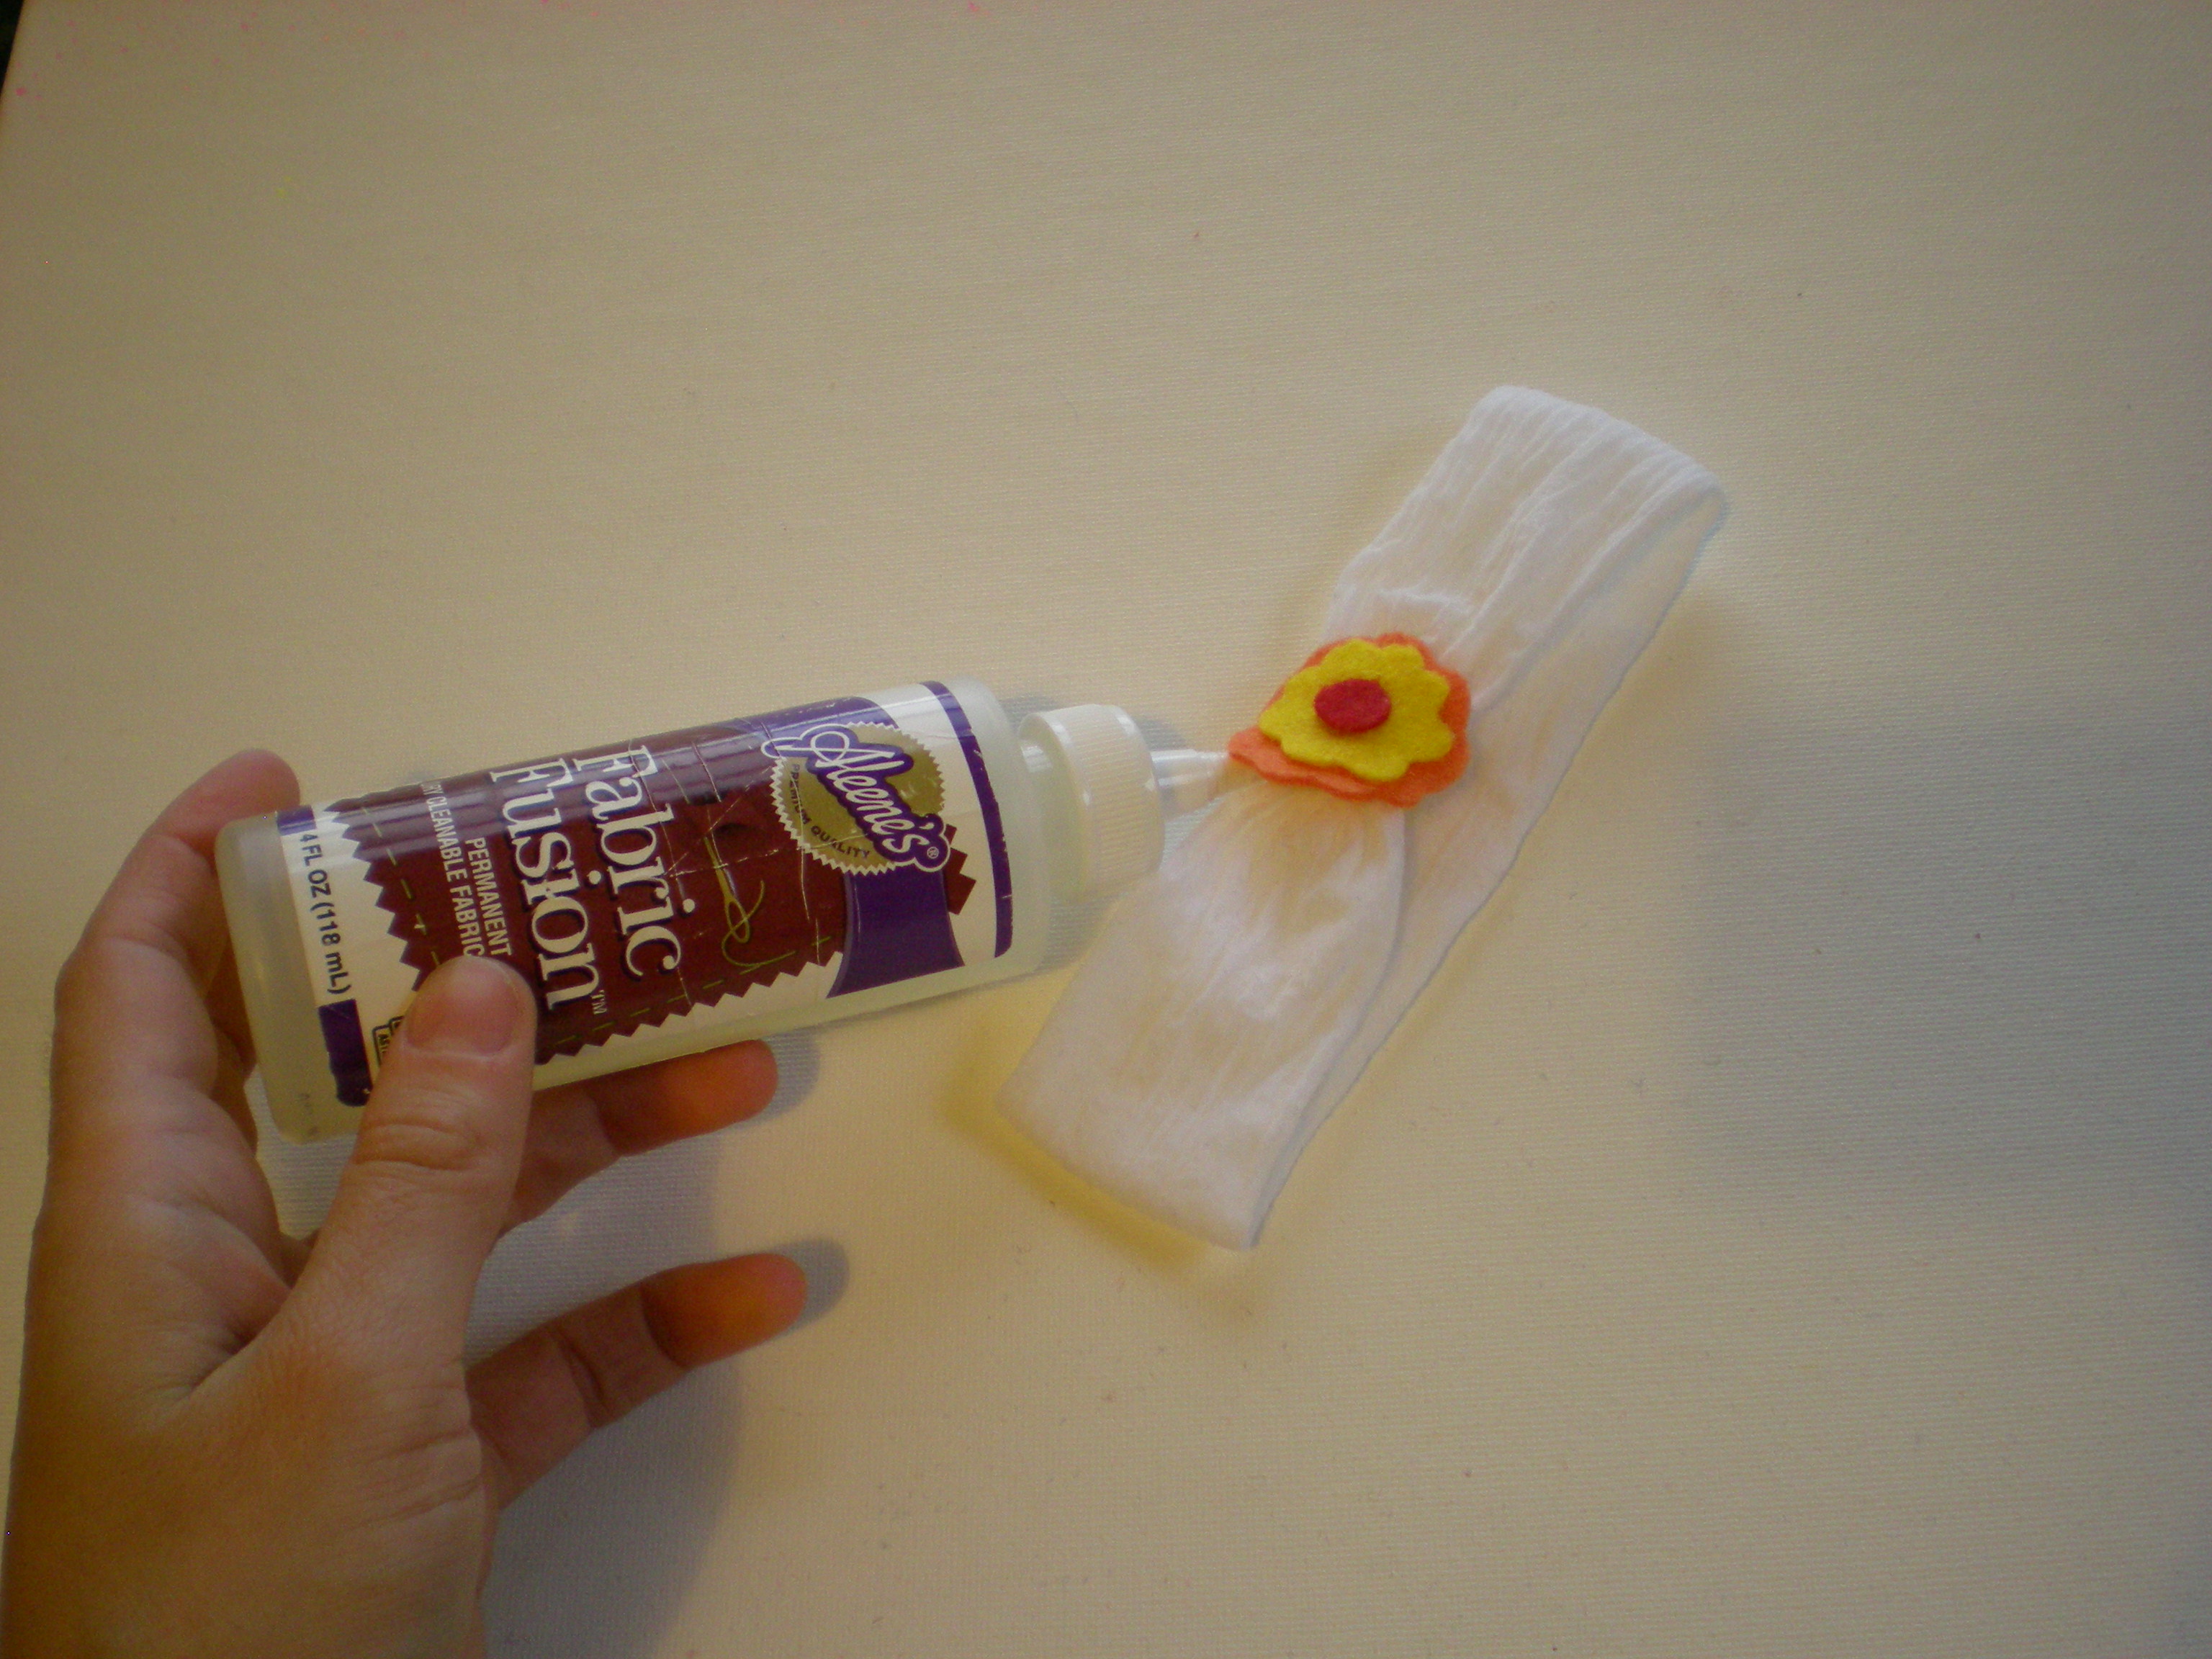

6. You're done! Now get to the wearing part -- with no complaints of pulled hair, and no shaggy bangs covering up her sweet little face! Tea party, anyone?

Bonus: If you buy your stockings at the pharmacy or the dollar store, they often come in little round plastic containers that can easily be converted into a simple cat toy -- drop a button inside, snap it tightly closed, and roll it across the floor.

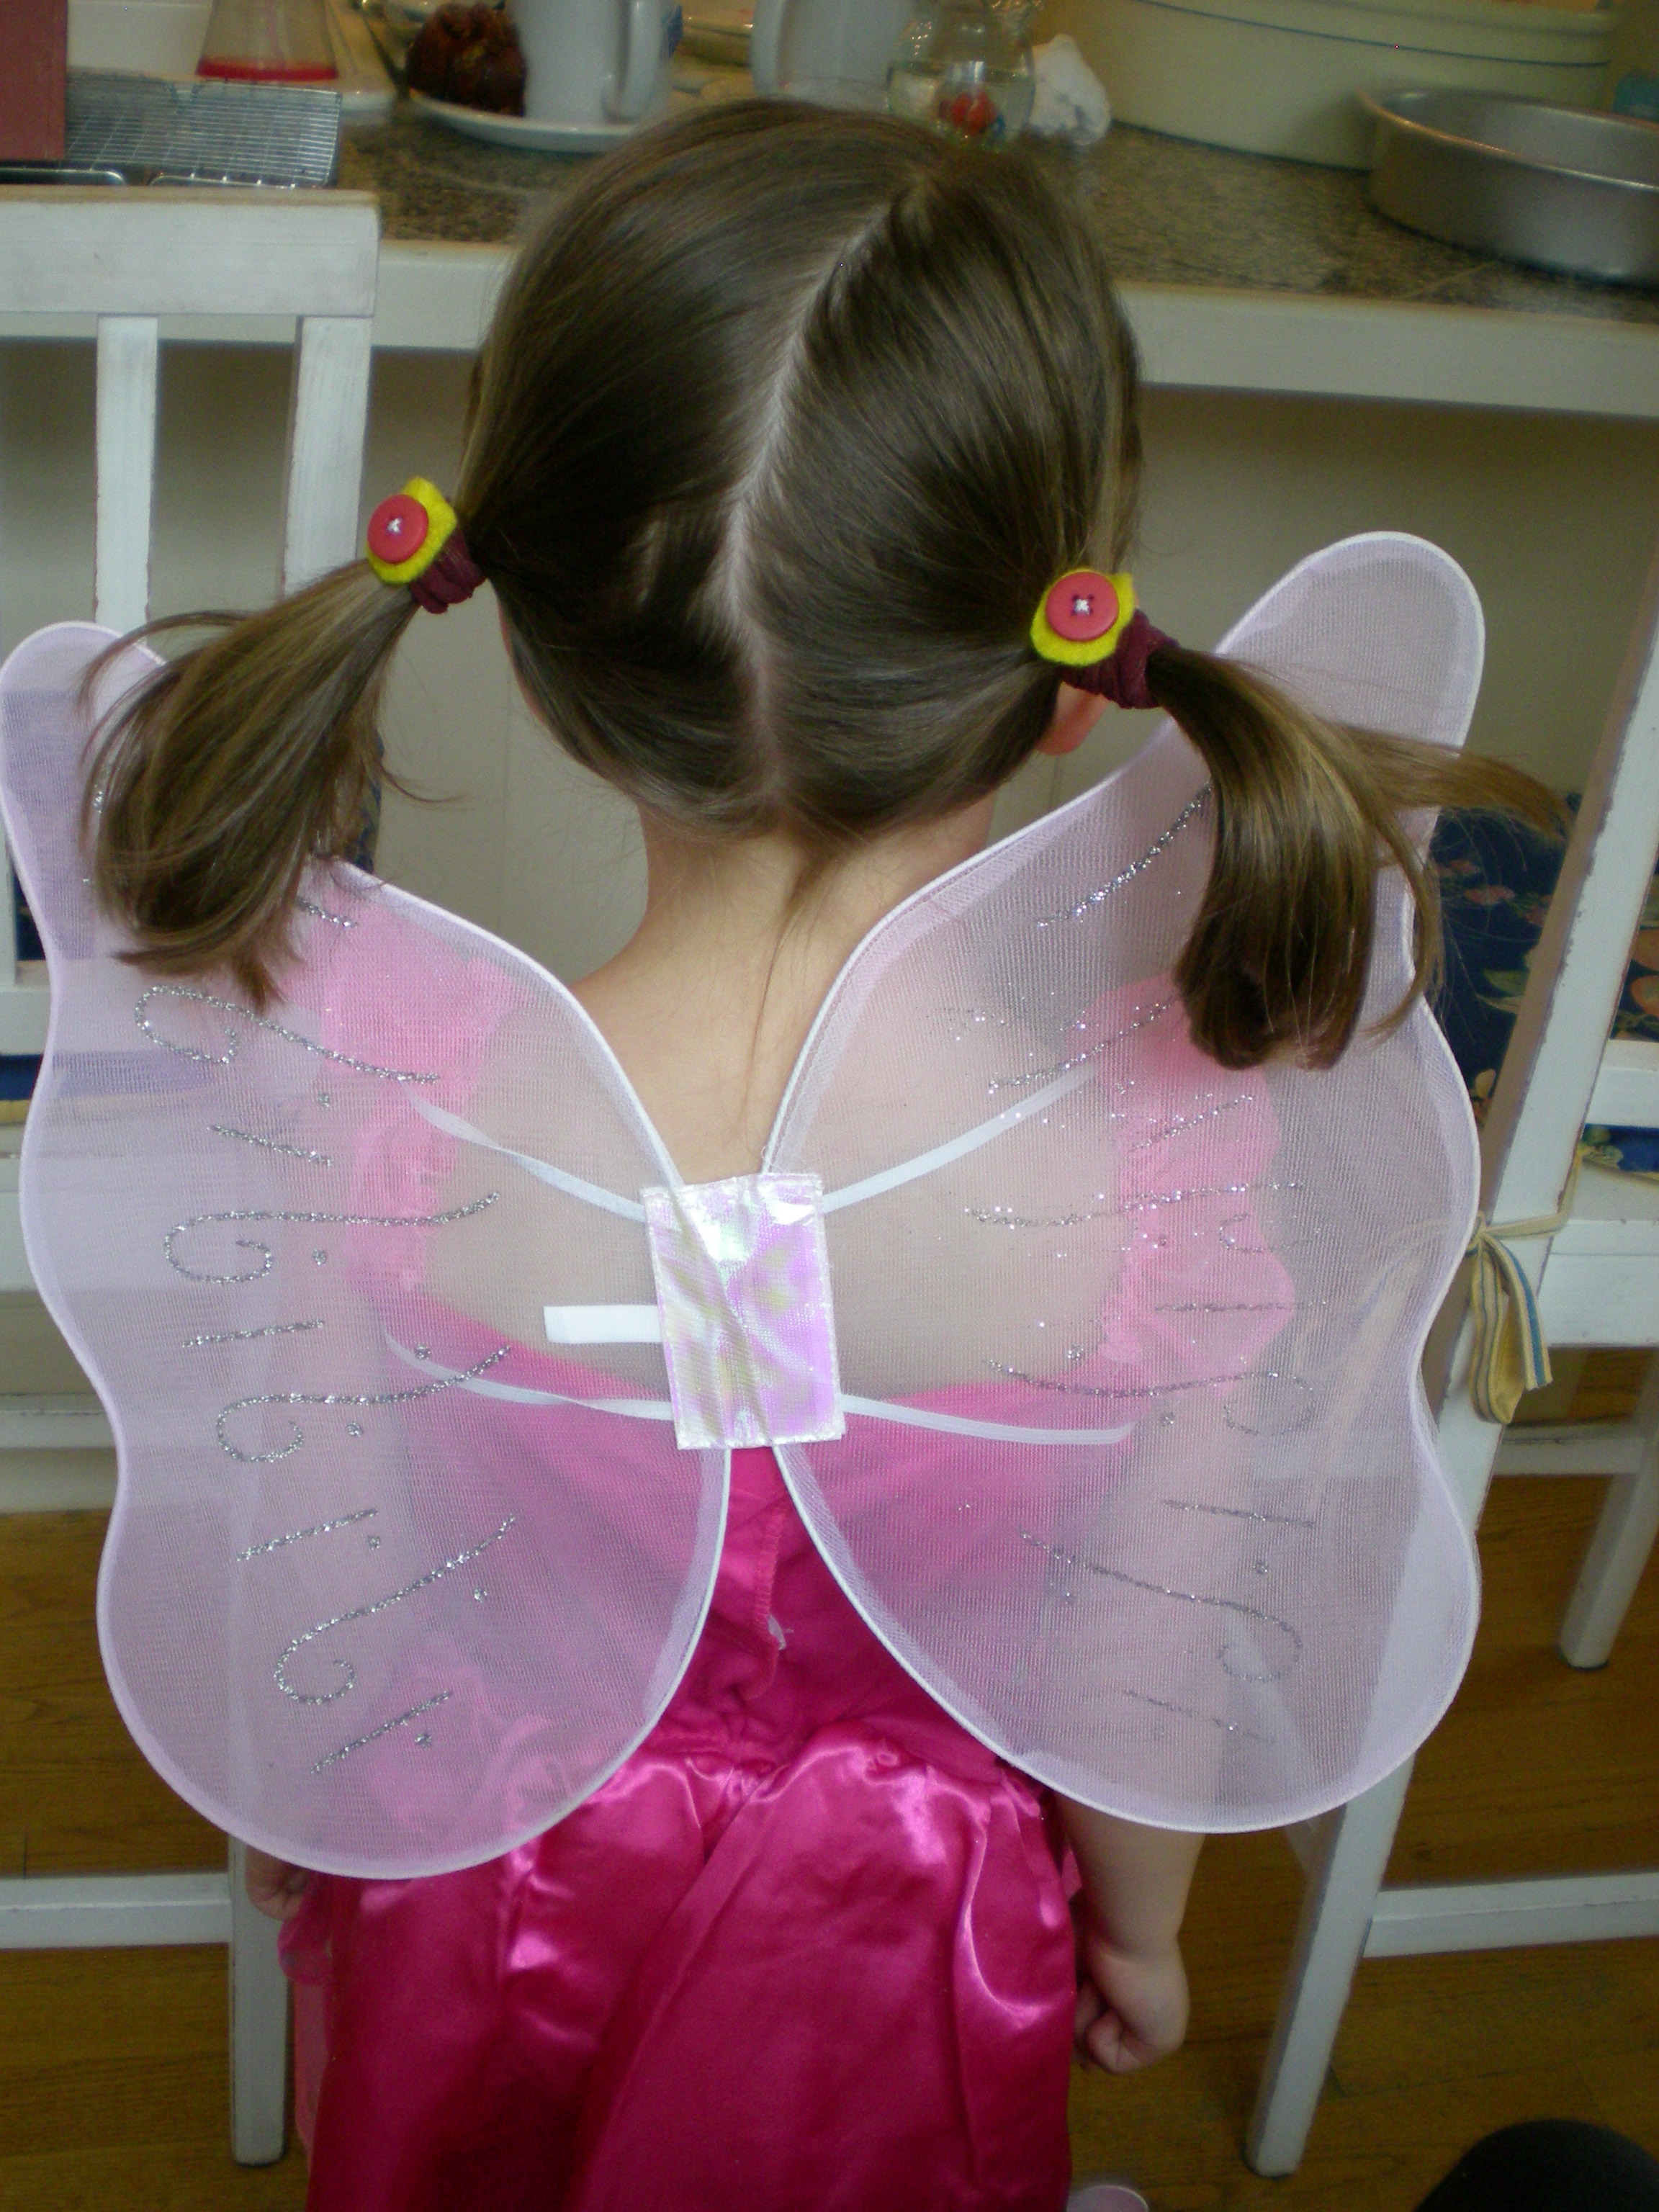
Double bonus: Remember the 1" bit of fabric you cut off the top of the stocking in step 1? Follow steps 4 and 5 to make No-tug Hair Ties! Perfect for taming pigtails, ponies, and braids.

Check out my other fun projects for iLoveToCreate here!

Visit us on Facebook!
Craft on! Click here for today's daily giveaway!

Tuesday, December 14

Crafty Chica's T-shirt Christmas Stockings!


Some shirts are just too cool to slice up into scarves. These are a perfect example. I decided to make holiday stockings out of them!

Here is what you need:

- Stocking to use as the pattern, paper to trace design onto
- T-shirt
- fabric for lining
- fusible stabilizer
- craft felt
- sewing machine, hot glue
- trims
- Crafty Chica® Chunky Glitters™
- Crafty Chica® Extreme Embellishment Glue™
- Tulip® Glitter Spray Paint

Directions:

1. Trace the outline of the stocking onto paper or cardboard.


2. Set the shirt out on a flat surface and set the pattern on top. Trace around it and cut out through both layers (NOTE: If you only want the front of the shirt, just use the top layer.

3. Do the same for the lining fabric.

4. Iron the stabilizer to both sides of the t-shirt cut outs. Iron to lining.

5. With both layers facing together, sew around the edges.

6. Take an 8x10 sheet of craft felt in a contrasting color and cut it in half width wise. Glue one at the top of one side of the stocking, and another on the other side. Trim up the sides so it is flush with the edges, hot glue the felt together up the sides.

7. Turn the stocking right side out and fold the felt over to make a cuff.

8. Glue trim as desired.

9. Add sparkle with glitter, crystals, and glitter spray!

10. Glue ribbon strand at the top inner side so you can hang it.
FREE SHIPPING through December 13, 2010. Craft on! Click here for today's daily giveaway!

Tuesday, December 1

iLoveToCreate Teen: Recycled Christmas Cards


iLoveToCreate Recycled Christmas Cards
Teen Holiday Craft Project
Created by Margot Potter for iLoveToCreate
“Mom crafted, kid approved.”


It’s tough to throw pretty holiday cards away, but eventually our coffers get full. Rather than spend beaucoup bucks on new cards, why not upcycle some oldies but goodies? I have a collection of fun vintage cards, but many of them are already used. I love repurposing them in my design work. (You don’t have to use vintage cards, any used holiday cards will do.) You need cards with figural images you can frame with dimensional paint and then cut out in silhouette. It’s easy to give old cards new life with Tulip dimensional paints and glitters! Teens will love this project and it’s a great way to get them excited about upcycling and handmade holidays. Miss Avalon just loved this snowman.

Gather up dimensional paints and glitters and make an afternoon out of creating your own wonderful, heartfelt and handcrafted creations with your teen.

Materials
Used holiday cards with bold figural images
Heavy duty cardstock
Tulip Dimensional Fabric Paint in silver
Tulip Dimensional Fabric Paint with silver glitter
Tulip Fashion Glitter in White Pearl

Ranger Adirondack Pigment stamp pad in snow cap
Small clear snowflake stamp (I used a clear stamp from Inkadinado for EK Success)
Clear stamp base
Scissors
Bone Folder
Paper cutter
Ruler


1. Select a card with a figural image. Select areas you’d like to glitter and spread Tulip dimensional glitter paint thinly across areas with fingertips. Before it dries, sprinkle with Tulip Fashion glitter and shake off excess on scrap paper. Bend paper and dump any excess glitter back into jar.

2. Use Tulip dimensional fabric paint in silver to frame your image. I was envisioning a soldered effect here. Allow card to dry.

3. Cut out figure with scissors.

4. Use a ruler to measure a card background that fits your image with a little excess around the edges. Each card will be unique to the image you select. Cut with a paper cutter or scissors, fold in half and use a bone folder to get a clean crease on the edge of your card.

5. Stamp front of card with pigment pad and snowflake stamp in a repetitive pattern. Before the pigment dries sprinkle a layer of Tulip Fashion Glitter on and shake off on to scrap paper. Dump excess glitter back into jar. Allow to dry.

6. Use foam stickers to attach your image to the front of the card. Cut out and attach the sentiment from the original card inside of your creation.

BONUS IDEA: Take the image off of the foam stickers, punch holes on both sides at the top and add some tinsel wire and VOILA instant Christmas decoration!


Disclosure: Most of the materials used in this project were donated for use in my work.
Clicky Web Analytics
Pin It button on image hover

Subscribe to our newsletter

* indicates required
I am interested in products and inspiration for...
Close