Tuesday, July 7
Bright & Colorful Tulle Skirt with Colorshot
Tuesday, September 11
Dyed Maxi Skirt
Thursday, August 16
Old Skirt New Pockets
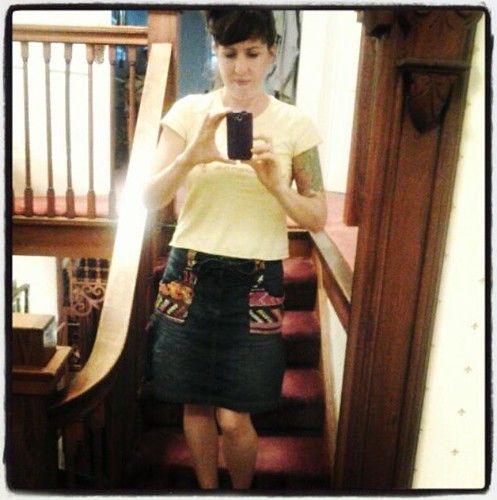

If you have gone shopping anytime in the last year you might have noticed a trend towards ethnic prints. The trend is nothing new and something that seems to resurface every summer with a few tweaks. This summer I took the bait and decided to try my crafty hand at joining the trendy ethnic print party.
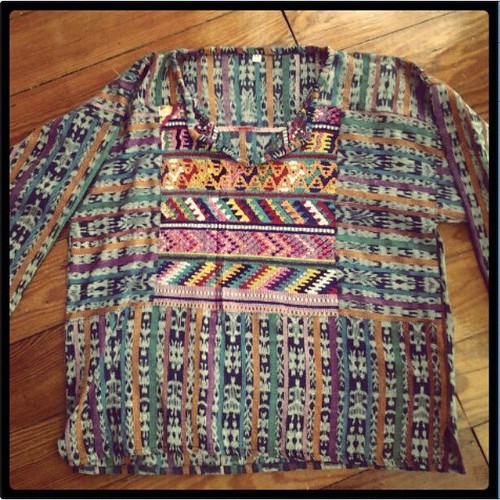
A few years ago my parents took a trip to Guatemala. My one request was for a shirt with a colorful brocade pattern. Sadly the shirt they brought me was a tad on the frumpy side and looked like something you would wear to a Phish concert. I loved the material and always knew that someway, somehow I would make that dumpy shirt wearable. Enter my new blue jean skirt from the thrift store begging for a pocket makeover.

SUPPLIES
Jean Skirt
Aleene's Fabric Fusion Glue
Pins
Sewing Machine
Scissors
Seam Ripper
Fabric to use on pockets

The first thing I did was using a seam ripper removed the pockets.
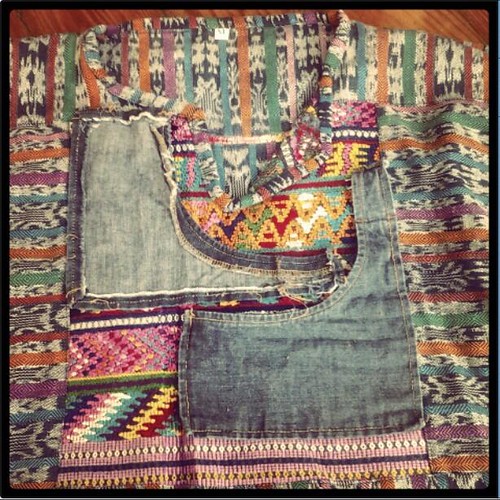
Using the old pockets as a guide I placed them on the dumpy shirt and cut out new pockets.
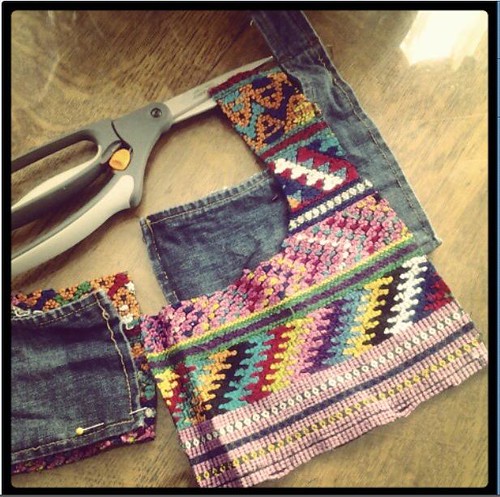
Just look at those fancy new pockets!
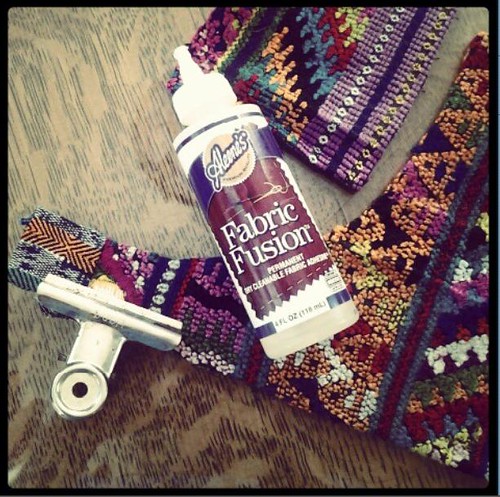
Instead of pinning the edge on the new pockets down we used Fabric Fusion glue. You might need to use clothespins to hold edges down until the glue dries.
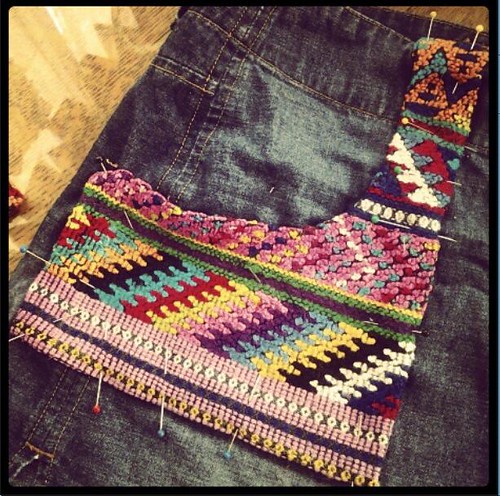
Next I handed the skirt over to my mother to sew. I was visiting her house when i made this skirt. First she sewed all the way around the edges of the pockets. Next she pinned them to the skirt where the old pockets once lived. Lastly, she reattached the pockets to the skirt making sure not to sew the belt loops and part where you put your hands in shut.
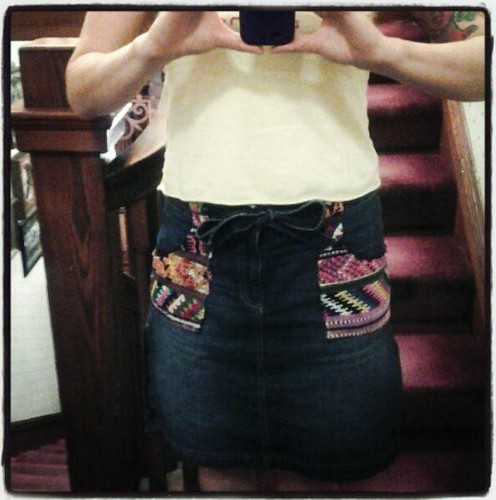
It just so happened the night I finished my skirt I had a hot date with a few of my crafty friends. My skirt was a big hit!

Sadly after all that work I learned the hard way that the zipper is broken on my new skirt. Old skirt, new pockets and a broken zipper. Maybe I'll replace the zipper with something more exciting and colorful just like I did the pockets.
Tuesday, March 6
Double Dipped Glitter Skirt
Thursday, November 5
DIY Fabric Design


Recently I took a 3 part sewing class at Stitch Lab. For the first class we made a little drawstring bag. I brought in some fabulous vintage Barkcloth to make a pillow in class number 2. For the 3rd class we were making a skirt and I could not decide on the right fabric. Sure the stores were full of choices, but I thought it would be more fun to make my own. No, I didn’t go out and grow my own cotton and start from absolute scratch I should say I thought it would be more fun to embellish some fabric for my skirt. Today for I Love to Create I’ll show you what I came up with.
SUPPLIES
Black and White Cotton Fabric
Sponge Roll Brush
Tulip Fabric Spray Paint
Stencil 101 Décor
Tulip Slick Fabric Paint

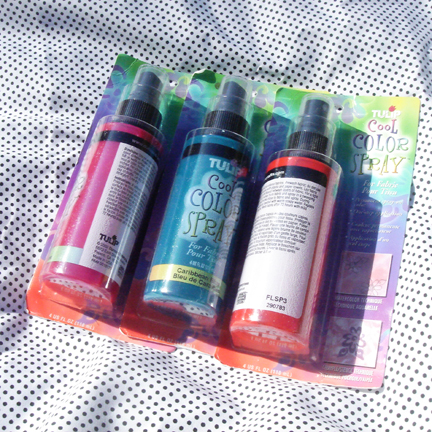
The first thing I did was snag a few yards of black and white polka dot fabric. I thought it would be a nice back drop. Next I spread my fabric out in the yard and emptied a few bottles of Tulip Cool Color Spray onto the fabric in a random pattern. My pumping finger was sore for days, but the effect was worth it.
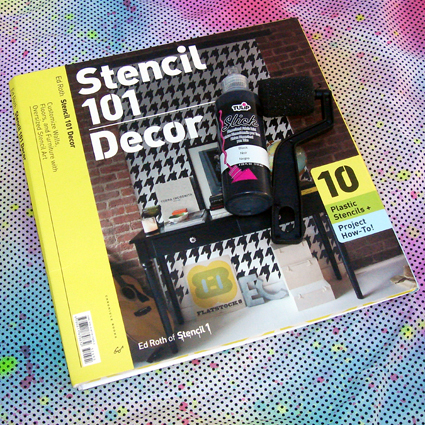
Chronicle Books had recently sent over a copy of Stencil 101 Décor: Customize Walls, Floors, and Furniture with Oversized Stencil Art for me to review. You might recall from my Raised in Craftivity and I Love to Create: Stencil 101 that I am a bit of an Ed Roth fan. I am still trying to find just the right piece of home décor to embellish with the stencils, but in the meantime I thought I would use one on my skirt. The book is full of several cool choices like birds, butterflies, circles, hounds tooth and more. I also love that new patterns are plastic which makes for super easy clean up. I always wondered how people who stenciled walls got the patterns to line up so perfectly and after reading Stencil 101 Décor I now know all about handy dandy registration marks.

Armed with my stencil, pencil, foam roll brush and some Tulip Slick Fabric Paint I spread the dyed fabric out on a flat surface and got busy. The stencils are large squares so it went quickly. I allowed the print to dry completely.

After that my fabric was ready for sewing class. The material worked perfect for my drawstring A-line skirt and I was pleased as punch with the results!

I just so happen to have enough fabric and enough time in class left to whip up Tallulah a matching version!


