Veggies are a hot topic around our house. We have a vegetable garden that the kids help plant, farmers markets are a regular pit stop for our fam and we recently joined a CSA so we have a giant box of veggies delivered to our doorstep weekly. A pretend veggie patch that the kids can pick carrots from whenever the whim hits them seemed the perfect I Love to Create project.
SUPPLIES
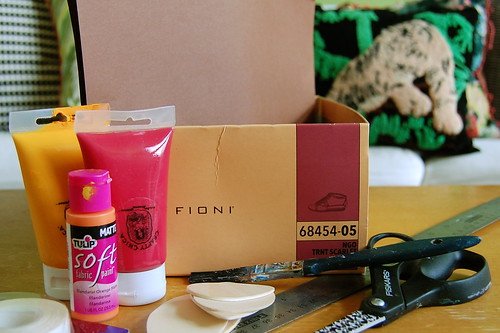
Orange Paint (I mixed yellow and red Crafty Chica Paint)
Paint Brush
Wooden Blanks shaped like carrots
Green Ribbon
Crop-o-Dile (or drill)
Green Paper
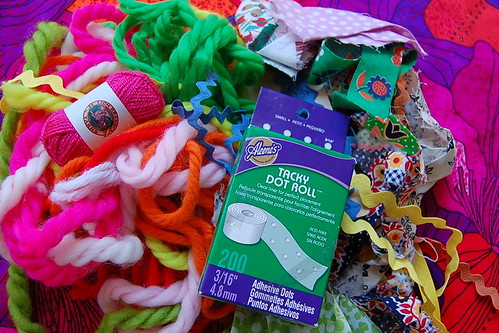
Aleene's Tacky Double Stick Sheets
Brown Paper
Scissors
Shoe Box

If you ever go down the wood craft aisle at the craft store you will notice that almost any shape you can imagine is available in raw wood form. I happen to have some that looked carrots. Paint your forms with orange craft paint. I applied a couple of coats. Allow to dry completely.
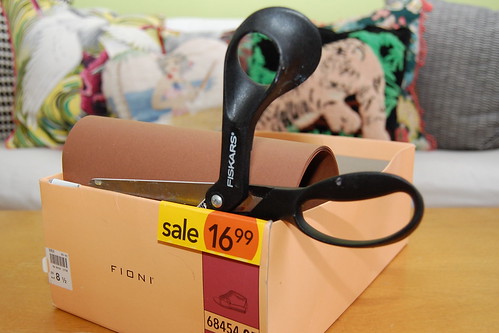
While your paint is drying you can prepare your shoe box. The "dirt" inside your box is going to be brown paper. I had to cut my paper to fit inside the box.
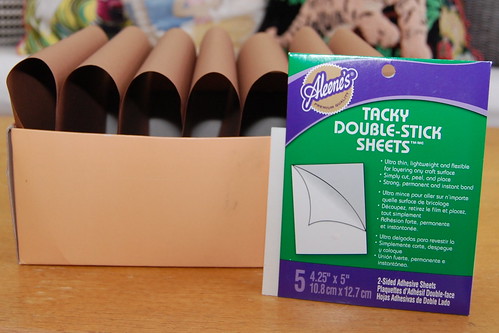
Once your paper is the right size fold in half without creasing. You will do this to all of your paper until you have enough to fill your shoebox. I used Aleene's Tacky Double Stick Sheets to adhere the sheets together at the bottom. I also stuck the last two sheets to the inside of the shoe box. Don't put the glue sheets up too high on the paper as you want the kids to be able to stick their faux veggies between the sheets.
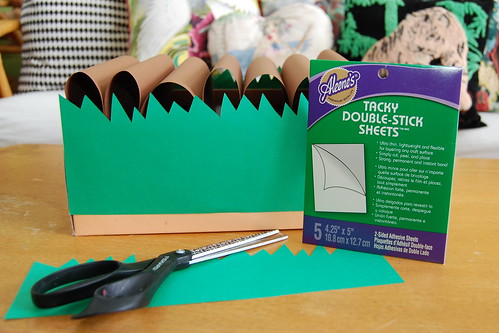
Once my mounds of paper dirt were in place I needed to add grass. I again used my Tacky Double Stick Sheets to attach two rows of green paper that I had cut in a jagged pattern to resemble grass. You could also use Crafty Chica paint and just paint the box green. Do all 4 sides.

By now your carrots should be dry. Using a Crop-o-Dile or a small drill put a hole in the center of the wide end.
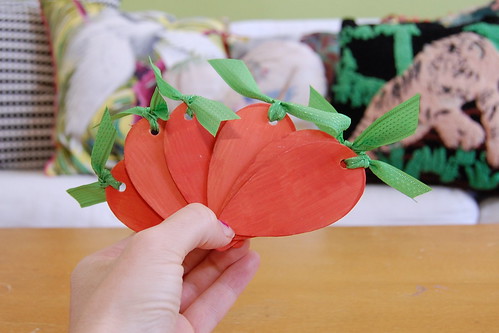
Using green ribbon tie pieces through your holes so that they look like the tops of carrots.

All that is left to do is fill your veggie patch with carrots. You could also make beets, parsnips, onions - any root veggie really.

Tallulah and Baxter spent the afternoon pulling and replacing carrots in their new veggie patch. We read "Growing Vegetable Soup" and I talked to them about how some plants grow on bushes and other under the ground like their new carrots.
Visit us on Facebook!
Craft on!