Showing posts with label craft projects for kids. Show all posts

Wednesday, January 21

DIY CONFETTI SHIRT


I LOVE ALL THINGS THAT ARE BRIGHT, COLORFUL AND FUN!!!!
Happy Hump Day all you crafty crafters! I am on a cupcake and pink flamingo kick lately and I am into making all of my posts sweet as possible. A while back I got a sprinkled doughnut and I though as I was eating it just how cute a shirt would be with sprinkles. So, here you have it! I will show you how to become a doughnut in the most stylish way possible! 
Let's get started! P.S. This craft is great for kids and adults! 

Monday, November 3

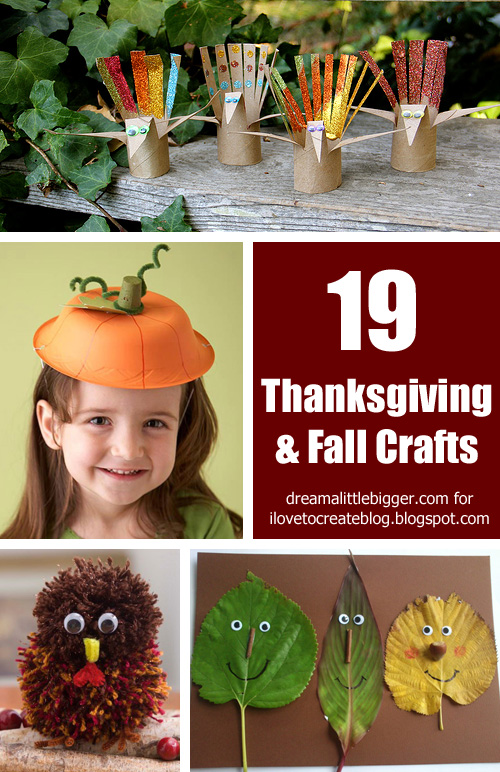
19 Thanksgiving And Fall Crafts For Kids

19-thanksgiving-fall-kid-crafts-dreamalittlebigger

I have always loved Thanksgiving. Maybe it was because Thanksgiving is always near my birthday and we almost always celebrated both on the same day? I loved the turkey crafts and the pilgrim hats and all of that so much! So today I'm bringing you 19 of the most fun and easy to replicate kid projects that are perfect for this time of year!

Tuesday, October 21

Black Light Tic Tac Toe Pillow

My experience with black lights is extremely limited. There was that time a boyfriend in high school started making his room black light friendly but I just kind of bopped around in my own little world so it's just a vague memory. Most recently my nephews and I have discovered black light miniature golf. Walking through and seeing glowing dinosaurs and crazy bright smiles is a lot of fun.

So why not bring that fun to some every day type of games? A black light is fairly inexpensive and kids are obsessed with new things, even if it is really an old thing made new because now it's played in the dark under a black light!

Wednesday, April 2

How to make a Leather Tribal Phone Case

It's almost summertime and we all love sporting fashionable patterns, right! I know I do! Lately I have been searching for the "perfect" phone case which can be difficult at times. My phone is a part of me 24-7 and when it doesn't feel like it goes with me I freak! Well not really but you get my point. I decided to create my own leather phone case and put all of my energy into the design. So now when my phone is in my hands or on my ear it will look just as cute at the shirt and shoes I am wearing!
Let's get started...

Thursday, March 13

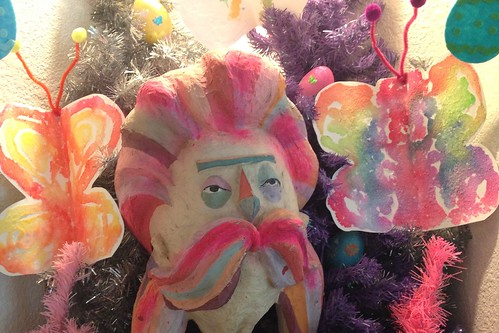
Spring Kids Crafts - Watercolor and Salt Butterflies

Time and time again I kept seeing crafty moms posting the salt and watercolor projects they were making with their children. Tallulah and I decided to see what all the fuss was about. I'm sure glad we did.

Tuesday, May 28

How to: Tie-Dye Your Life (Starting with Your Kids)

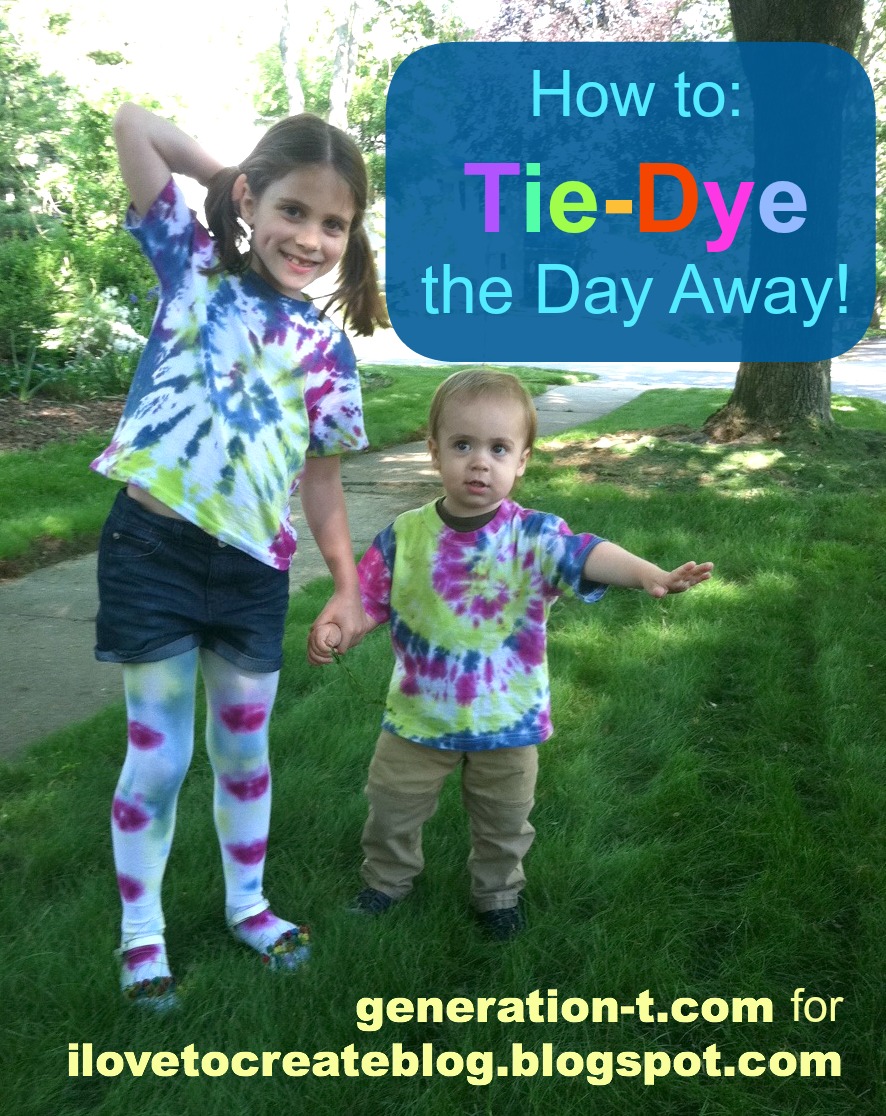
I always bring a craft project when I visit my niece, Dorothy. One time it was Embroidery Day, another it was Felt Cat Ear Day...this time it was Tie-Day Day! Our goal, which we nobly chose to accept: to tie-dye an entire wardrobe. As you can see, we got pretty darn close...
So, despite all my T-shirt proclivities, I have to confess I actually have never tie-dyed in my adult life. I don't know what made me think that it would be so hard, but honestly, the only thing that could have made this easier was a nice picnic table outside to craft on (and that's just me asking for a luxurious upgrade). 
The takeway: Tie-dye. Is. So. Easy. 
I would go so far as to say it's foolproof! Next time you have a family reunion, skip ordering the printed T-shirts: Set up a tie-dye station for all the siblings and cousins--by morning, you'll have a full set of T-shirts perfect for a very colorful family portrait!
What You Need:
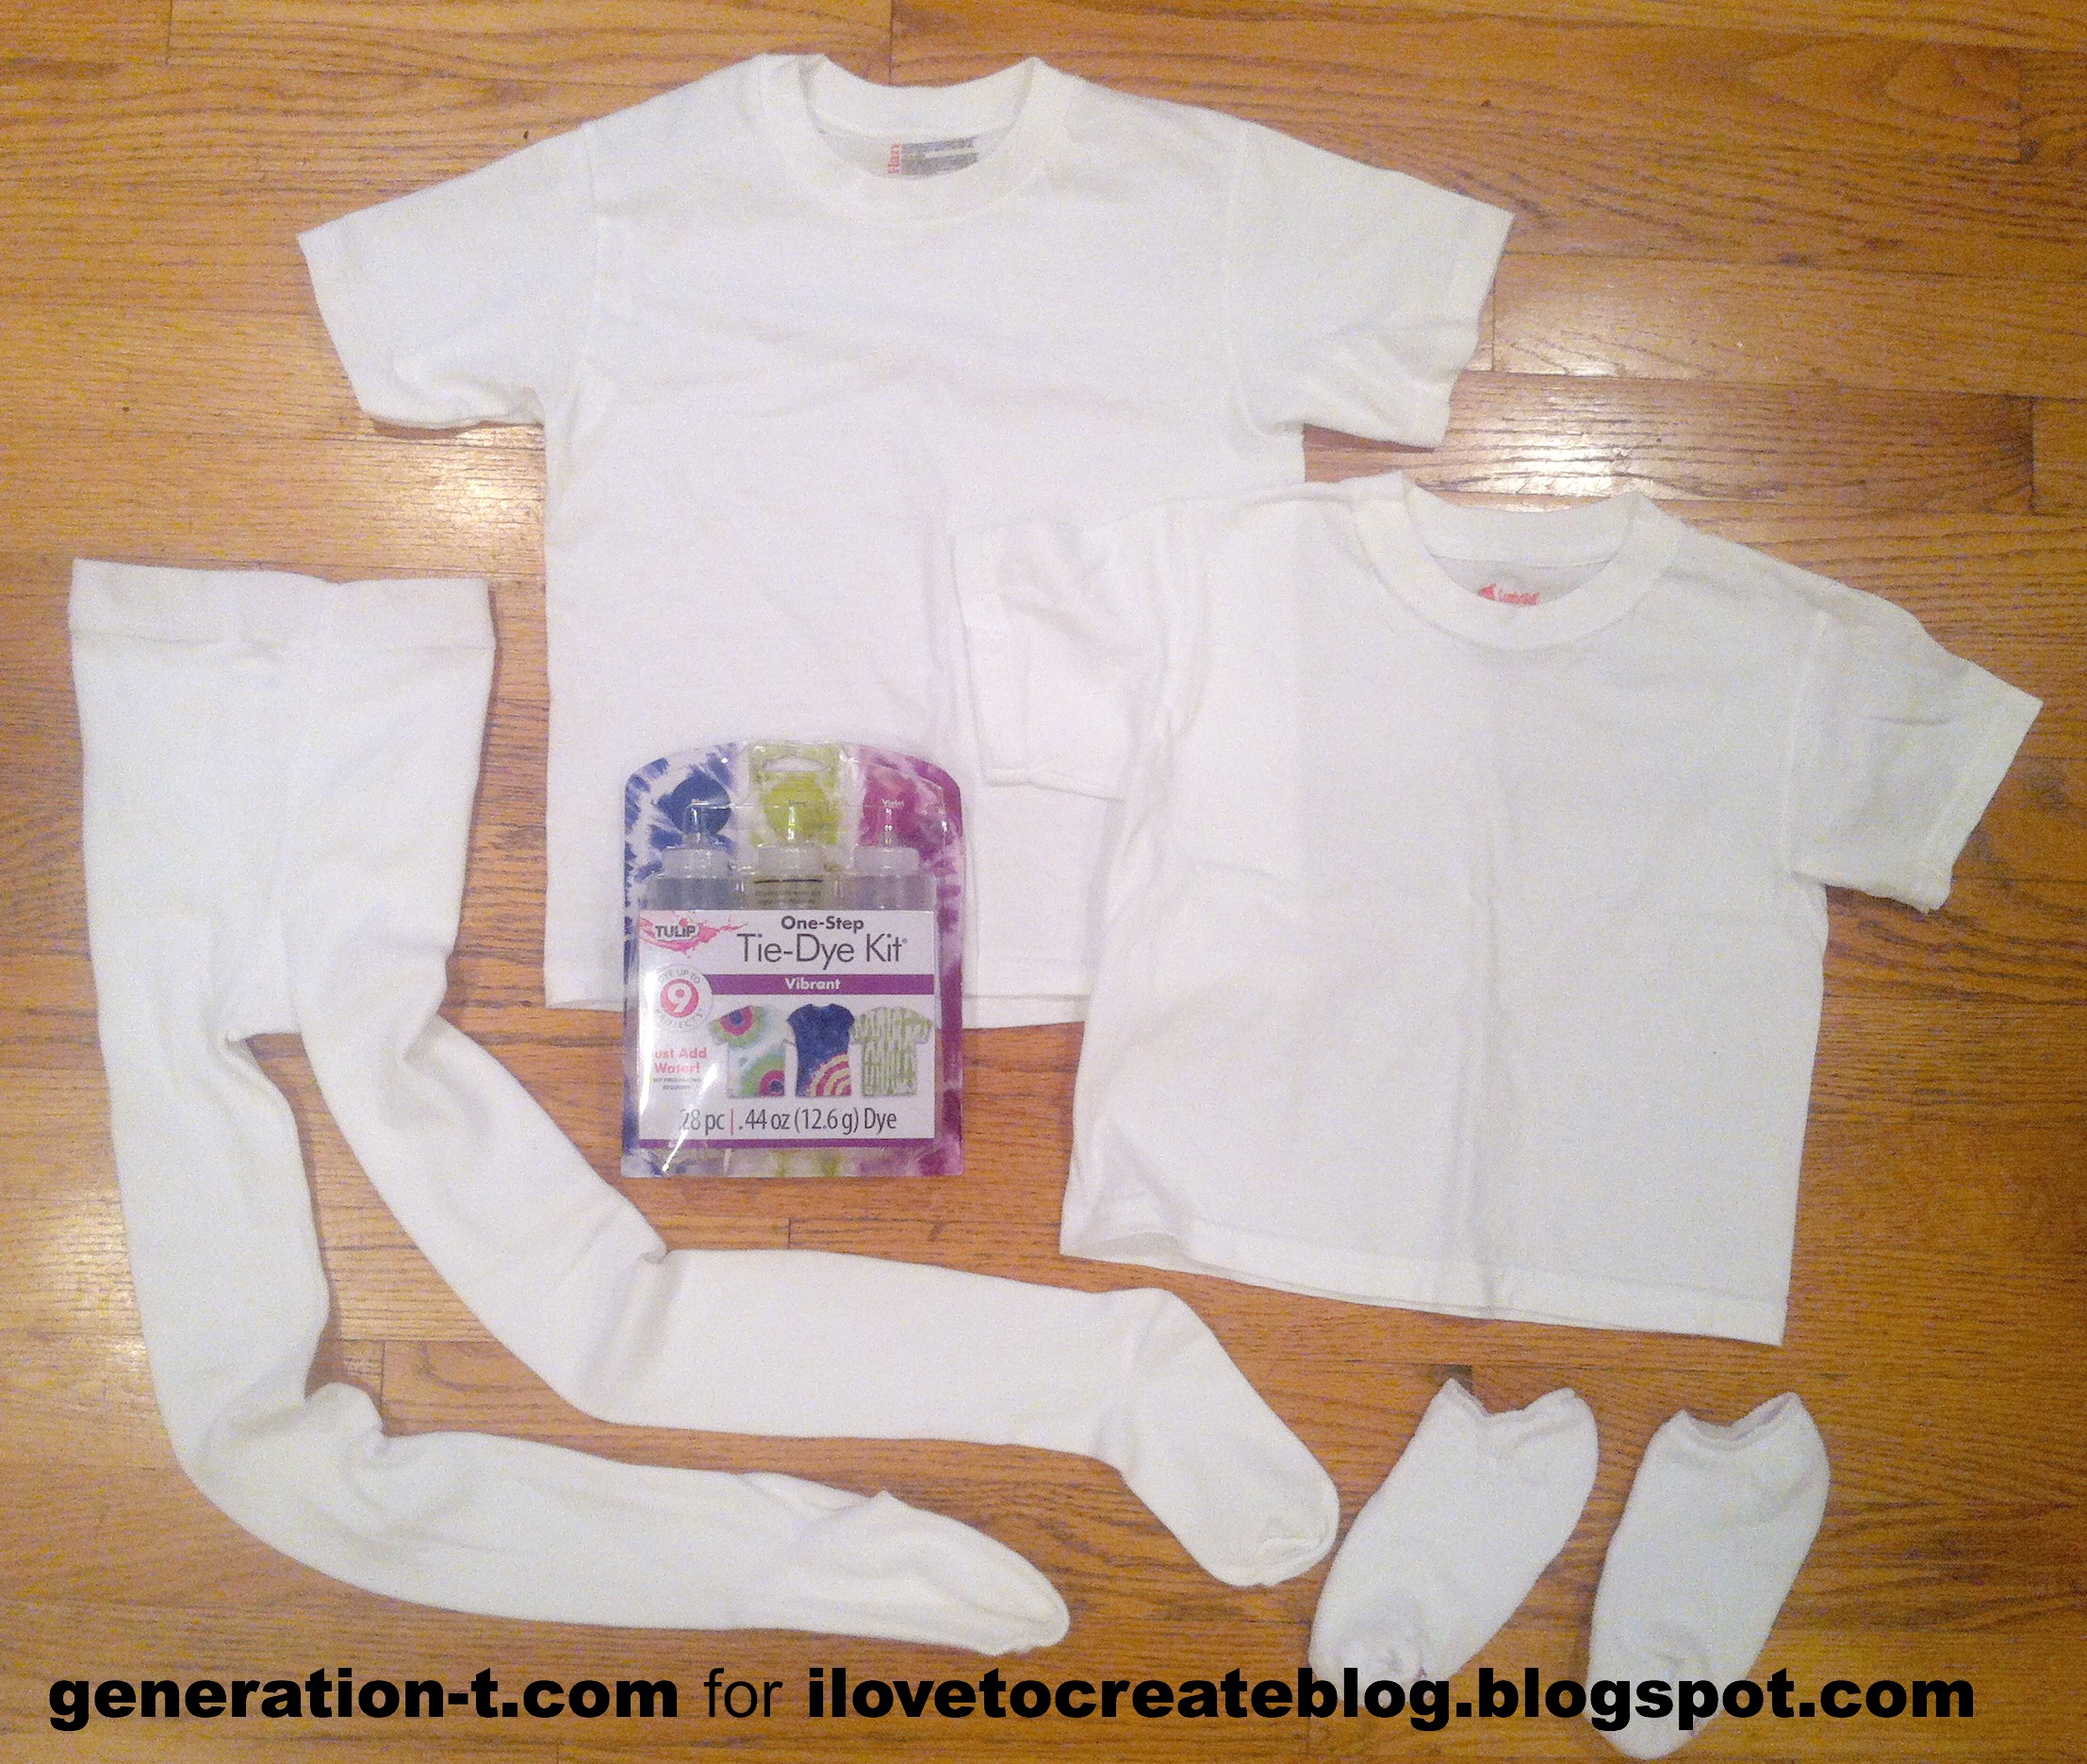
-Tulip One-Step Tie-Dye Kit (color: "Vibrant" -- includes rubber bands, bottles, dyes, two pairs of plastic gloves, and an instruction/inspiration sheet)
-Cotton things to dye: We picked T-shirts (in two sizes, for the two cousins), tights, and socks
-plastic table cloth or plastic garbage bag to cover your work surface
-paper towels
-plastic cling wrap or zip-lock bags
Note: If you're working with new T-shirts, pre-wash and dry them to make sure any shrinking that's going to happen has happened!
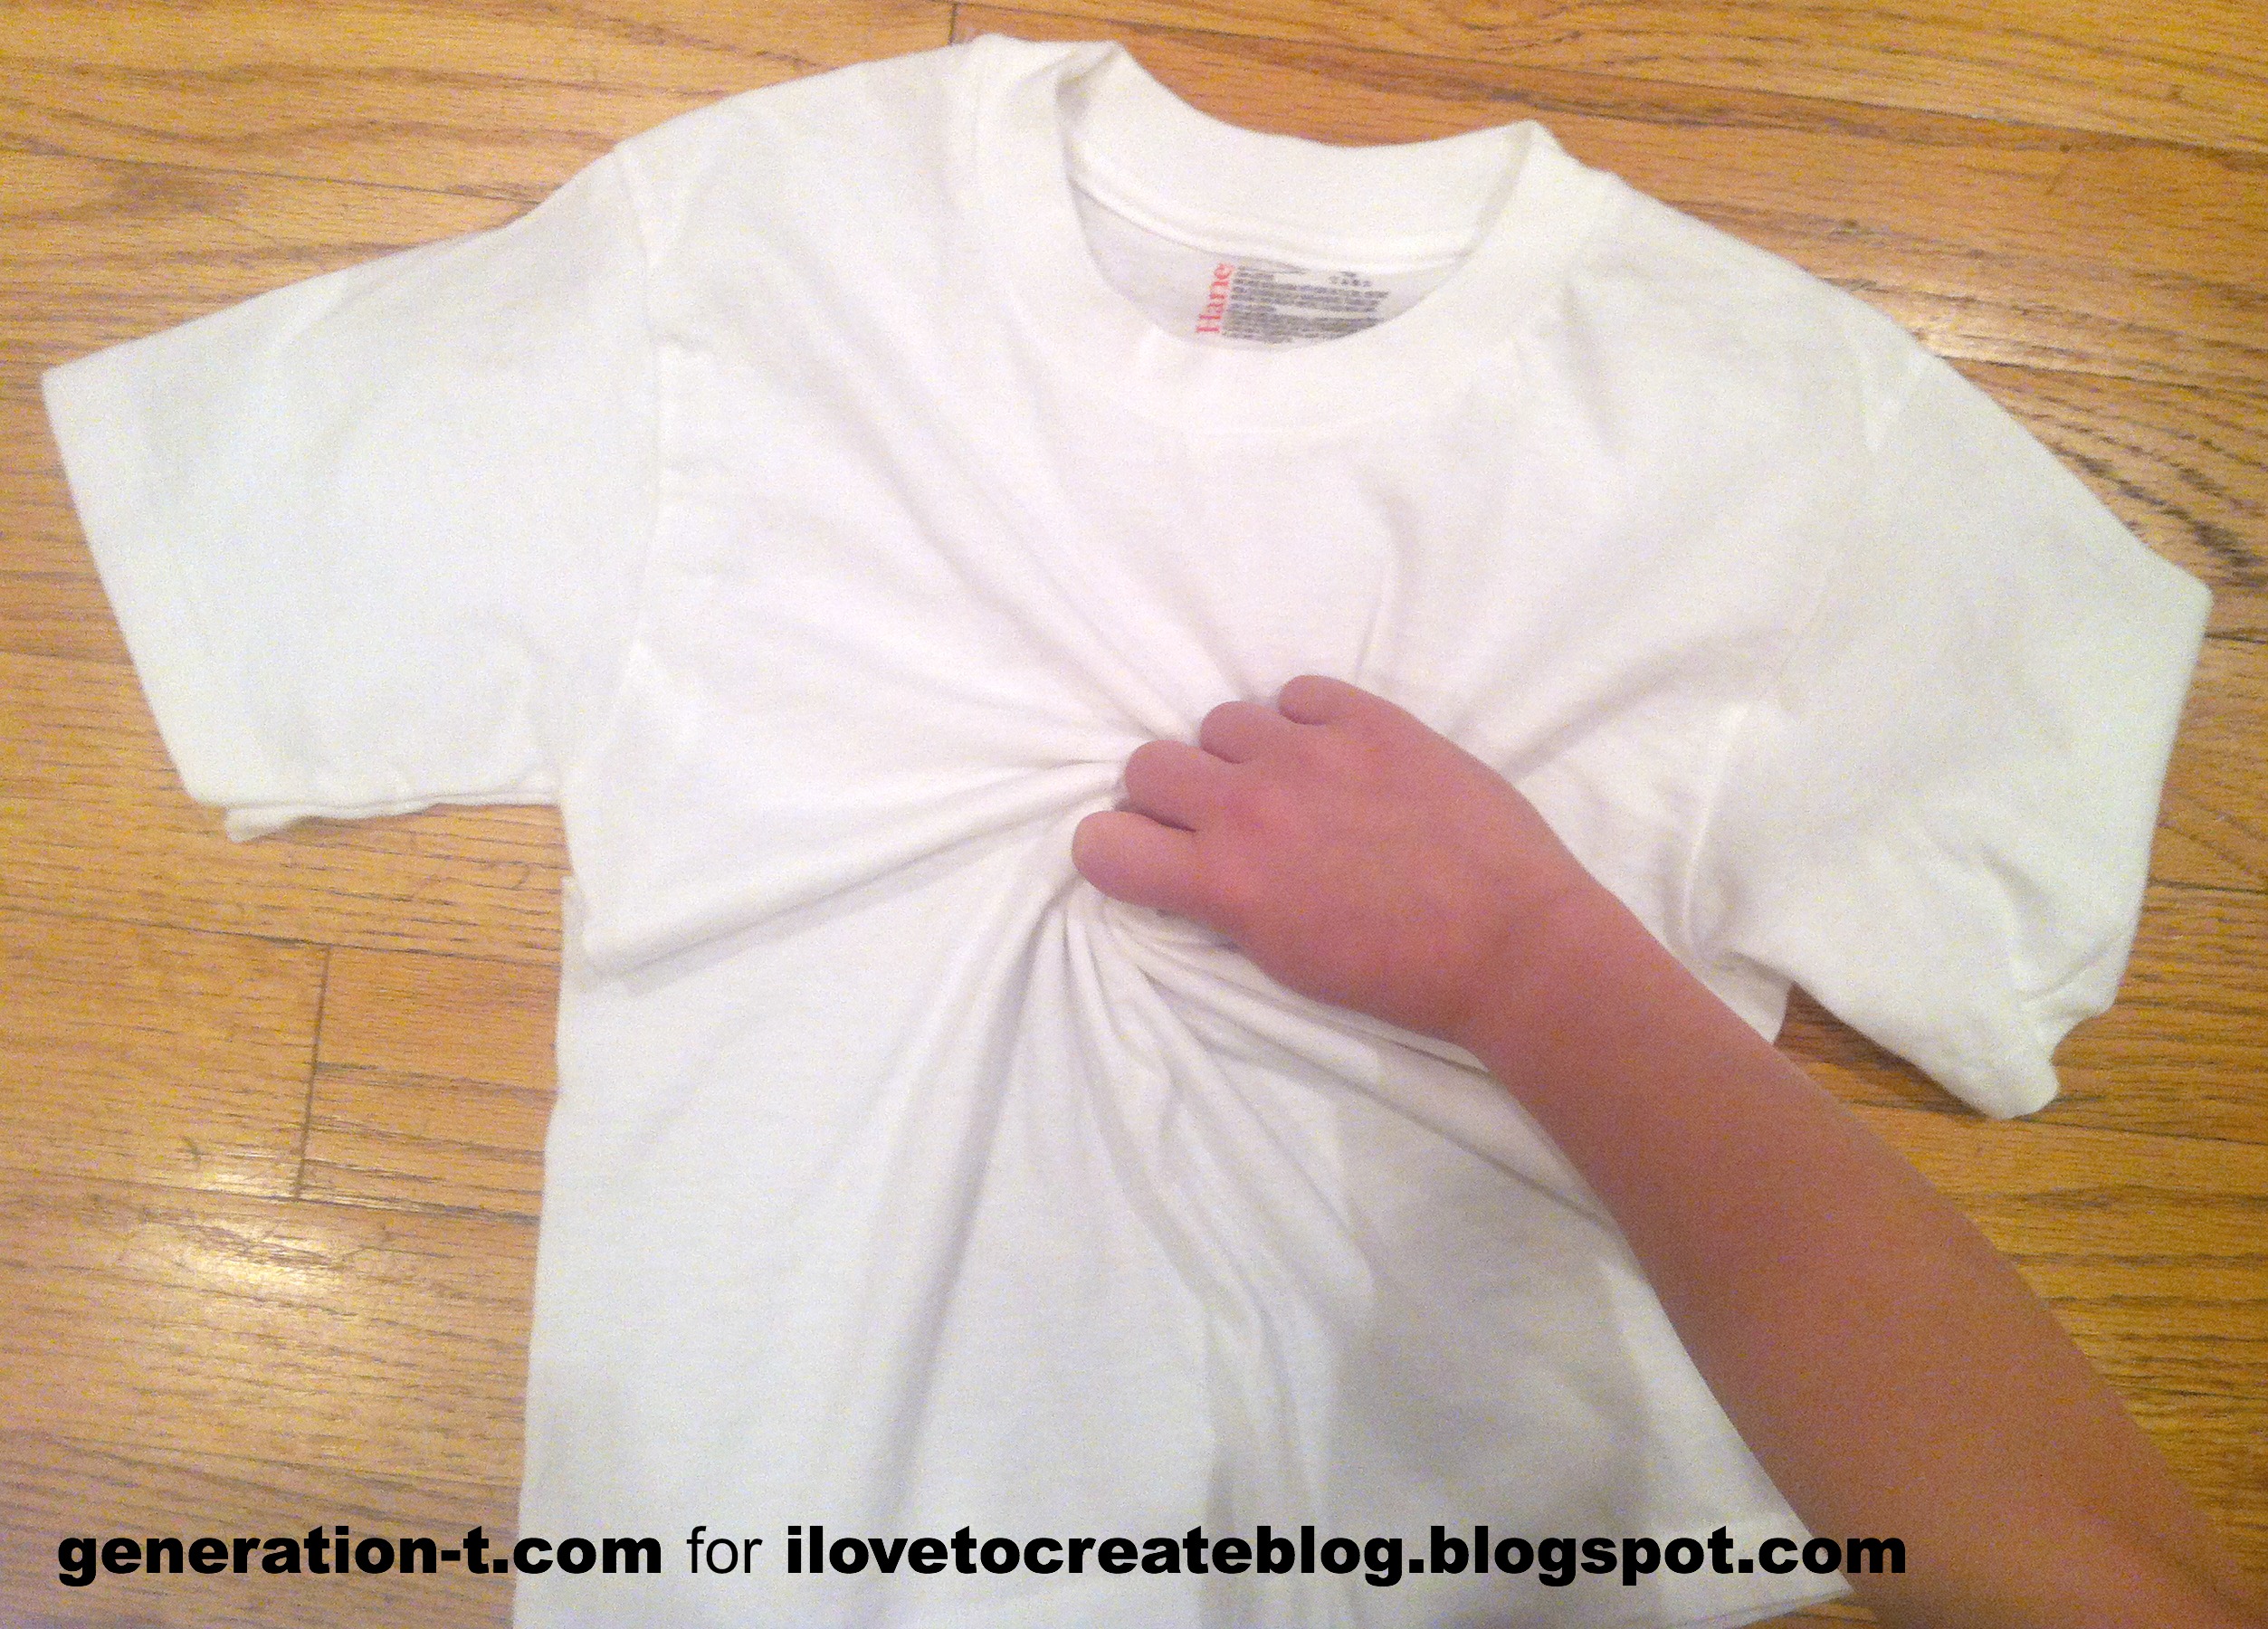
To start with, my niece picked the "Swirl" design from the instruction sheet that comes with the kit. Following the instructions, she pinched the fabric at the center of the T-shirt and twisted the T-shirt until she had a round little, swirled T-shirt "biscuit."
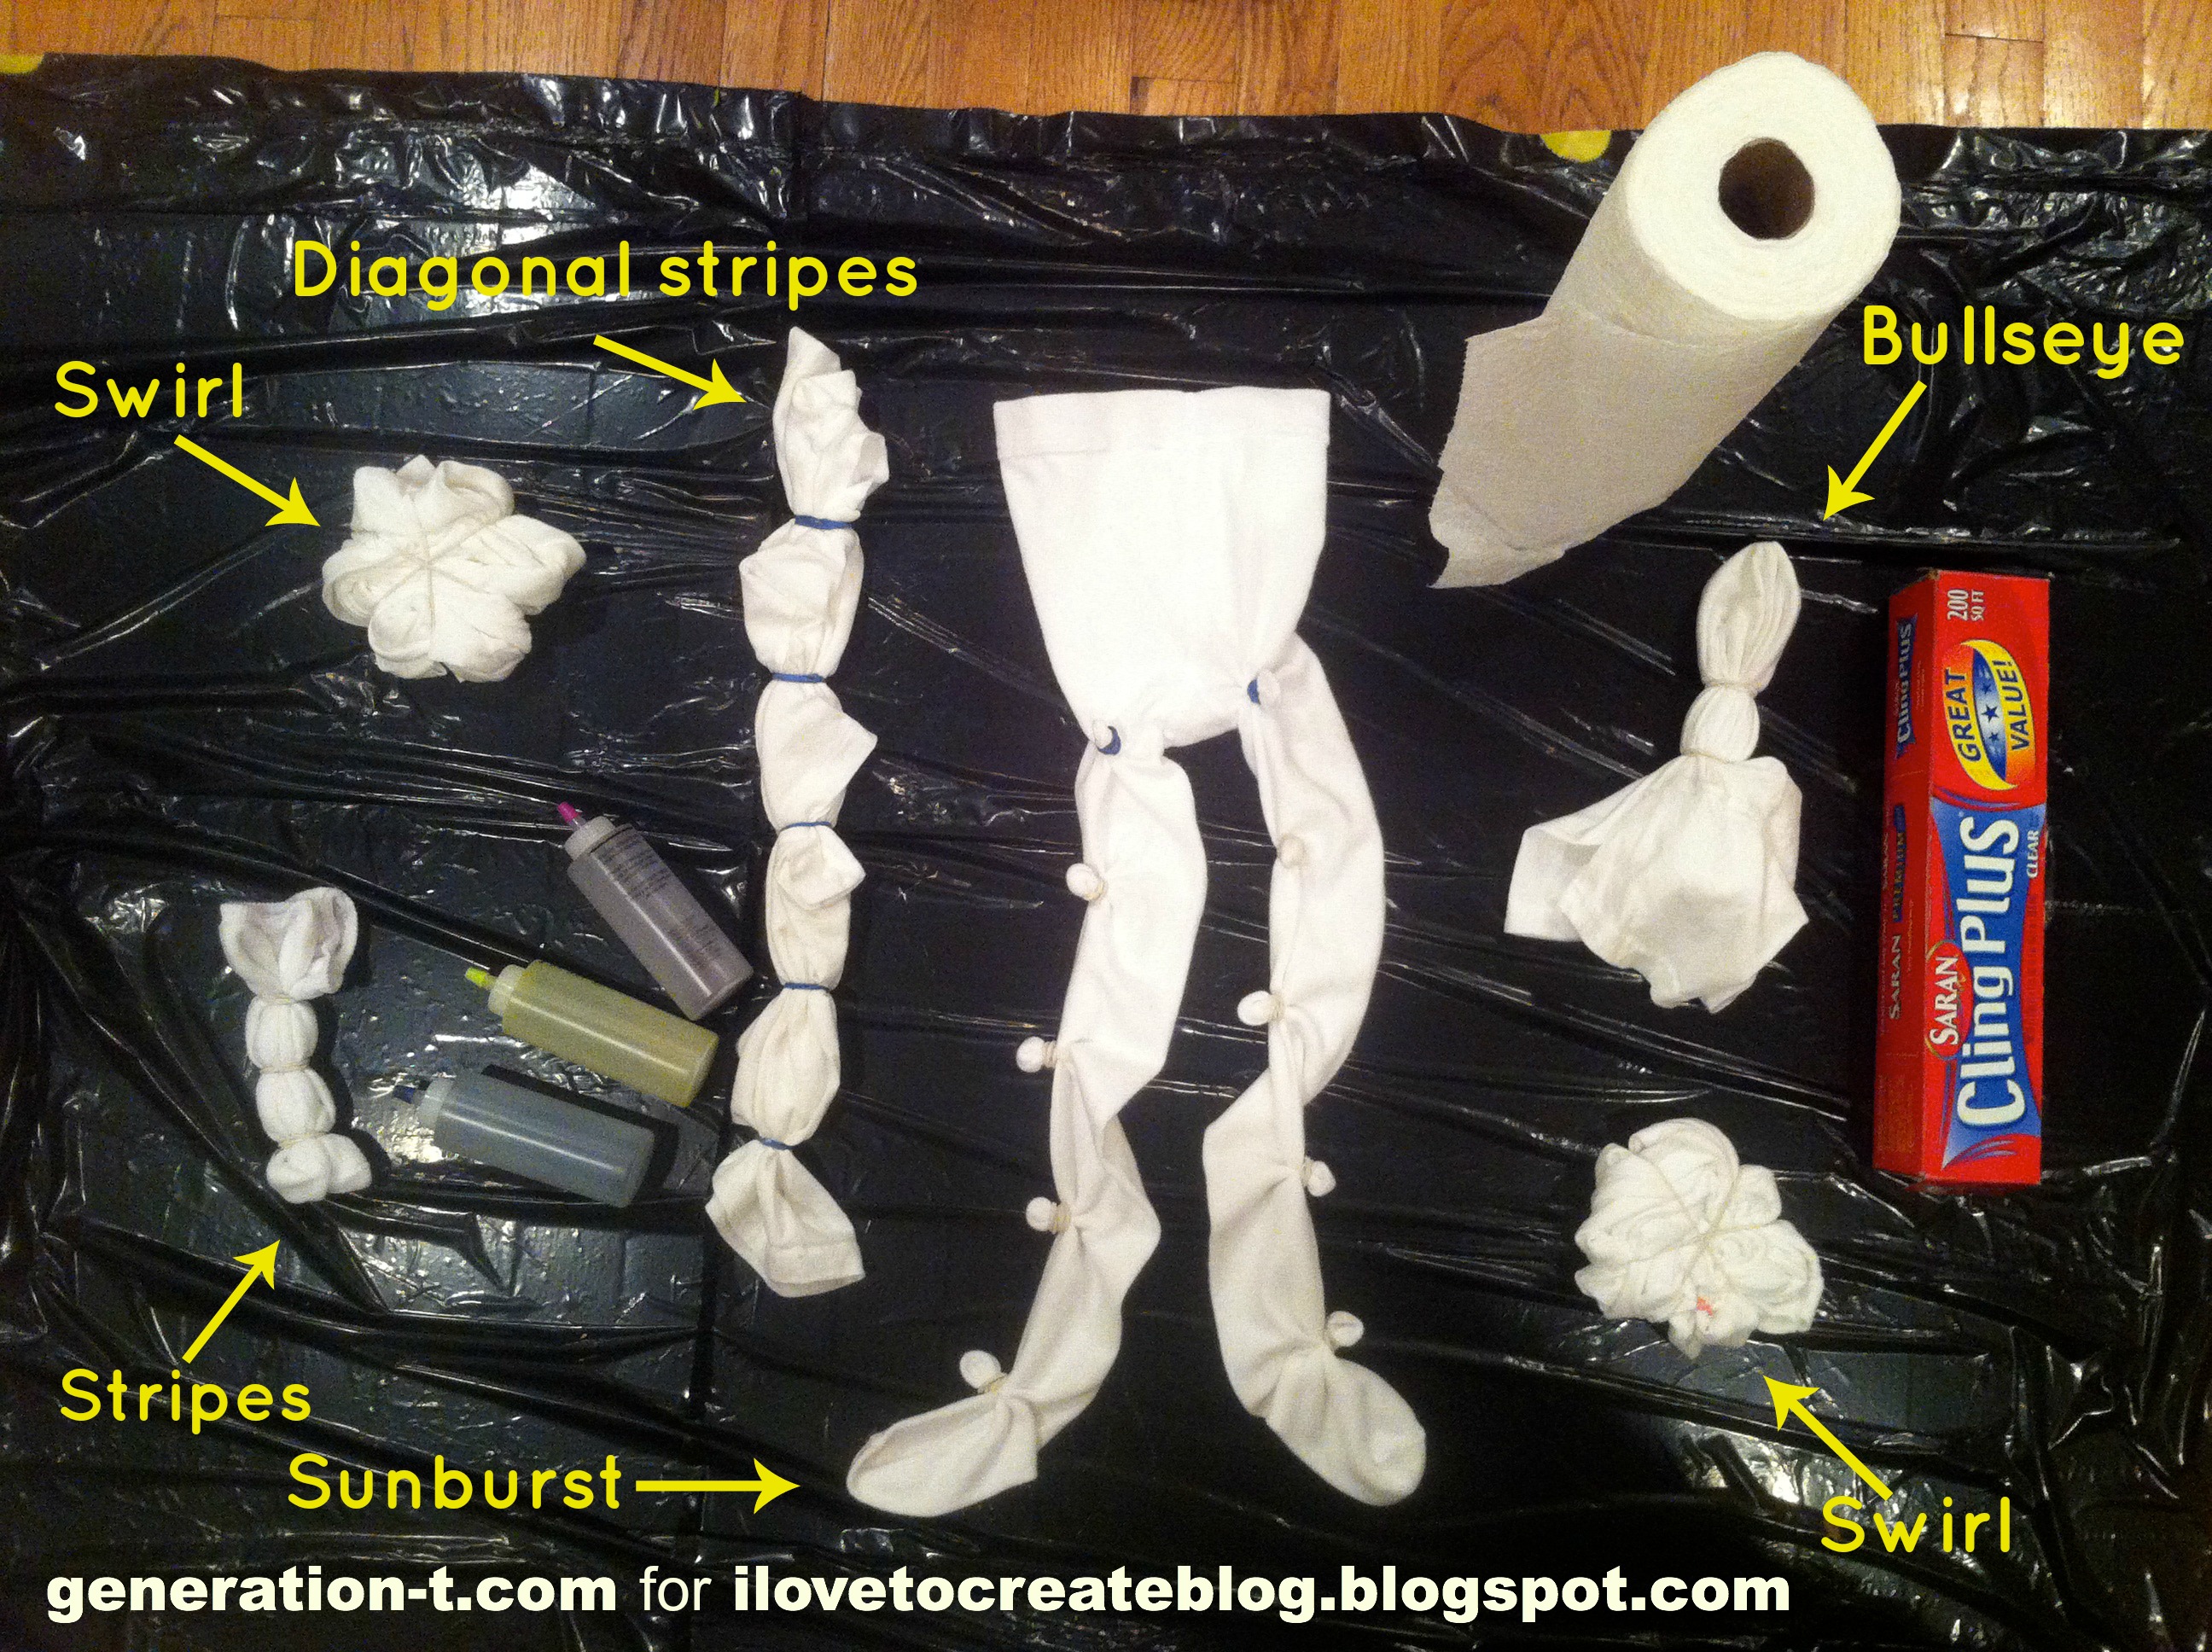
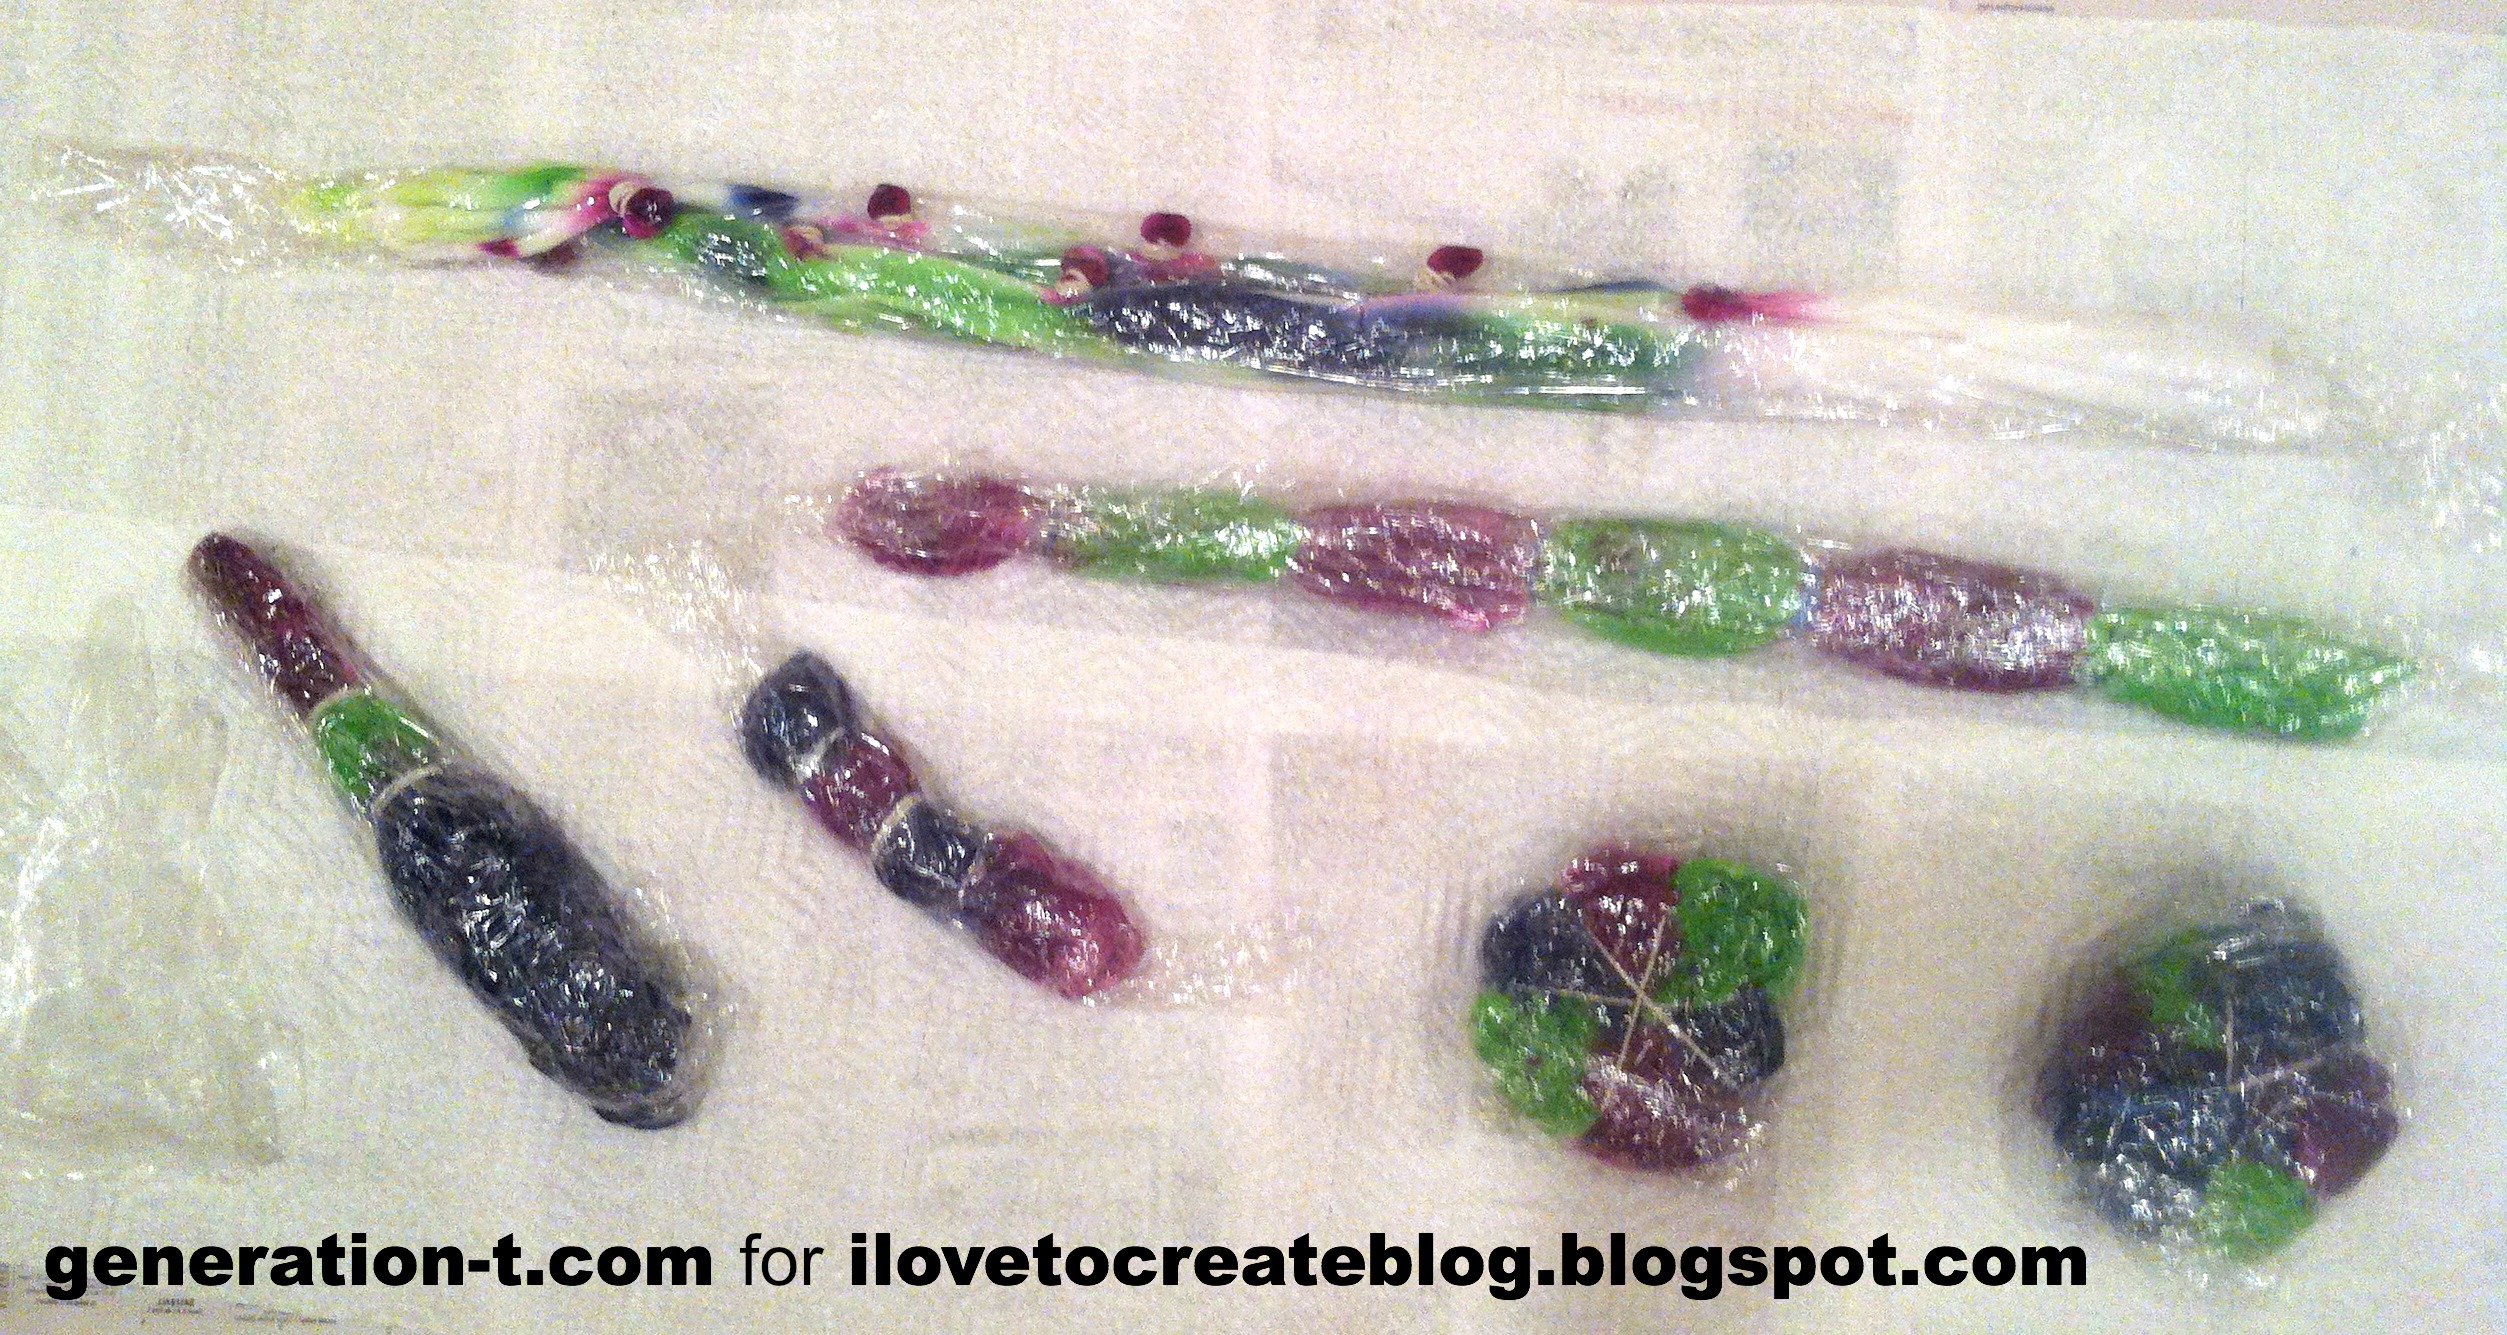
We wrapped the T-shirt swirl with 3 rubber bands (also included in the kit), and dampened it under running water, squeezing out the excess water. We cut open a plastic garbage bag to protect the floor and, armed with plenty of paper towels, we ended up preparing 4 T-shirts, 1 pair of tights, and 1 pair of socks to try out 5 different tie-dye styles that were described in the kit (we even did our own variation on one -- diagonal stripes!).
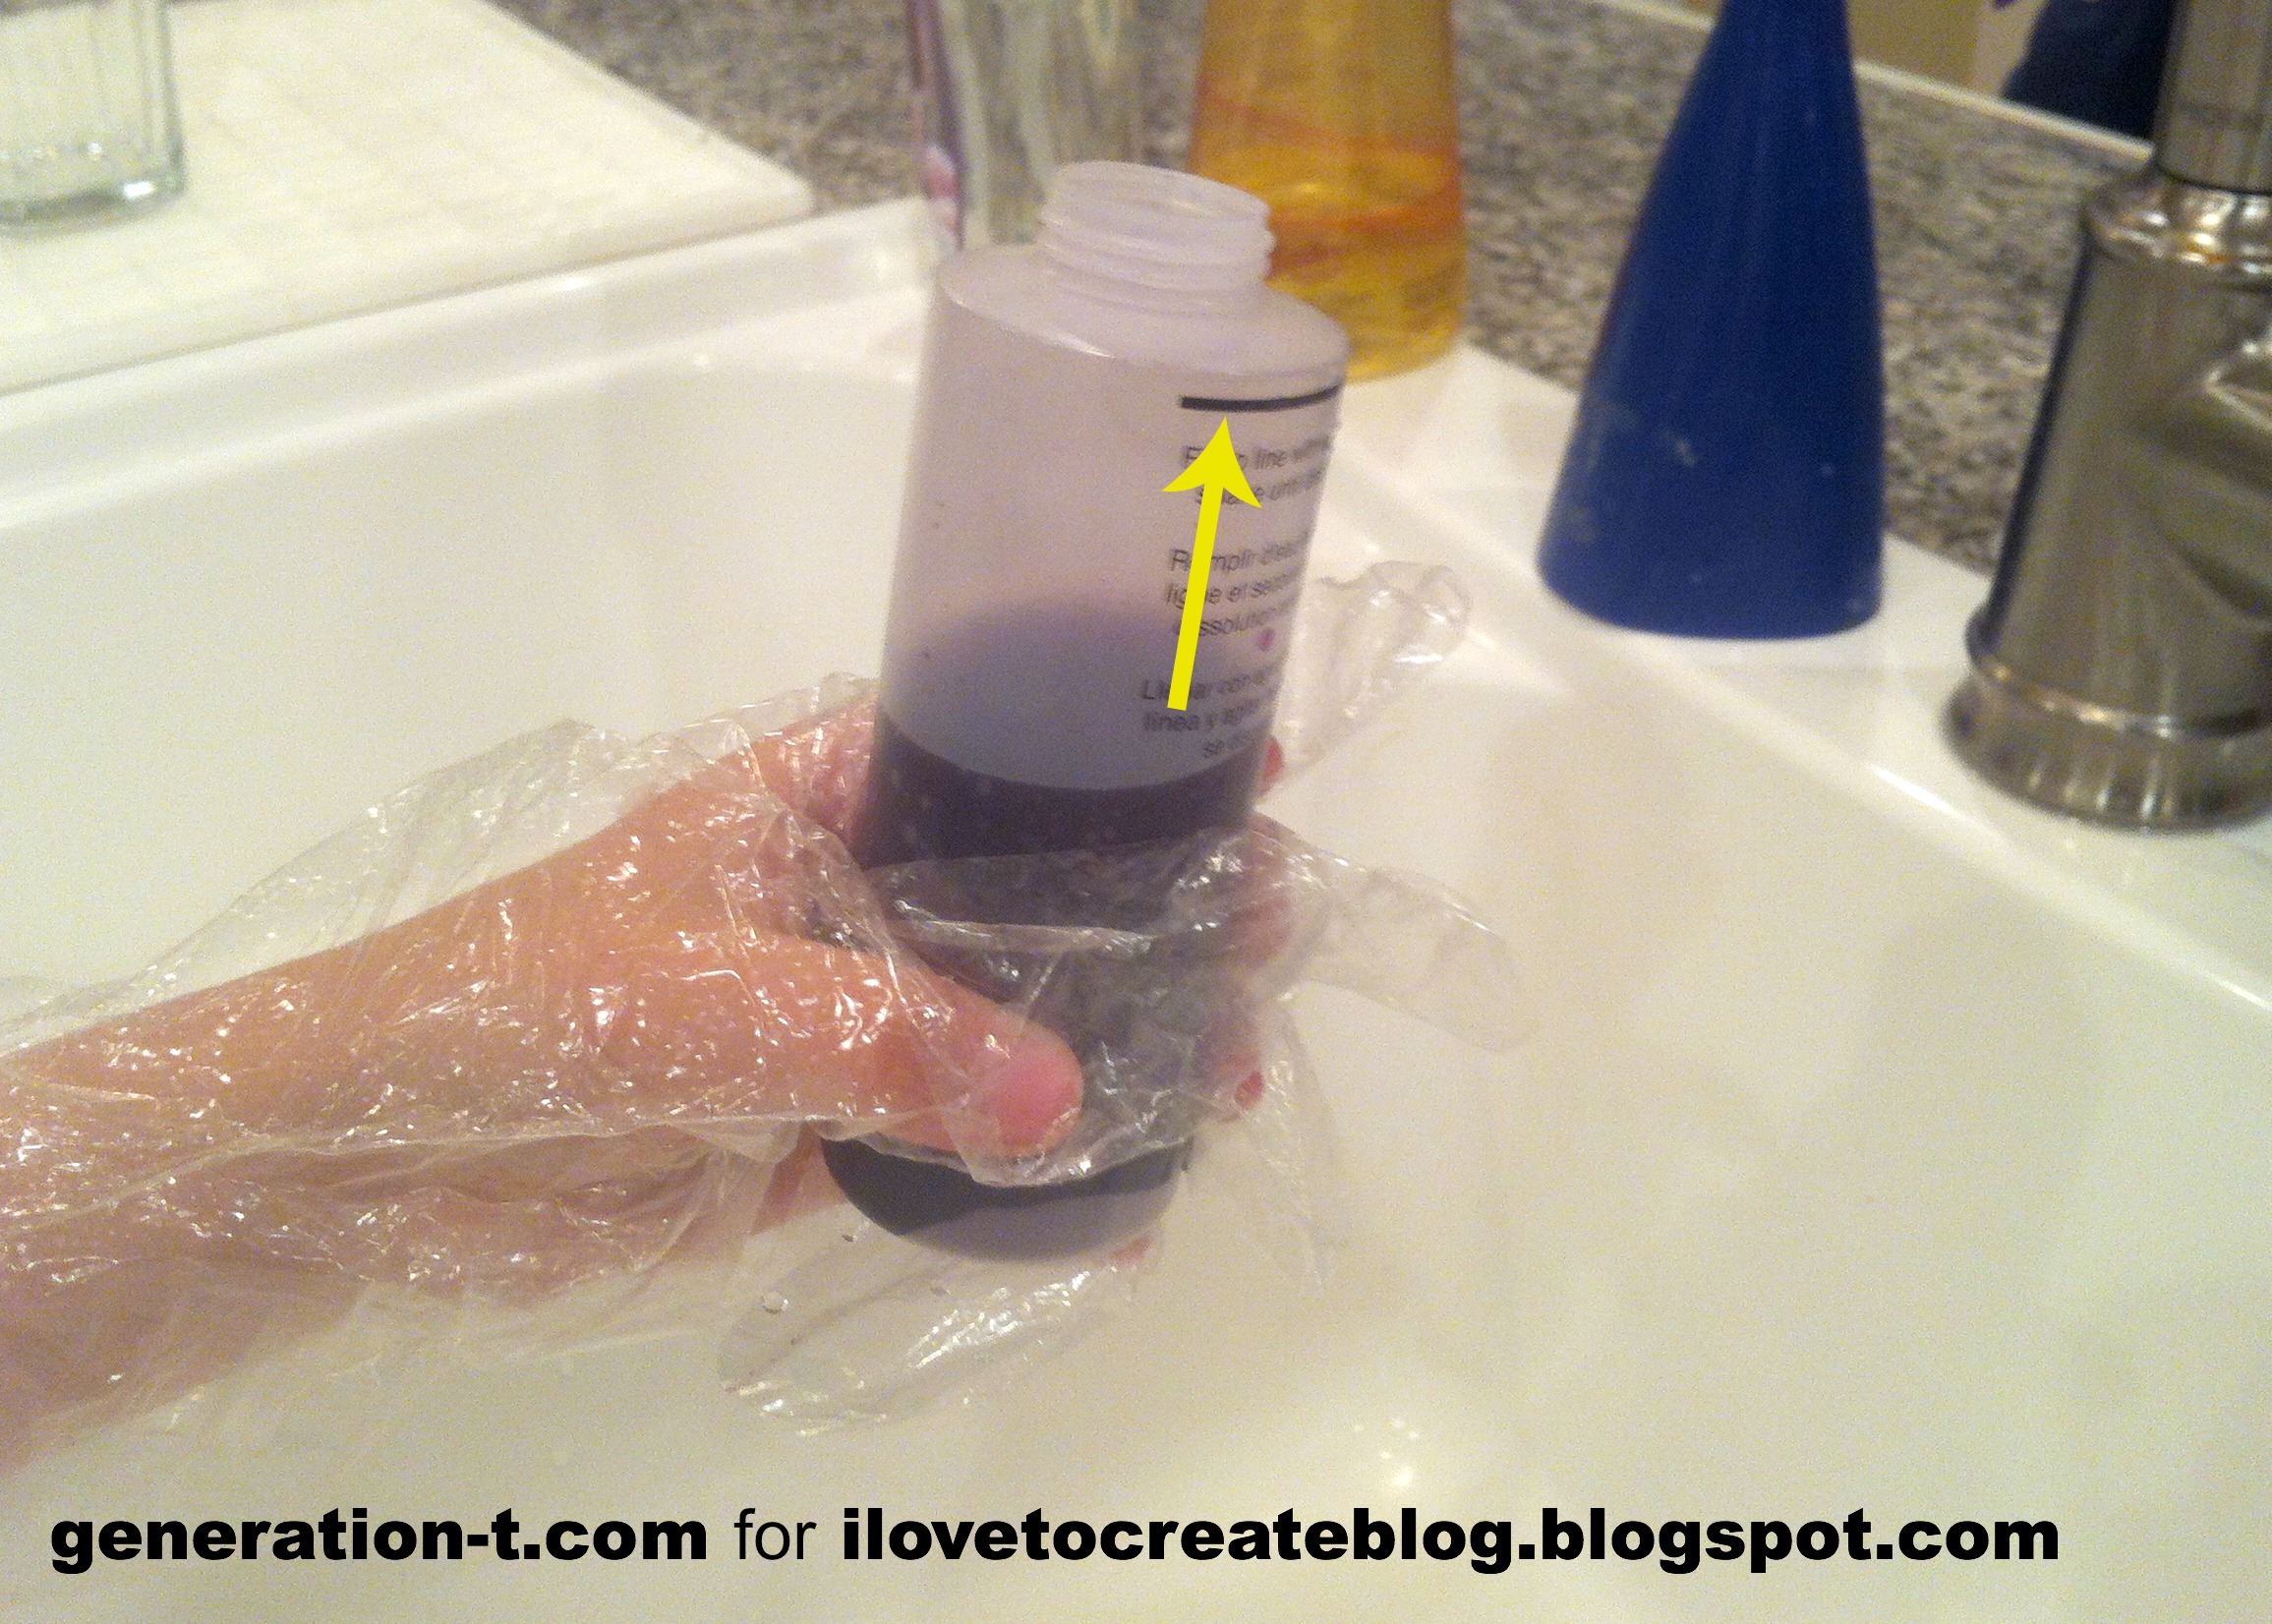
The powder dye comes already in the squeeze bottles; we filled the rest of the bottle with water up to the thick black line, put the top on tightly, and shook each bottle until the dye was mixed.
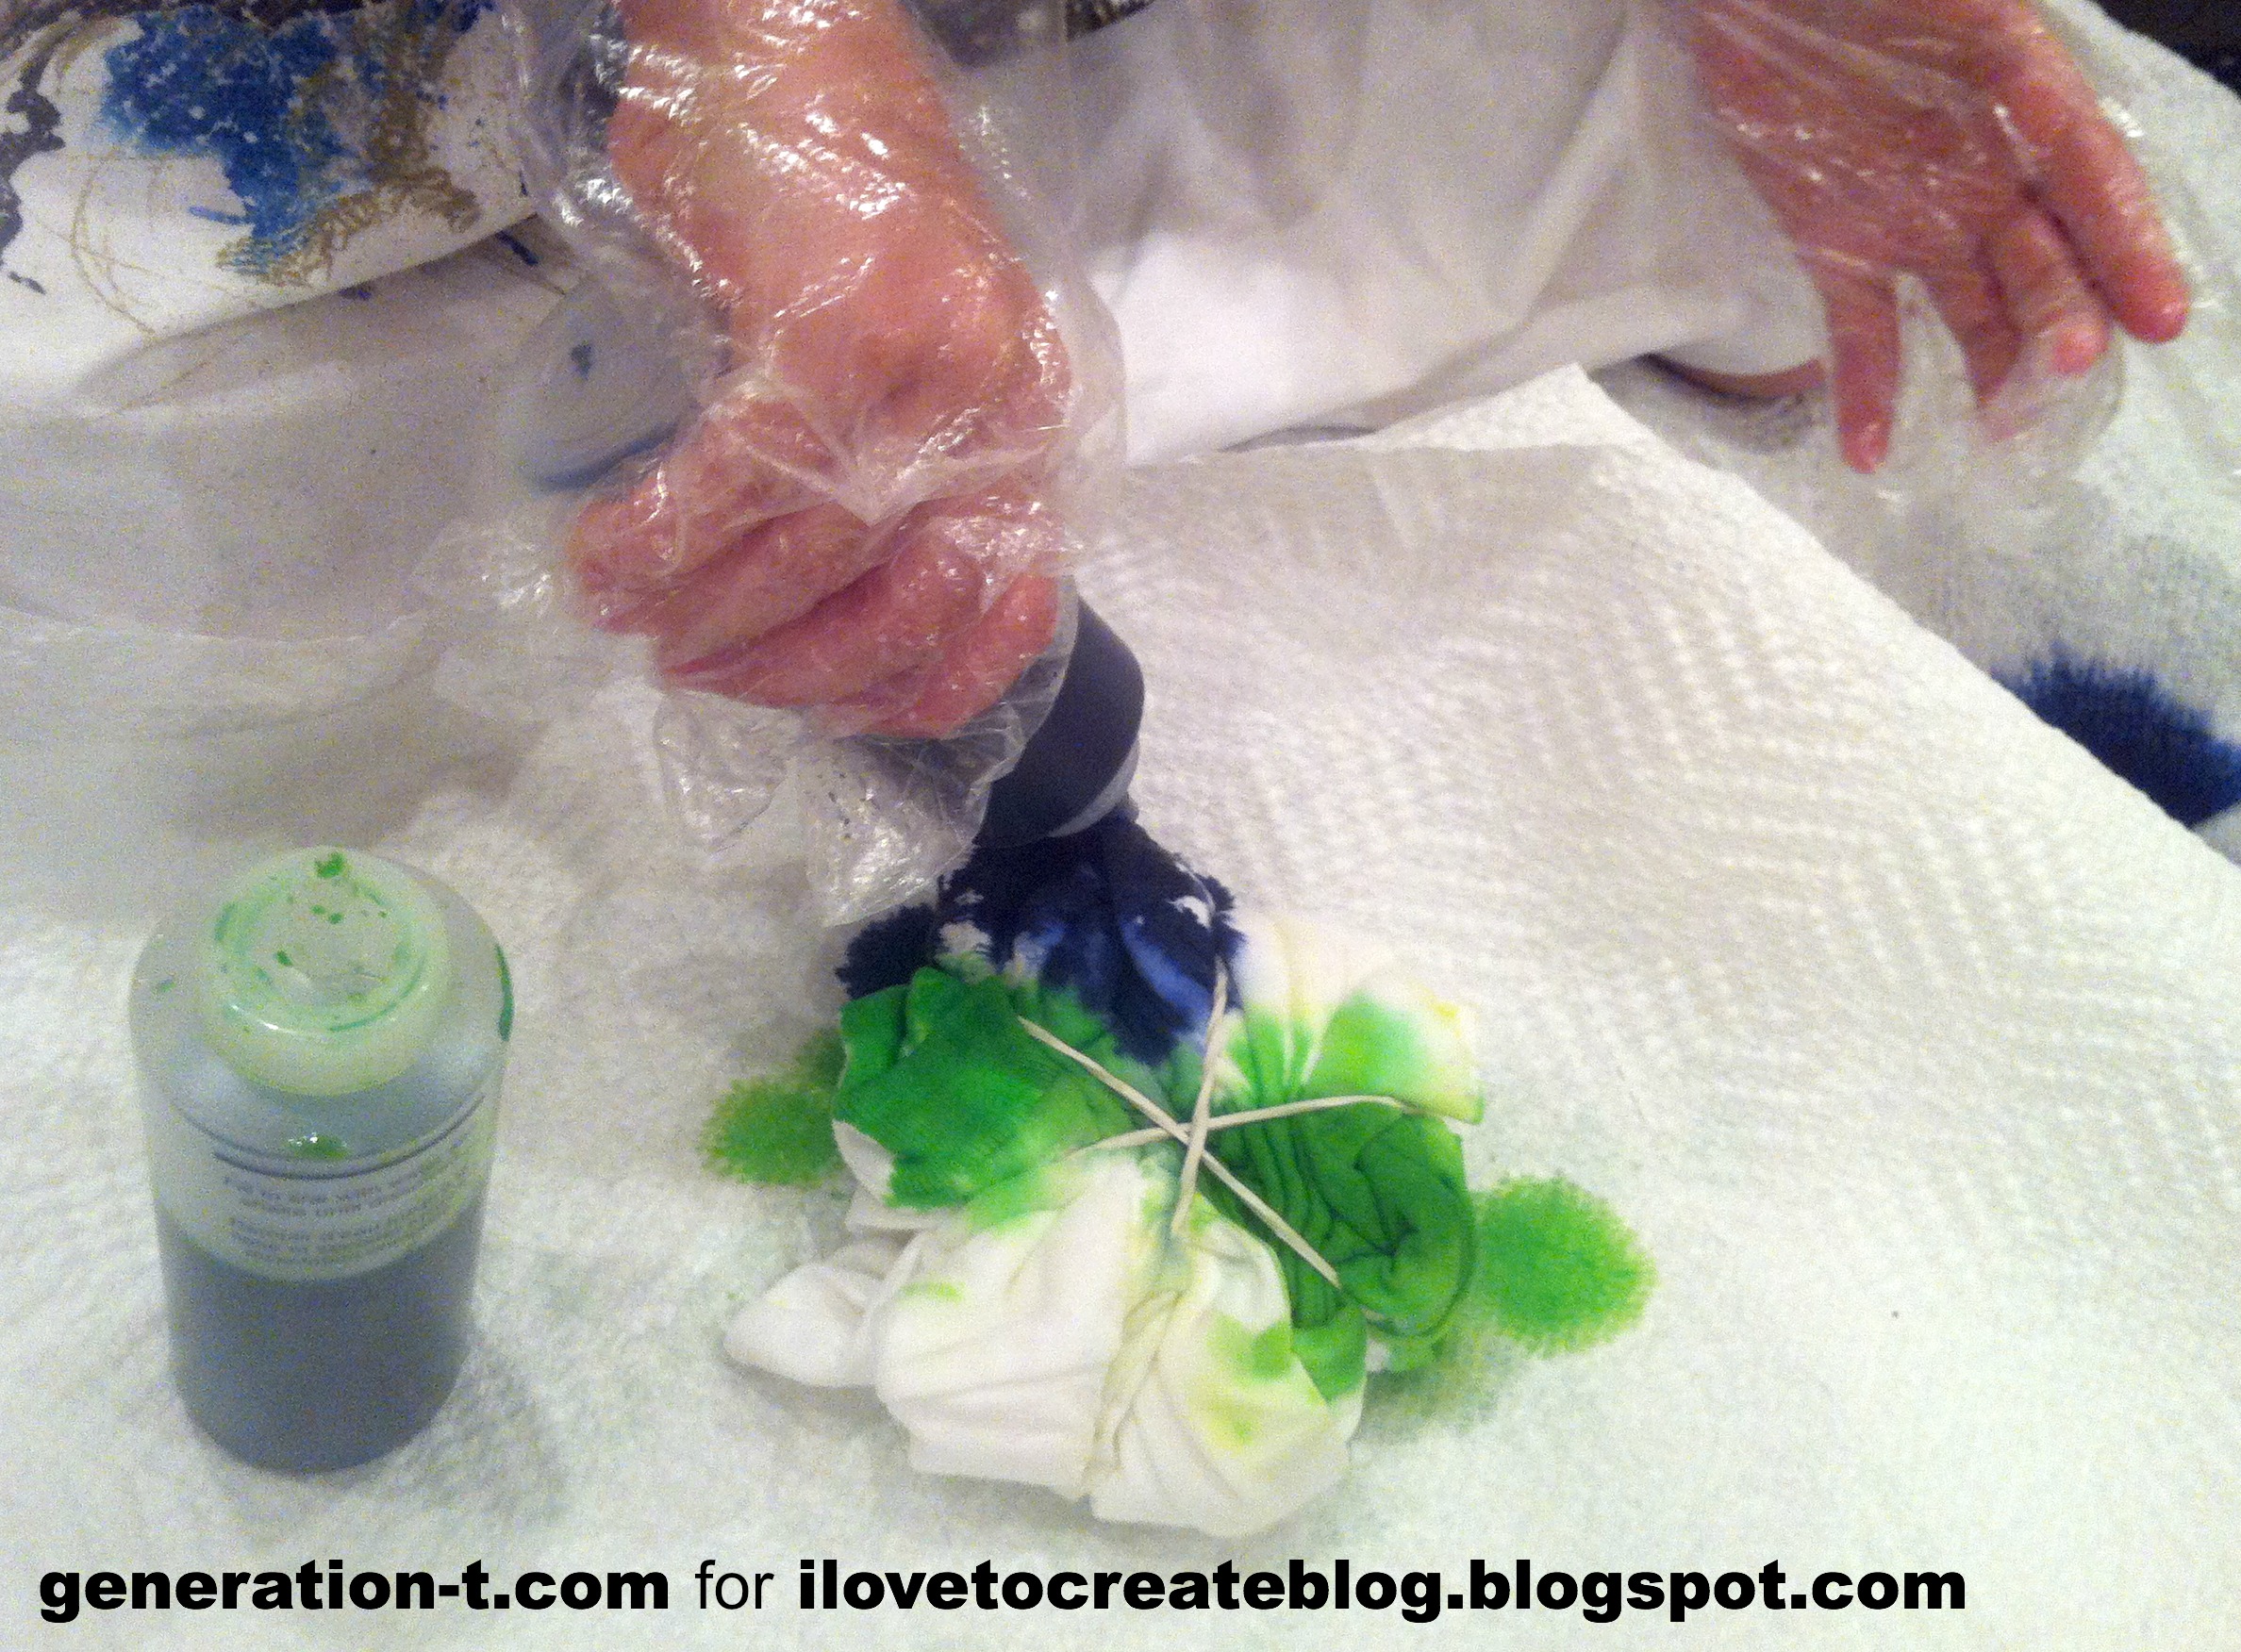
Dorothy squeezed the dyes onto the T-shirt segments (delineated by the rubber bands) one color and one segment at a time.
We wrapped each project in plastic cling wrap to sit overnight. Dorothy tie-dyed 2 kid-sized T-shirts and the pair of socks, I tackled the tights and a toddler-sized T-shirt, and Uncle Luke even got in on the action with another toddler-sized T-shirt. Note: The package says you can get up to 9 garments, but if you're crafting with kids, make sure to estimate for fewer, since they tend to be a bit generous when squeezing out the dye (in addition to our 7 garments, we had the most beautiful paper towels!).
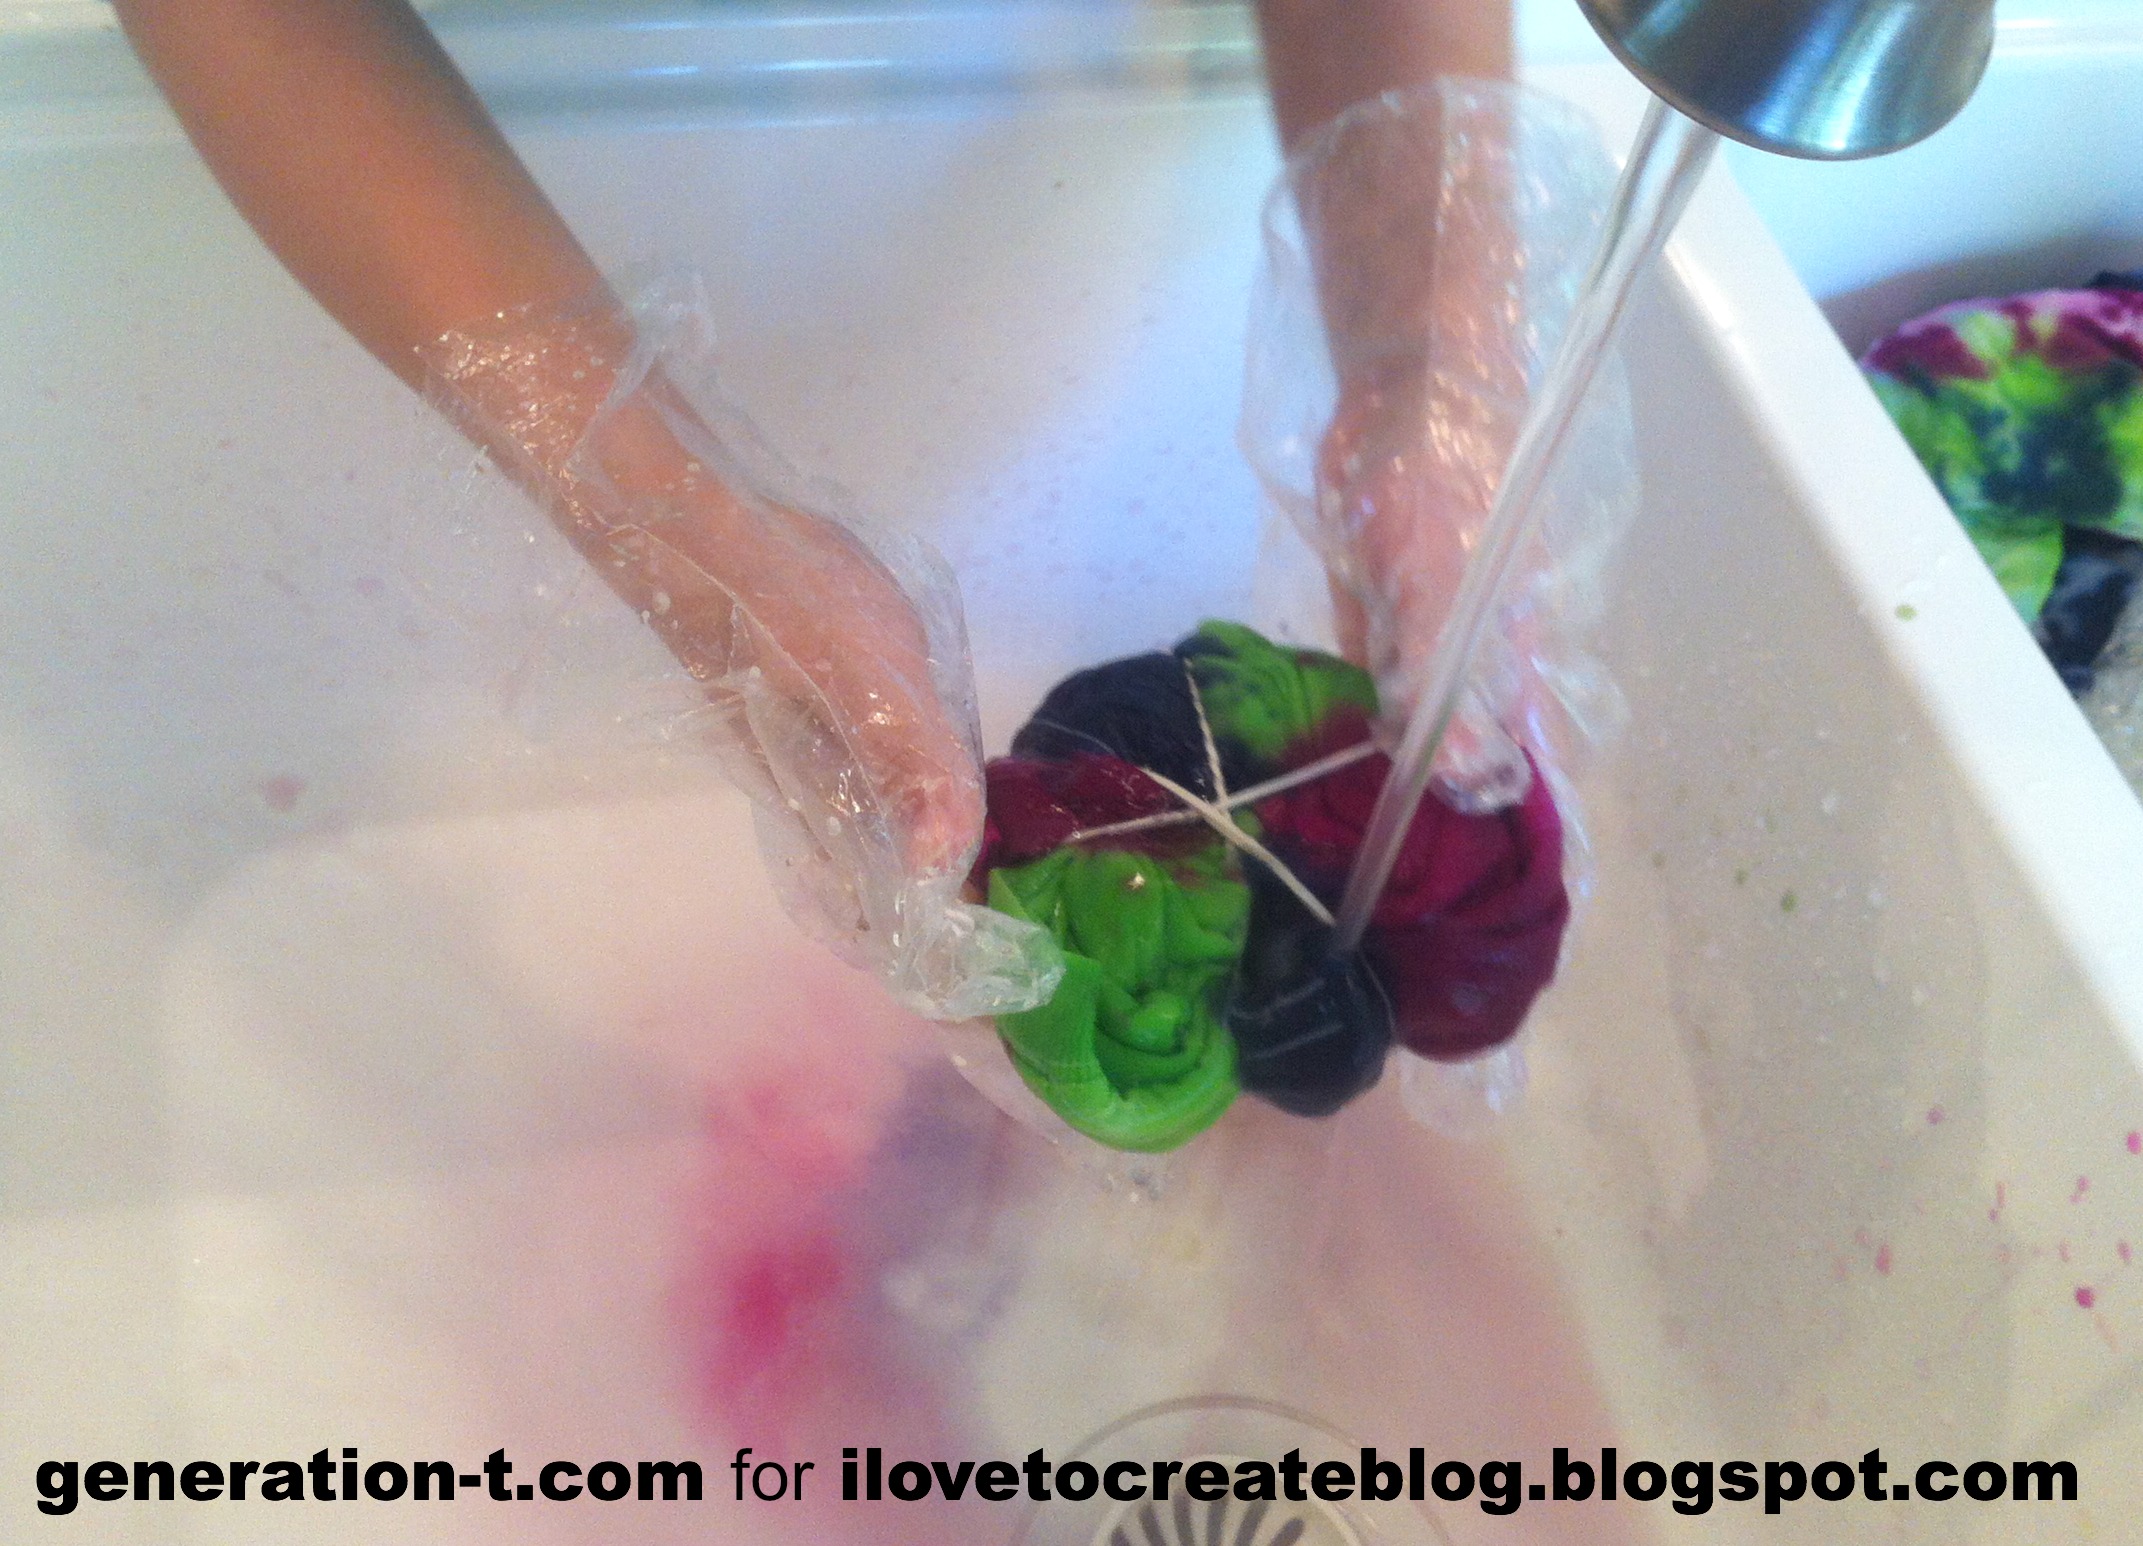
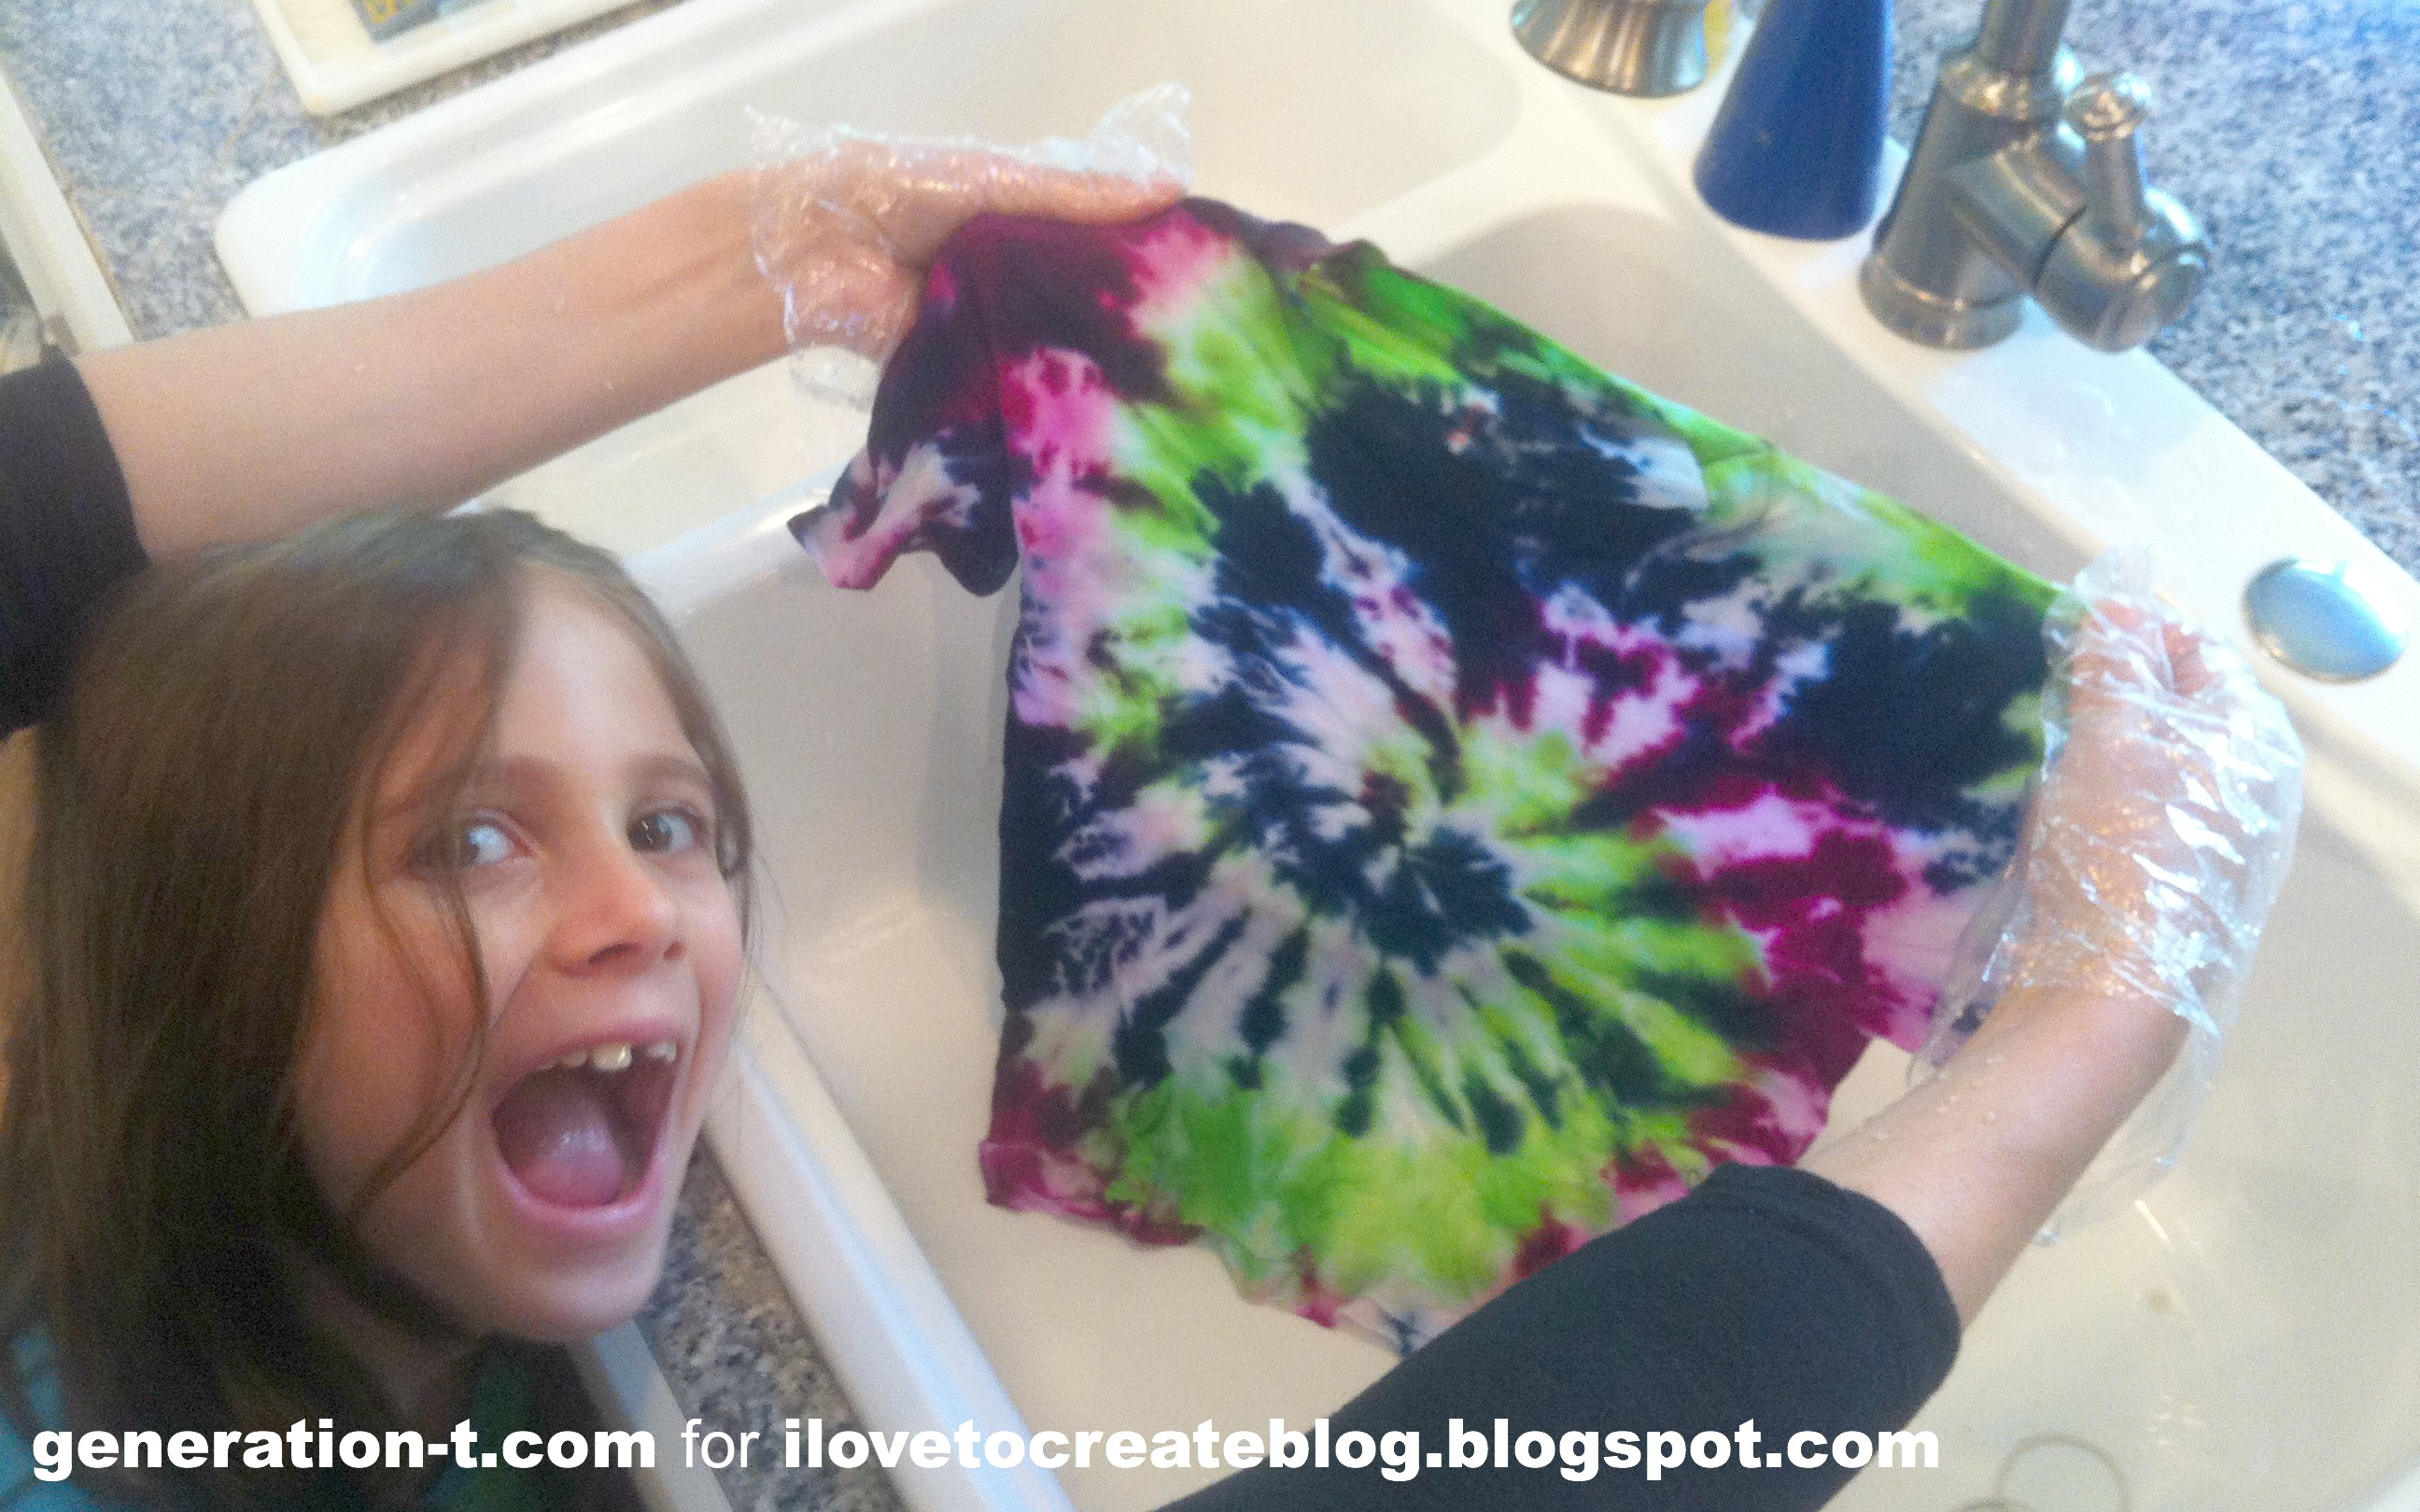
We let the dye soak in overnight (6-8 hours minimum), but we had a busy day, so we left them wrapped up for longer. We unwrapped each project over the sink, and rinsed and squeezed out as much excess dye as possible. Then we peeled off the rubber bands, and gently shook out our masterpieces!
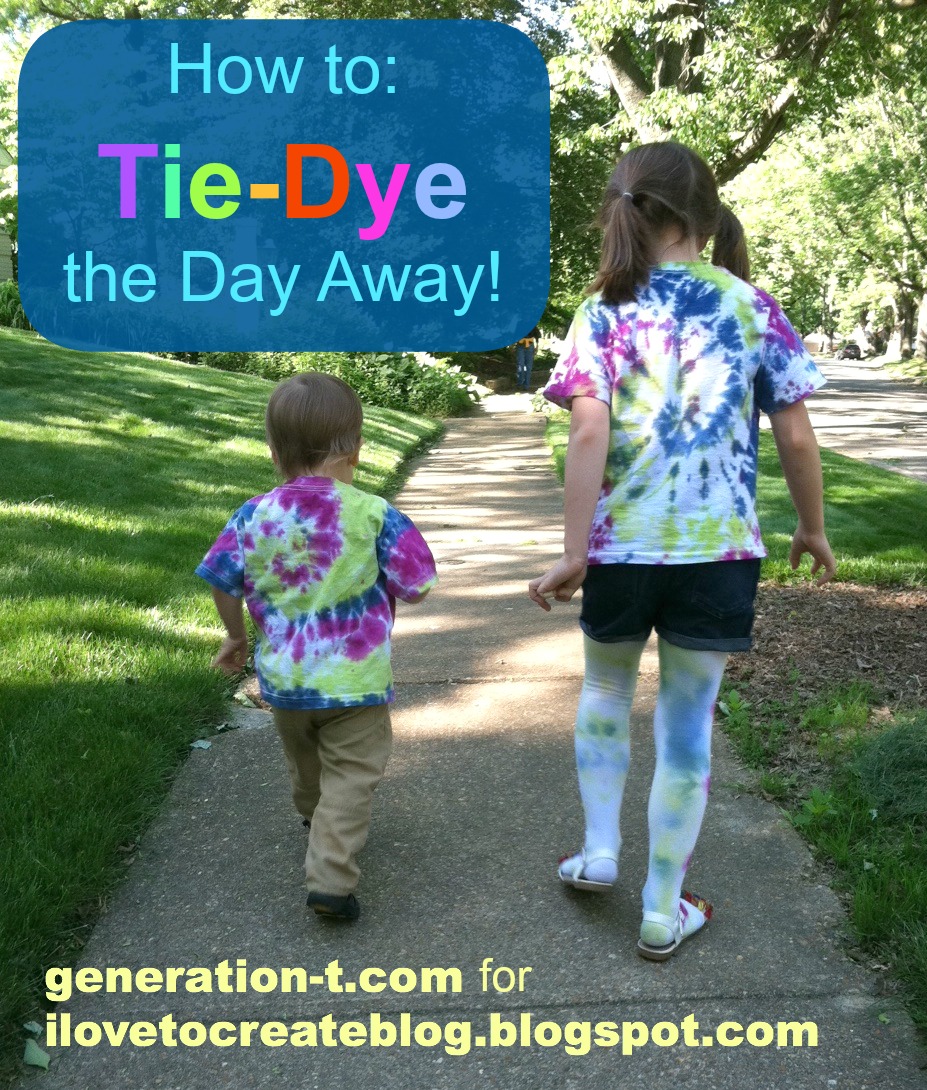
Dorothy was so excited/giddy/proud of the results of her T-shirt that she photo-bombed the picture! Since we had a whole batch of garments with the same color scheme, we tossed them all in the washing machine and dryer together to finish the process. After her cousin, Niko, woke up from his nap, it was time to try on the matching Swirl design tie-dye T-shirts!
Because we were running low on dye by the time I did the tights, they're a little more pastel-colored in the back than the T-shirts, but the violet sunbursts on the front are perfect little rosettes (says Dorothy).
And because it didn't make sense to layer the socks over the tights (though she was tempted!) or layer the second T-shirts, we're saving the Bullseye T-shirt the Diagonal Stripes T-shirt and the Stripes Socks tie-dyes from our tie-dye extravaganza for tomorrow's coordinating cousin outfits.
Did I mention tie-dye is great for obscuring grass stains? An added bonus, for sure! There's definitely more tie-dye to come this summer -- and quite likely in my size this time.

Thursday, December 27

New Year's Resolution - Get the Kids Crafting

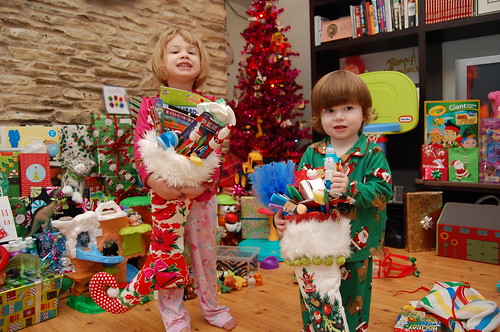
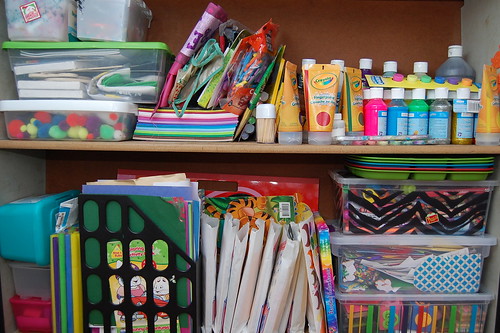
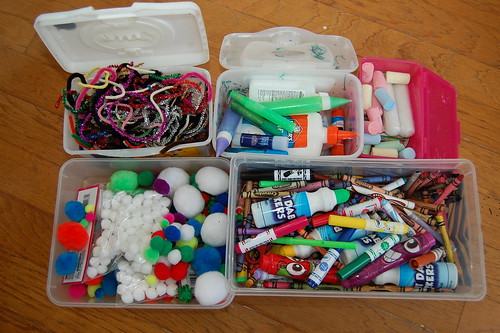
I hope Santa was good to everyone. Around here we are up to our ears with blocks, pirates, puzzles and more. Santa also replenished the kids craft stash. Using a holiday or a birthday as an excuse to load the kids up with craft supplies is always one of my favorite ploys. Just because Christmas is over does not mean you are too late on this gift idea. Spend the money Aunt Gertrude sent on a slew of paint and glue and make it your New Year’s Resolution to get your kids crafting.

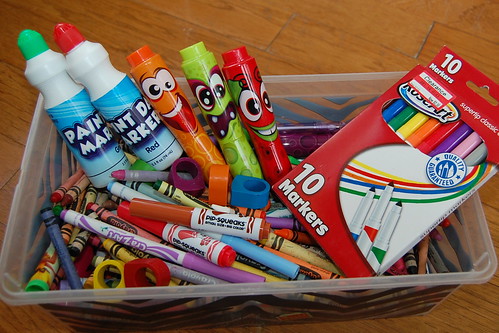
Looking for a little inspiration? Here is a list of what Santa brought my kids....

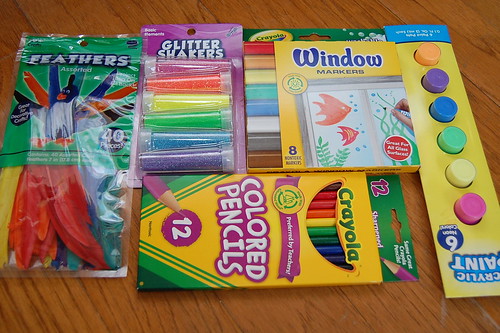
PAINT

Finger Paints

Paint Dot Markers

Glitter Poster Paint

Neon Poster Paint

Pack of Paint Brushes (be sure to include round sponge brushes and a roller brush)
DRAWING

Crayon Rings

Plain Markers

Plain Crayons

Window Markers

Colored Pencils

Scented Markers

Fabric Markers

THINGS TO PAINT

Small canvases

Wooden Frames

Paint with water books

Jumbo sized coloring books

Blank canvas tote bag

PAPER CRAFTS

Toddler Scissors

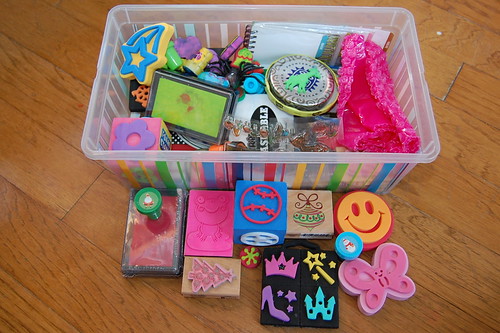
Array of foam stamps

Scented stamp pads

Stickers (TONS of stickers)

Construction paper

Craft Glue

Glue Sticks

Glitter Glue

Blank Cards

Pre-inked stamps

BLING

Glitter

Colored Sand

Pom Poms

Feathers

Santa also brought a few things that are not exactly craft supplies, but are intended to spark creativity...

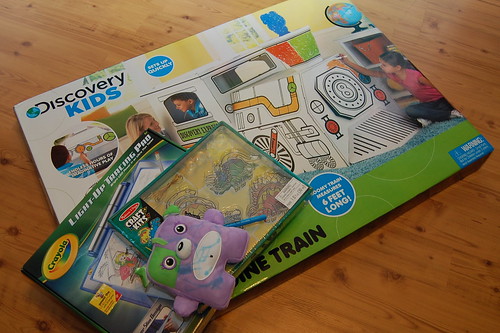
Tallulah asked for a Doodle Bear. This is a stuffed animal that comes with a washable fabric marker. Doodle the bear, wash and repeat.

Santa wanted to have the elves make a light table for the kids, but alas it was cost prohibitive. Instead a small table top version was delievered that is actually a light tracing box. Sure we will trace, but we are also doing things like playing with our Magna Tiles on top.

Choo-Choo's are big around these parts. Santa brought a giant cardboard train to paint, color and adorn on a rainy day.

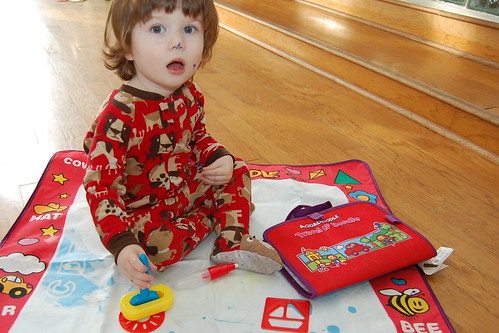
Aqua Doodle is a big hit with Baxter. We received a small lap top shaped mat for our birthday last year and I found a giant floor mat at a thrift store this summer. Santa brought a variety pack of sponge brushes, sponge tipped pens and stencils especially made for Aquadoodle. Not familiar with this toy? It is a piece of fabric that changes color with water. Let the fabric dry and start all over.

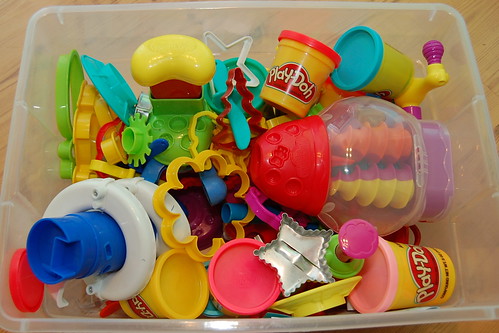
Play Doh. Last year I made my own, this year Santa brought the real stuff. Two kits were also stuffed down the chimney. One makes Play Doh candy and another makes Play Doh jewelry.

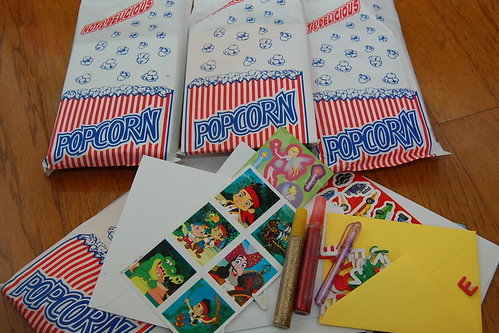
Pre-assembled card making kits. Tallulah loves to decorate cards. Santa stuffed 10 popcorn bags with a random assortment of stickers, blank cards, colored pens, stamps and more. This is much easier than handing over a giant box of stickers and paper that Baxter inevitably dumps all over the floor. I keep the finished cards to send for holidays and thank yous.

So what crafting supplies did your kid’s get from Santa? More importantly how do you plan to store it all? Do you keep it tucked away and get it out when the kid’s ask or do you have it accessible for them to get to on their own?

Thursday, November 8

Yarn Turkey Tutorial

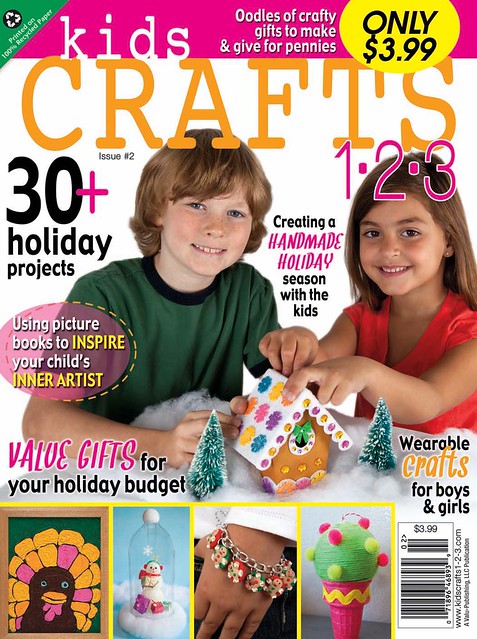
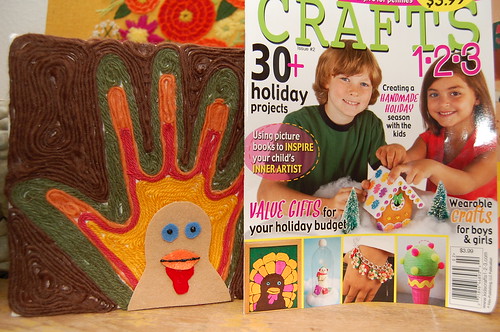
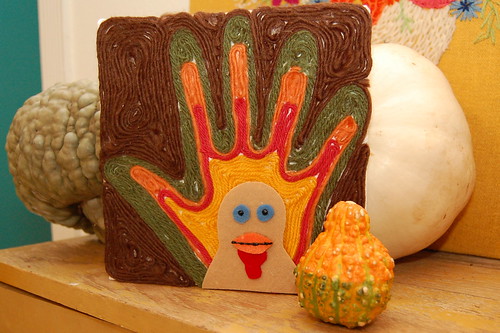
Have you heard the news that I am the Editor in Chief of a new kids crafts magazine for Walmart called Kids Crafts 1-2-3? It's true. Race out to Walmart and snag issue #2 with oodles of fall crafts, including a turkey 'painted' with yarn by Becky Joiner. You can see Thomas on the cover!

I thought today for I Love to Create it might be fun to reinterpret Thomas. Handprints and turkey crafts go together like sweet taters and marshmallows.

SUPPLIES

Yarn in fall colors

Black Tulip Slicks Paint

Small Canvas

Paper

Felt

Aleene's Tacky Glue

Scissors

Pen

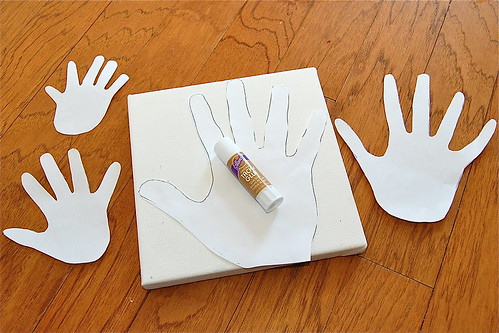
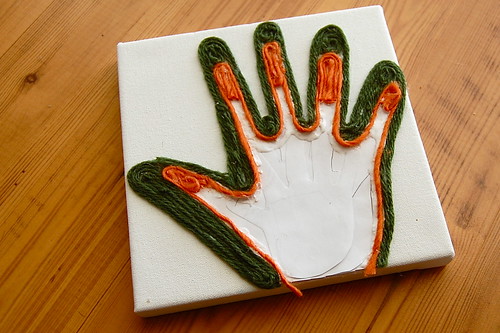
I decided to trace everyone's hands on paper first. Tracing squirmy, sick, cranky kids hands can be tricky.

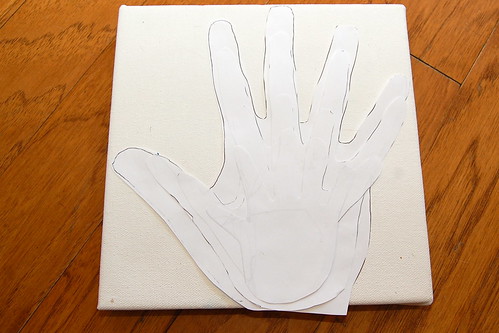
After I had everyone's hands cut out I used a glue stick to adhere them to the canvas. I did Chris' hand first, then mine, then Tallulah and lastly Baxter. In retrospect I wish I had used coordinating construction paper for each hand. That way there would be no white showing behind the yarn. Hindsight is always 20/20.

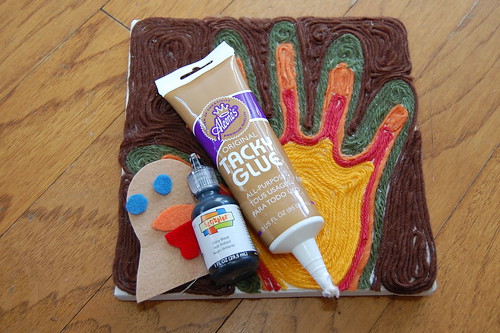
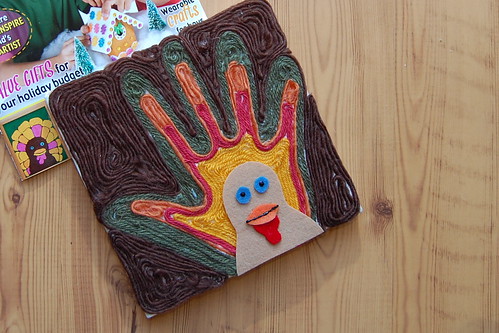
Next using Tacky Glue I started filling in each hand with yarn. Chris was green, I am orange, Tallulah is red and Baxter is yellow. I also filled in the back with brown yarn.

In the issue of Kids Crafts 1-2-3 we supply the template for you to trace to make Thomas. I kinda eyeballed his face and cut him out in felt.

I applied my felt pieces with Tacky Glue and using Scribbles paint in black I added a few features to his beak and eyes.

I'm super smitten on how he turned out! I'd love to hear if you try making your own. Yarn art is kinda addicting I see a Santa portrait in my near future.

P.S. Check out another fun Thanksgiving handprint tutorial with this cardigan project. Oh and someone might like a set of these gardening gloves for Christmas.

Thursday, May 31

Shoebox Veggie Patch

Veggies are a hot topic around our house. We have a vegetable garden that the kids help plant, farmers markets are a regular pit stop for our fam and we recently joined a CSA so we have a giant box of veggies delivered to our doorstep weekly. A pretend veggie patch that the kids can pick carrots from whenever the whim hits them seemed the perfect I Love to Create project.

SUPPLIES

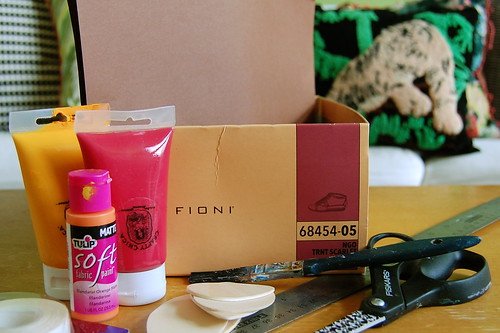
Orange Paint (I mixed yellow and red Crafty Chica Paint)

Paint Brush

Wooden Blanks shaped like carrots

Green Ribbon

Crop-o-Dile (or drill)

Green Paper

Aleene's Tacky Double Stick Sheets

Brown Paper

Scissors

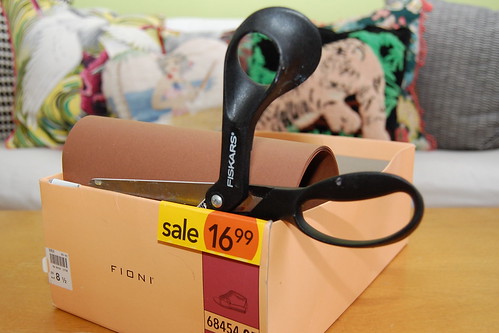
Shoe Box

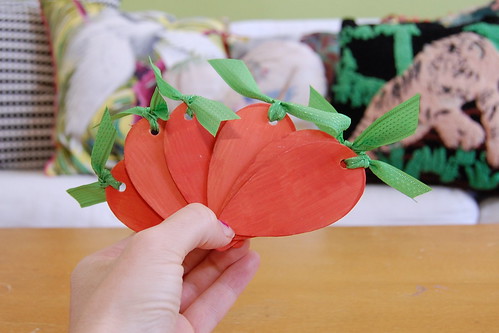
If you ever go down the wood craft aisle at the craft store you will notice that almost any shape you can imagine is available in raw wood form. I happen to have some that looked carrots. Paint your forms with orange craft paint. I applied a couple of coats. Allow to dry completely.

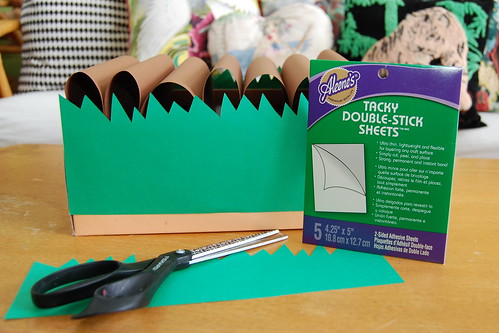
While your paint is drying you can prepare your shoe box. The "dirt" inside your box is going to be brown paper. I had to cut my paper to fit inside the box.

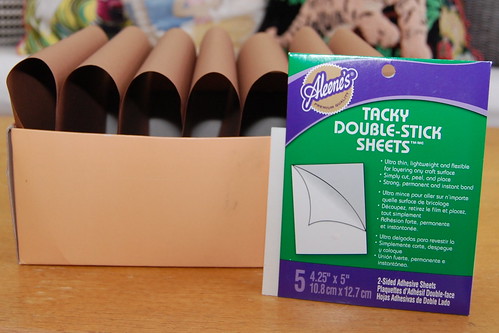
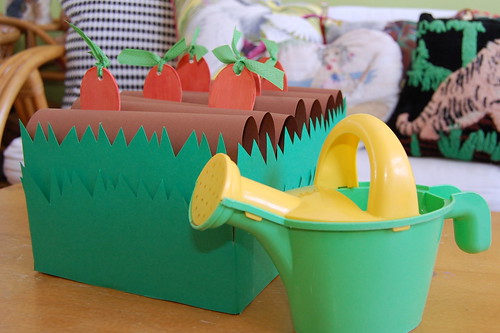
Once your paper is the right size fold in half without creasing. You will do this to all of your paper until you have enough to fill your shoebox. I used Aleene's Tacky Double Stick Sheets to adhere the sheets together at the bottom. I also stuck the last two sheets to the inside of the shoe box. Don't put the glue sheets up too high on the paper as you want the kids to be able to stick their faux veggies between the sheets.

Once my mounds of paper dirt were in place I needed to add grass. I again used my Tacky Double Stick Sheets to attach two rows of green paper that I had cut in a jagged pattern to resemble grass. You could also use Crafty Chica paint and just paint the box green. Do all 4 sides.

By now your carrots should be dry. Using a Crop-o-Dile or a small drill put a hole in the center of the wide end.

Using green ribbon tie pieces through your holes so that they look like the tops of carrots.

All that is left to do is fill your veggie patch with carrots. You could also make beets, parsnips, onions - any root veggie really.

Tallulah and Baxter spent the afternoon pulling and replacing carrots in their new veggie patch. We read "Growing Vegetable Soup" and I talked to them about how some plants grow on bushes and other under the ground like their new carrots.

Visit us on Facebook!
Craft on!
Clicky Web Analytics
Pin It button on image hover

Subscribe to our newsletter

* indicates required
I am interested in products and inspiration for...
Close