Showing posts with label Scribbles. Show all posts

Thursday, May 15

Food Allergy Awareness Week - Your the Sunbutter to my Jelly T-shirt

This week is Food Allergy Awareness Week. Unlike, say, Valentine's Day or the Fourth of July, this holiday (if I can call it that), which affects 15 million Americans, does not have many crafts associated with it. My son Baxter is one of those 15 million. Crafts help bring awareness to a holiday or event. I've decided to make it my mission to make more crafts related to food allergies. My little man Bax is the Sunbutter to my jelly, and I wanted to make him a shirt to say it loud and proud!

Friday, December 21

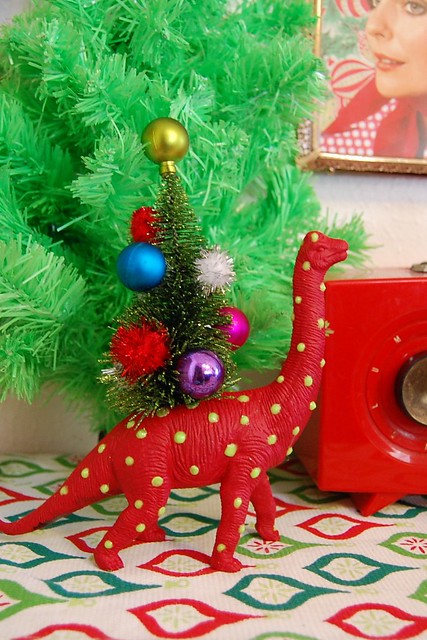
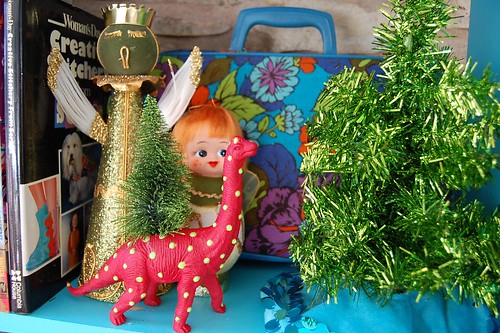
A Christmasaurus Centerpiece for the Kids Table

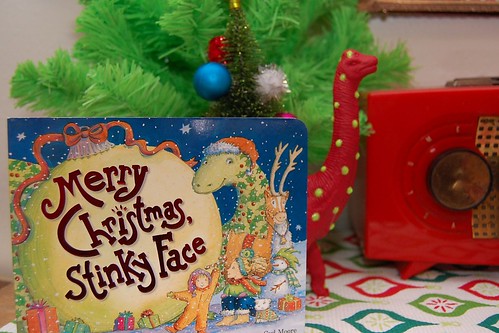
My daughter's favorite Christmas book this year is called Merry Christmas Stinky Face by Lisa McCourt. We read it daily even though we have 20+ books about the holidays currently floating around. In the book the worried little child asks his mother question after question including one about a Christmasaurus.

After a trip to the Blue Genie Christmas Bazaar where I made a couple of purchases from a vendor by the name of Plaid Pigeon an idea was born. Today for I Love to Create I'm going to show you how to make a quick and fun centerpiece for the kids table. Usually kids dream of the day they will be upgraded to sitting with the adults, but with a Christmasaurus as the centerpiece they are never going to want to leave.

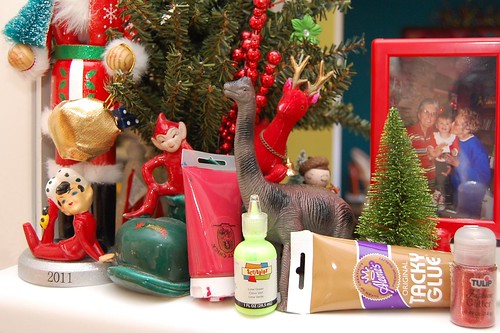
SUPPLIES

Plastic dinosaur

Crafty Chica Paint red

Scissors

Scribbles Paint in green

Small bottle brush tree

Aleene's Tacky Glue

Paint brush

Pom Poms

Small Ornaments

Glue gun

When your kids are not looking steal the plastic dinosaur toy that has been floating at the bottom of the toy box untouched for months. Using scissors or a knife cut a small hole in his back. It does not matter if the hole is rough looking the tree will cover it.

Once you have your hole paint your dinosaur. Mine needed two coats of red paint. Allow to dry completely in-between coats. Next go in an embellish with polka dots. I used Scribbles paint because I wanted shiny puffy spots.

When your polka dots are dry shove the base of your tree in the hole and adjust. From here squirt a whole bunch of Aleene's Tacky Glue inside to hold in place.

Decorate the tree with what you have on hand. In my case it was some pom poms I stole from my kid's craft pile and some tiny rogue ornaments that never made it on one of my 38 Christmas trees. I used a hot glue gun to attach. All that is left to do is display your new Christmasaurus.

Thursday, November 8

Yarn Turkey Tutorial

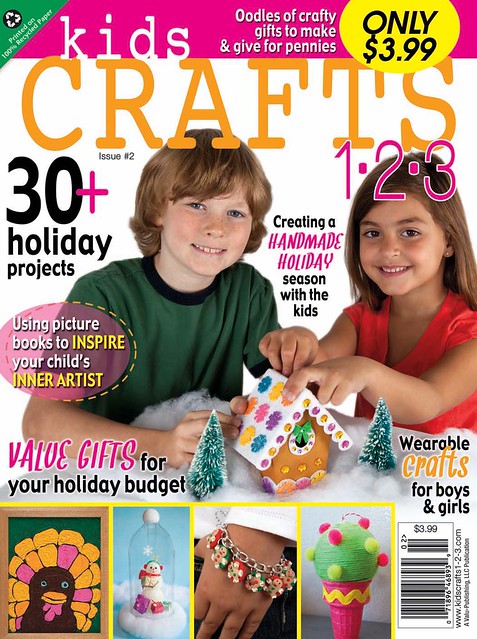
Have you heard the news that I am the Editor in Chief of a new kids crafts magazine for Walmart called Kids Crafts 1-2-3? It's true. Race out to Walmart and snag issue #2 with oodles of fall crafts, including a turkey 'painted' with yarn by Becky Joiner. You can see Thomas on the cover!
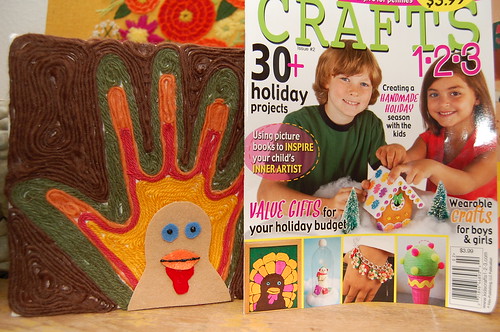

I thought today for I Love to Create it might be fun to reinterpret Thomas. Handprints and turkey crafts go together like sweet taters and marshmallows.

SUPPLIES

Yarn in fall colors

Black Tulip Slicks Paint

Small Canvas

Paper

Felt

Aleene's Tacky Glue

Scissors

Pen
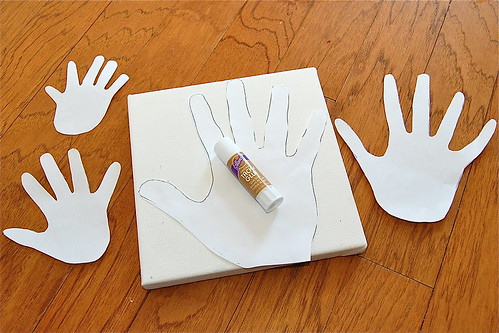
I decided to trace everyone's hands on paper first. Tracing squirmy, sick, cranky kids hands can be tricky.
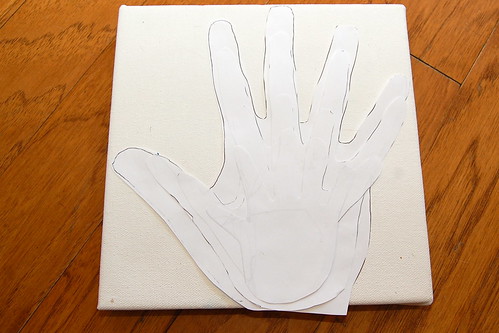
After I had everyone's hands cut out I used a glue stick to adhere them to the canvas. I did Chris' hand first, then mine, then Tallulah and lastly Baxter. In retrospect I wish I had used coordinating construction paper for each hand. That way there would be no white showing behind the yarn. Hindsight is always 20/20.
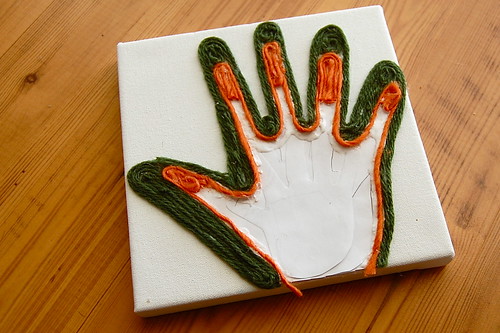
Next using Tacky Glue I started filling in each hand with yarn. Chris was green, I am orange, Tallulah is red and Baxter is yellow. I also filled in the back with brown yarn.
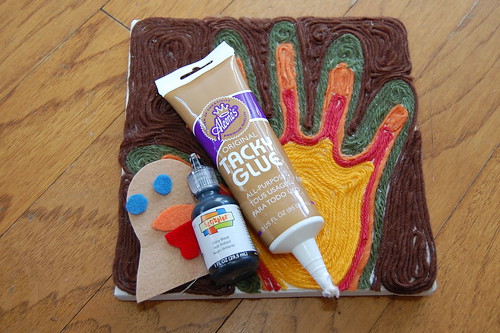
In the issue of Kids Crafts 1-2-3 we supply the template for you to trace to make Thomas. I kinda eyeballed his face and cut him out in felt.
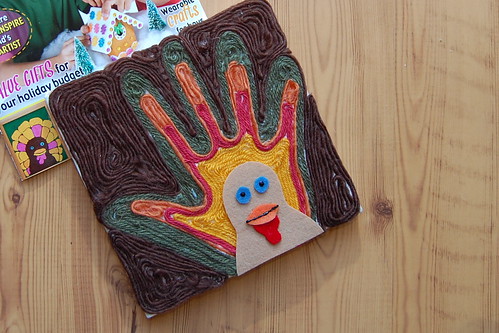
I applied my felt pieces with Tacky Glue and using Scribbles paint in black I added a few features to his beak and eyes.
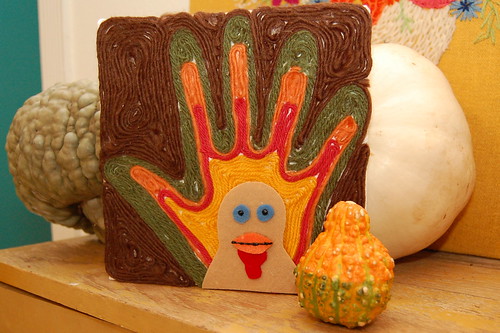
I'm super smitten on how he turned out! I'd love to hear if you try making your own. Yarn art is kinda addicting I see a Santa portrait in my near future.

P.S. Check out another fun Thanksgiving handprint tutorial with this cardigan project. Oh and someone might like a set of these gardening gloves for Christmas.

Thursday, August 9

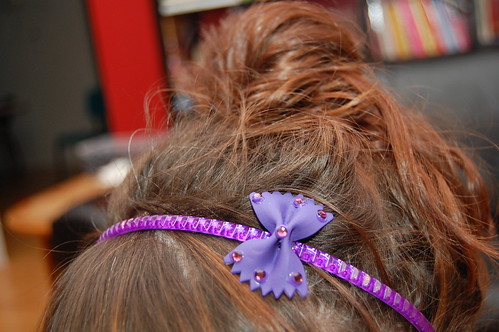
Pretty in Pasta Headband

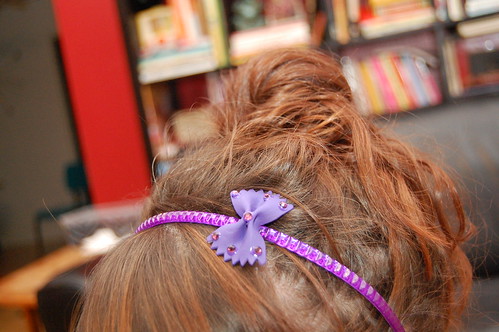
Tallulah and I have been on a pasta painting kick lately. Some people make their noodles into necklaces around here we have been working the hair clip angle. Today for I Love to Create I'll show you an updated spin on noodle art.

SUPPLIES

Bow Tie Pasta

Aleene's Tacky Glue

Headband

Tulip Glam-It-Up Iron On Crystals

Scribbles Paint

Crafty Chica Paint

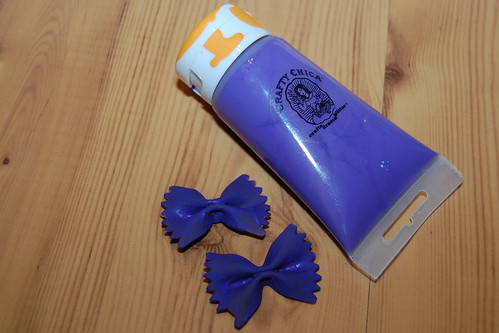
Finding the right paint to stick to your pasta can be tricky. I used two coats of Crafty Chica paint on my noodle.

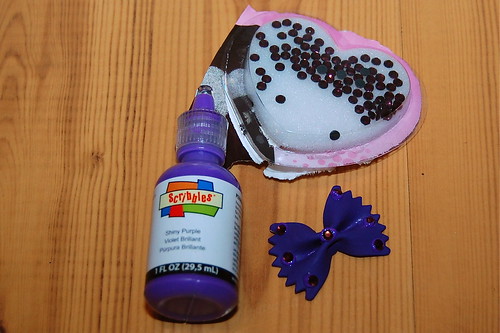
Once my noodle paint was dry I went in with Scribbles paint and Glam-It-Up Crystals to add a little sparkle.

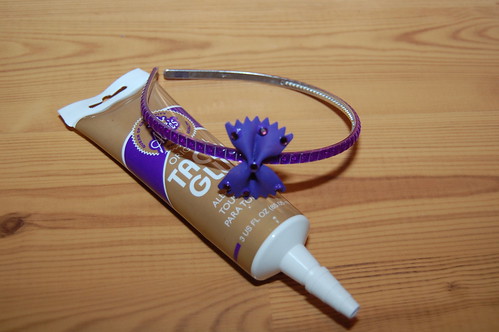
Once all the paint was dry using Aleene's Tacky Glue I attached my little bow to the side of my headband.

Who says that you can't be pretty in pasta?

Wednesday, June 27

iLoveToCreate Teen Crafts: Carnival Canvas Covered Notebook

Carnival Canvas Covered Notebook
Avalon Potter (a.k.a. NGC-New Generation Crafter) for iLoveToCreate
"Teen crafted, mom approved."

Avalon has been obsessed with tribal prints all summer, from ikat to Native American to African inspired patterns and chevron, she's been showing me pictures of bedding, bags, clothes, shoes all emblazoned with an array of colors and patterns.  I trust a teen to know what's really cool and she's a really cool teen.  She wanted to make something fun to express her new found love of all things 'pattern-y', and we remembered Claudine Hellmuth's fabulous sticky back canvas.  By covering a basic notebook with layers of painted and embellished canvas, she made a truly fabulous one of a kind work of art.  This is so much fun to do with the vast array of paints from Tulip and Scribbles brands and with school just around the corner, a great way to help your teen personalize their supplies!

Materials
Notebook with hardback cover
Sticky back canvas
Decorative tape
Tulip 3-d fashion paint
Tulip fabric markers
Scribbles brush on fabric paints
Scribbles fabric paint brushes
Tulip sponge pouncers

Tools
Scissors

Cut canvas to fit cover of book, leave a 1" edge, cut edge at corners, fold over book cover and press to remove any bubbles on front of book.  Add a decorative tape accent to left side of canvas to conceal edge.


Create three strips of canvas. Peel and press on notebook at top, center and bottom edge.  Paint each stripe and the spaces in between a solid color and allow to dry.
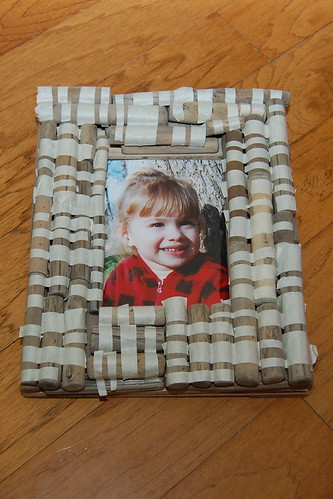
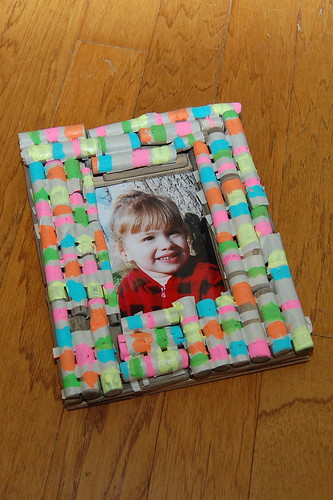
Make two rectangular mini-canvas accents using dimensional paint in patterns, press together and adhere to front of notebook.

Use markers and paints to make a variety of patterns along strips. 

Monday, May 21

iLoveToCreate Retrofabulous Crafts: Cheers Cocktail Coasters


iLoveToCreate Retrofabulous Crafts: Cheers! Cork Coasters
Margot Potter
“These are your grandmother’s crafts.  Ya gotta problem with that?”

Nothing says retro like cocktail parties, a delightful custom that is rapidly disappearing.  What could be more festive than a few friends, some fondue, hors d’oevres and a litany of libations?  What indeed.  Whatever your poison, be it leaded or ‘un’, these perky little coasters will turn any occasion from drab to fab in seconds flat!  Cheers!

Materials
Conversation bubble stencil (I used a Shape Template from Fiskars)
Fine tipped black marker
Tulip sponge pouncer
Small flat paintbrush
Small tipped paintbrush

Trace conversation bubble on front of coasters using a fine tipped black marker.

Carefully paint black edges around bubble.  A flat brush is the best choice for this task.'
 

Paint the inside of the bubble white, use flat brush for larger sections and small brush to get into smaller spots.  Allow paint to dry.

Use a foam pouncer to apply a small amount of paint to letter stamp, be careful not to get paint on stamp edge.  Stamp words on each coaster, these can be a little wonky as this is a cocktail accessory! After dry, spray with two coats of matte acrylic sealer. 

Cheers, clink, sip and savor...the four components of a successful toast!

Visit us on Facebook!
Craft on!

Thursday, April 12

Neons and Nature Picture Frame


I have a real thing for neons and neutrals lately. You might recall my post entitled All-a-flutter For Fluorescents. There was also the neon cake pop display I made for my sister's bachlorette party. Then the real obsession with painted sticks started here with Going All Banksy on the Forest. Month's later my love for this color combination is still going strong. So much so that today for I Love to Create I decided to bring the neon to the neutrals yet again.


SUPPLIES
Picture Frame
Scribbles Paints
Paint Brushes
Masking Tape


You might recognize this wooden frame as a prop from the Little Lumberjacks and Jills party I recently threw for my kids. The frame was perfect for the woodland theme of the party, but did not fit in with the rest of my kitschy decor when the buffalo plaid came down. I didn't want to just donate the frame or give it away, instead I decided to give it the Naughty Secretary Club treatment. The first thing I did was using masking tape I taped off sections.


Using neon Scribbles paint I adorned my frame. Consider yourself warned that this takes several coats. I eventually added white paint to make the neon more opaque. A white base coat on the stripes might have been my best bet in retrospect.


Once the paint had dried completely I removed the masking tape to reveal the finished product. Ahhh, much better. My very own neons and neutrals painted frame. I love the two extremes of neons and nature together. Then again I would.
Visit us on Facebook!
Craft on!
Clicky Web Analytics
Pin It button on image hover

Subscribe to our newsletter

* indicates required
I am interested in products and inspiration for...
Close