Showing posts with label polka dots. Show all posts

Tuesday, September 15

Dashes and Dots DIY Floral Mugs


Not too long ago I rocked out some polka dot and floral mugs with the awesome, permanent and totally food safe Painted by Me markers. Rob and I have talked about having lots of dishes where nothing matches but there is a common theme of black and white. Well, actually, I told him about it and he thought the idea was good enough to get behind so it's all systems go!

I'm not sure if you've ever looked for unique pieces within a very strict color scheme but it's a royal pain in the neck. Even with a color scheme as simple as black and white I'm having a hard time filling the cabinet with enough dishes for a service of 2 let alone a party of 8. And that is a good part of why I'm totally digging Painted by Me. I now have 6 mugs that match even though they don't "match" and it's perfect! Today I'm going to show you how to rock these suckers out!


Thursday, August 27

Floral Polka Dot Mugs


I have always loved florals and I am super exited that they are coming back in style. Right at this very moment I'm rocking gray sweatpants with big, pretty pink roses all over. And while it was pouring this morning they were quite comfy and warm, at the moment they are a bit too hot. But they are pretty so I'm still wearing them! 

Wanting to bring a pop of color to my new black and white dishware scheme it seemed a brilliant idea to make my very own mugs. This way I get to pick the exact colors and style. In the end I love them so, so much!


Tuesday, April 15

Sweet Chambray Sneakers Tutorial


I love sneakers and the cheaper the better, I say. Since I go through shoes hard and fast there is no reason to spend 50 bucks on a pair of name brand sneaks that are going to be hitting pavement so hard that they are worn out in a month or so. And when I saw these cheapies over at Wal-Mart for less than $6, I knew just what to do!


Tuesday, February 4

Valentine Polka Dot Oxfords


I love making shoes specifically for an occasion. I, of course, totally wear them other times, too but a pair of shoes sitting in wait for Valentine's Day... I think that's just too much fun! Last year I knocked out some super cute tennies, but this year I decided to go a bit dressier with oxfords!

Wednesday, July 10

Cute Tie-Dyed Undies Tutorial


Woot Woot for Summer Undies! Because I love Tie Dye I figured I would push things a little further by adding some color to my plain undies. I realize I am now a true "tie dye addict" but this was the most fun I had with dye in a long time. Why wear boring undies when you can add some flare to them. Don't get me wrong there are ton's of cute undies out there but being able to transform a boring white pair into a fashionable statement piece is priceless. Plus, did I mention how much fun this is? I wonder if I could wear these as a bathing suit bottom. Let's get started!

Thursday, October 20

Glitter Polka Dot Halloween Glitter Shoes

Today I had a blast filming a fun and spooky Halloween craft segment for K-See 24 here in Fresno! One of the projects I showed how to film on air were these super cute and sparkly POLKA DOT GLITTER SHOES! I'm not sure what I love more, polka dots, glitter, or shoes, so I was thrilled that I could combine all 3 for a funky pair of kicks to wear as a part of my Halloween wardrobe!

OK, I have a little secret!! OK, a not so big secret. All you need to make these fabulous shoes is 3 things! Yep, just 3! Grab a pair of black shoes (mine are Mossimo brand from Target), a box of Aleene's Tacky Dots (available at Michaels), and some Tulip® Fashion Glitter in the color of your choice! There are three sizes of Aleene's Tacky Dots (3/16", 3/8" and 1/2" inch). You can also get Tacky Dot Lines if you wanted to do stripes instead for a fun Tim Burton-esque look!
You simply put the dots on the shoes in a random polka dot fashion, then sprinkle glitter on over top. Shake the glitter off and you are ready to go!!

Here's a closeup of the toe! Glittery fun!

I can't wait to dress up a pair of jeans or wear them with my favorite strip or lacy tights for the season!


Visit us on Facebook!
Craft on!

Thursday, June 16

Pretend Polka Dot Pyrex Bowl


I have always loved vintage polka dotted Pyrex mixing bowls. Apparently from their price tag when I find them at the flea market so does everyone else. That got me to thinking, I wonder if I could make my own version. How hard could it be?


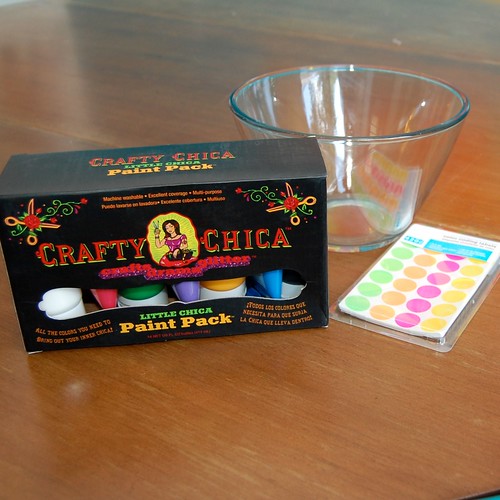
SUPPLIES
Crafty Chica Paint
Crafty Chica Glossy Gloss
Paint Brush
Dot Stickers


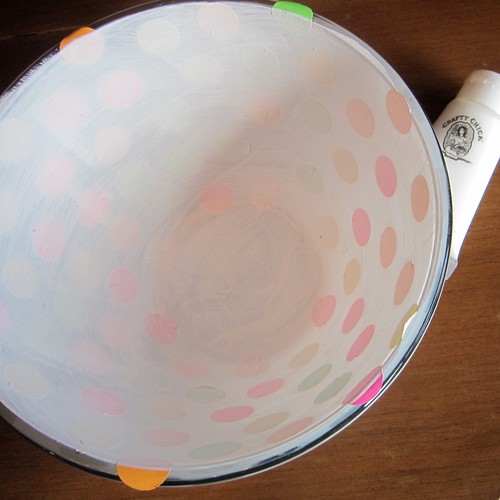
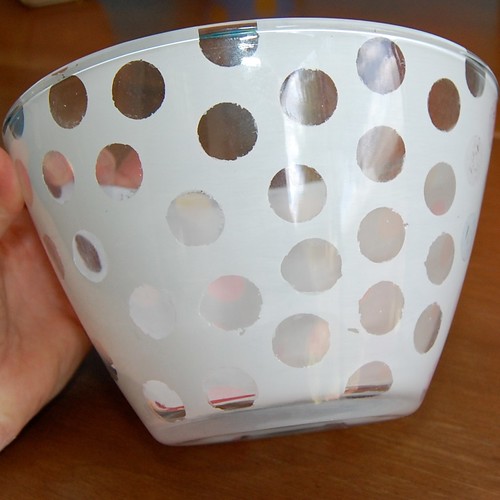
The first thing to do is place your dot stickers in a pattern of your choice on your bowl.


Once your stickers are in place using Crafty Chica Paint paint the inside of your bowl white. I recommend doing several thin layers. You don't want to saturate your stickers with paint so that it seeps through.


Once your white is opaque peel your stickers off. I must admit this part was trickier, messier and more time consuming than I had anticipated. Thank goodness for thumb nails. I managed to scratch my white paint in a few spots. In retrospect I wish my stickers were raised and were repositionable. However, I thought to Tim Gunn and made it work.


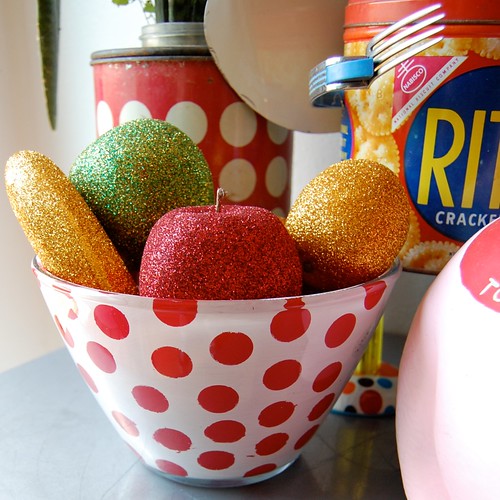
Next paint over the clear dots with red Crafty Chica paint. Again several thin layers will probably work best. Allow the red paint to dry completely.


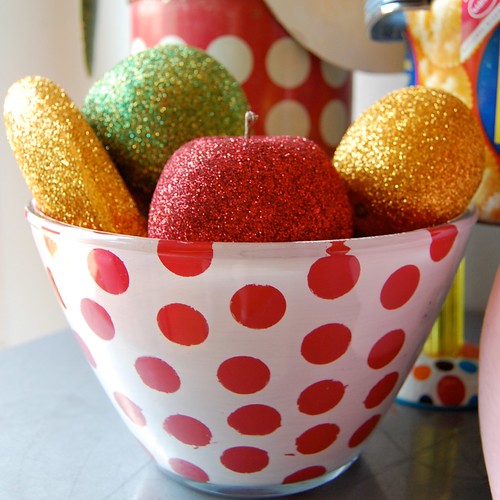
The last thing to do is coat the inside of the bowl with some varnish like Crafty Chica Glossy Gloss. Remember your new bowl is not food safe, but sure is pretty to look at. Remember my glittered fruit from a few weeks ago? I think my new faux Pyrex bowl is the perfect vessel.


Looking for more red and white polka dotted fun? Check out my Pinboard about it! Also be sure to check out all my other I Love to Create projects.

Visit us on Facebook!
Craft on! Click here for today's daily giveaway!

Thursday, April 29

Weenie Dog Pull Toy


When you think of Austin events like SXSW and ACL probably come to mind. A lesser known gem happens right down the road from Austin that blows both of those festivals away. I'm talking about the Buda Weenie Dog Races. To commemorate Tallulah's first visit to the races I made her a weenie dog pull toy that she can race any day of the year.

SUPPLIES
Pen
Scissors
Aleene's Tacky Glue
Wooden Dowel
Wooden Wheels
String
Small Wooden Bead
1" thick piece of wood
Crafty Chica Little Chica Paint Pack
Household Drill
Husband
Cardboard Box
Paint Brush
Sandpaper
Celluclay Paper Mache
Water
Quarter
Dremel Tool
Ribbon
4 Screws
Screwdriver
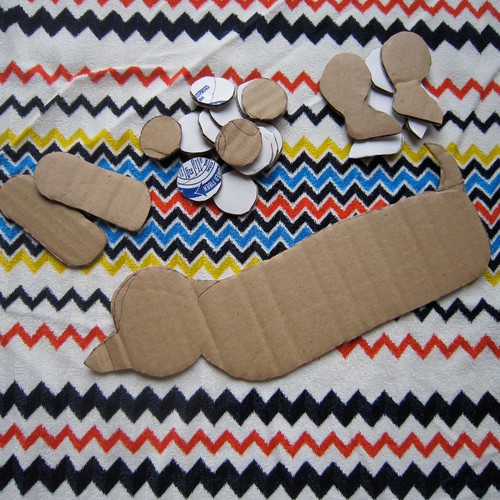

CARDBOARD WEENIE
Draw a profile of a weenie dog onto a piece of cardboard. You can find applique pictures online if your freehand skills are not up to par. Also remember you can make your pull toy any animal your little heart desires. Next cut out 2 ears, 4 legs and 18 quarter sized circles.
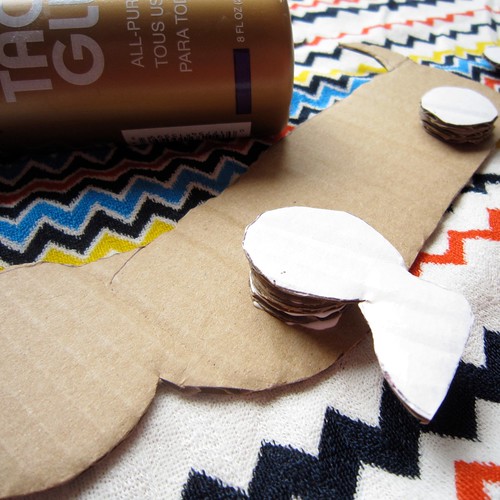

ARMS, LEGS and EARS
One side at a time you need to glue stacks of 3 circles on the two leg spots and ear spot. Use Aleene's Tacky Glue between each disc and limb.


Allow to dry completely and then flip over and do the same thing.
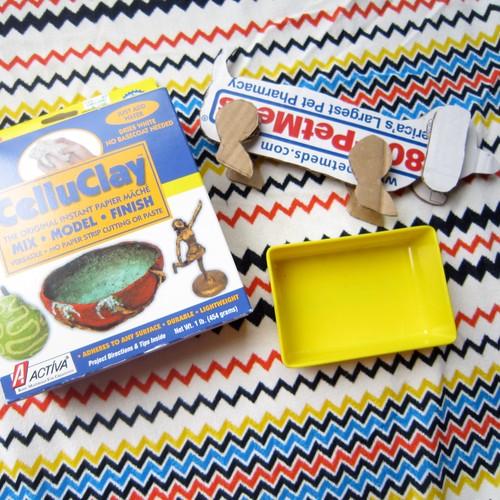

PAPER MACHE PARTY
Once the glue has dried completely mix up a batch of Celluclay Paper Mache.
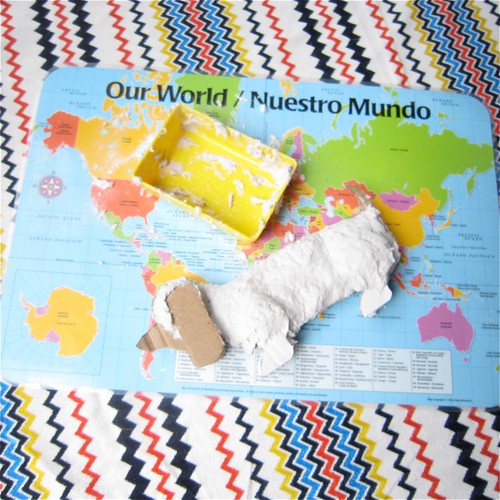


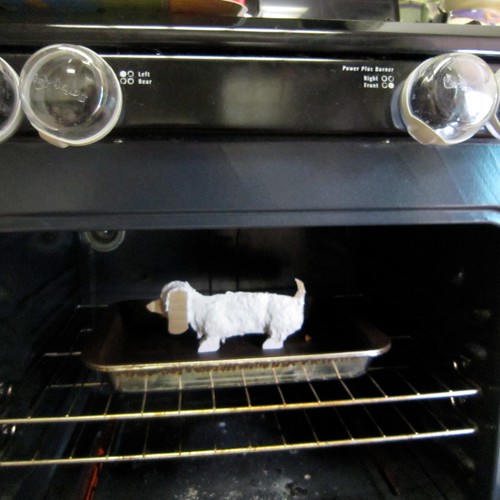
I worked in small batches and put my dog on a cookie sheet in the oven at 200 degrees to speed up the drying process. I did a section at a time to build up his body.


PETTABLE PUPPY
Let your paper mache weenie dog dry completely. For me this meant overnight and a few hours in the oven. When the dog is dry lightly sand him with sandpaper to smooth out any rough spots.
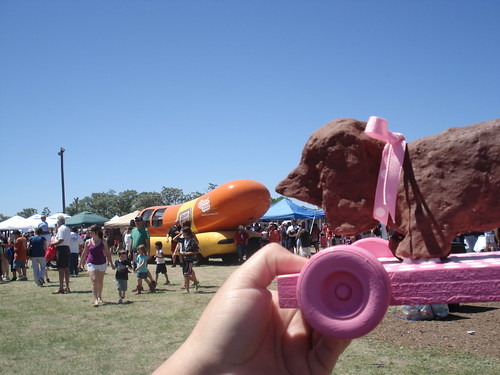

FINISHING TOUCHES
Once your puppy is smooth to the touch paint him brown. For a little added bonus I tied a pink ribbon around his neck that I glued in place with a little Aleene's Tacky Glue. He was the belle of the ball at the Weenie Dog Races.
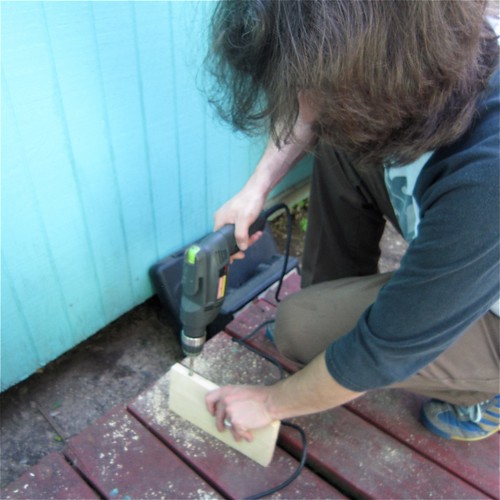

THE BASE
This is where the husband comes in handy, not that I could not have done this by myself. My fabulously handy husband Chris offered to do the "heavy lifting" in the project. You will need a rectangular piece of wood for your base thick enough to run a dowel through. Depending on what size dowel you have drill two holes that size through your wood. What size wheels you get will also depend on the size dowel you have. We used a Dremel tool to sand the tips of the dowel so they fit into our wheels a little better. We also used another dab of Aleene's Tacky Glue to make sure the wheels stayed in place.
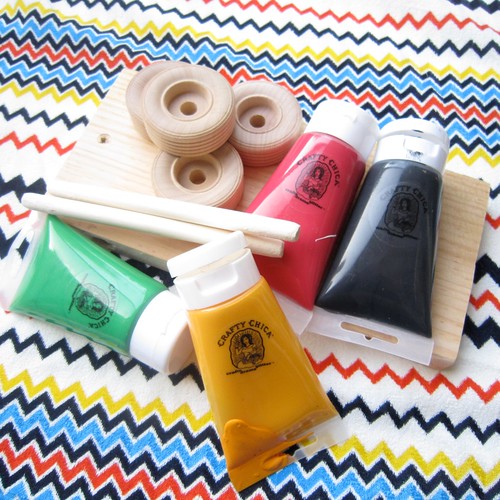

WOOD ADORNED
Plain wood will just not do. Gather up your Crafty Chica Little Chica Paint Packs and get to adorning. I mixed my red and white to get pink. I used a trick the Crafty Chica herself taught me on an episode of Craft Lab which is to use the end of a pencil to create a polka dot effect with your paint.


MAKE IT PULLABLE
Once your paint has dried go back with your Dremel and drill a small hole in the front center of your wooden base. Using 1ft of yarn or thread tie a small wooden bead to one end of your string and attach the other end to the base of your toy. This is how you will pull the toy.
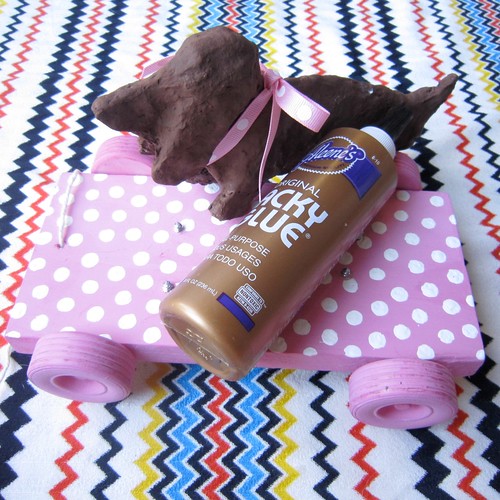

PUT IT ALL TOGETHER

Getting the legs on your paper mache wiener dog even is tricky business. Using small screws I attached the legs to the wooden base. I also added more Aleene's Tacky Glue under each paw.


Lucky for me when I started looking for instructions on pull toys good ole' Martha Stewart pulled through with advice. I tweaked the original design a bit and love the daschund I ended up with. I'm pretty smitten with the little guy and more importantly Tallulah is too.
Clicky Web Analytics
Pin It button on image hover

Subscribe to our newsletter

* indicates required
I am interested in products and inspiration for...
Close