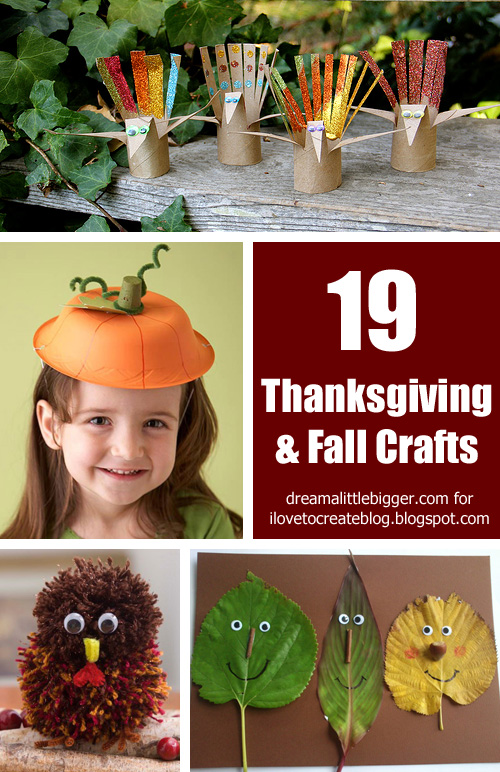
I have always loved Thanksgiving. Maybe it was because Thanksgiving is always near my birthday and we almost always celebrated both on the same day? I loved the turkey crafts and the pilgrim hats and all of that so much! So today I'm bringing you 19 of the most fun and easy to replicate kid projects that are perfect for this time of year!
Showing posts with label fall crafts. Show all posts
Showing posts with label fall crafts. Show all posts
Monday, November 3
Saturday, October 18
Crow Magnet Or Pin
It’s fall, and that means pumpkin patches, corn mazes, harvest festivals and of course, scarecrows. But scarecrows wouldn’t have a job if it weren’t for the crows! This cute little guy makes a great magnet for your fridge, or is a fun pin your child can wear to that fall party they were invited to.
Thursday, November 14
Sunday, November 10
Tuesday, September 24
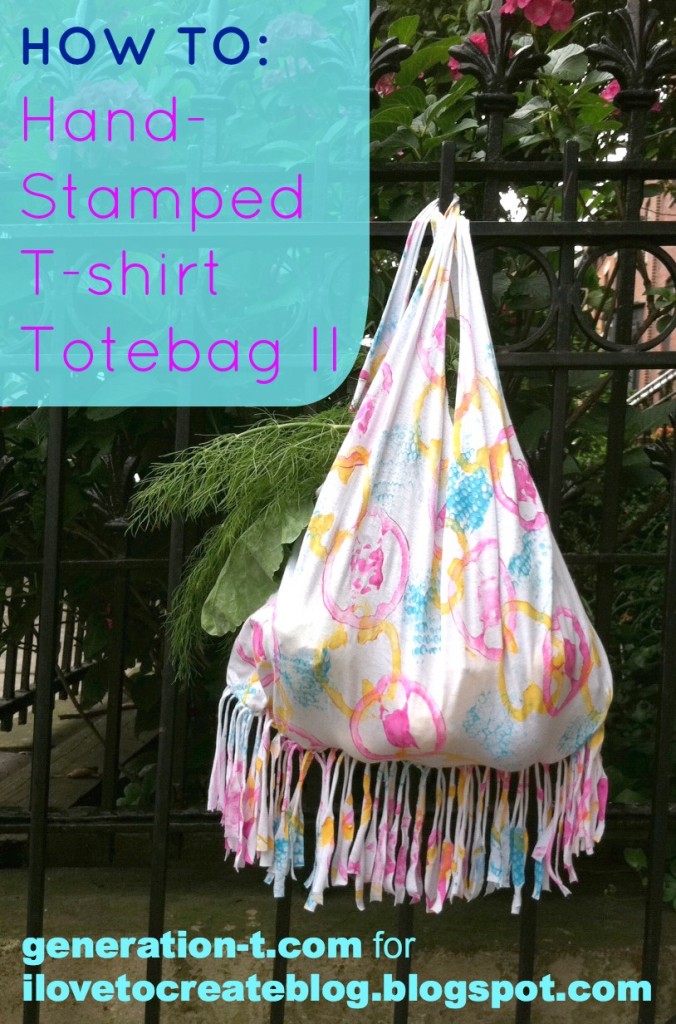
Hand-Stamped T-shirt Totebag II (The Sequel: with Veggies!)
When you're talking fruit and vegetable stamping, a change of seasonal harvest can herald a whole new palette of patterns and textures to print with. And with them, a whole new no-sew T-shirt totebag tutorial -- this time, with fringe! Before the summer fruits and veggies officially relinquish their
harvest reign to the autumn root vegetables (reminder: potato printing=boring!),
see what you can scavenge from the last of the September haul to make some
colorful T-shirt prints -- and a sturdy T-shirt tote to
bring to next weekend's farmers market! Behold, this fall's hottest accessory (see this summer's no-sew tote here)....


Wednesday, September 18
HOW TO MAKE: FAUX BEADED SNEAKERS
What's going on people! It's already time for cinnamon-pumpkin candles, veggie soups, football and lot's of Fall and Halloween crafting. I always try to have something in my daily outfit that POPS and the fact is some day's all I want to wear is a cute pair of skinny leg blue jeans and white v neck shirt. What is one to do to make their outfit POP at this point?
I know! Make FAUX BEADED SNEAKERS!
Thursday, November 17
Fun Festive Fall Window
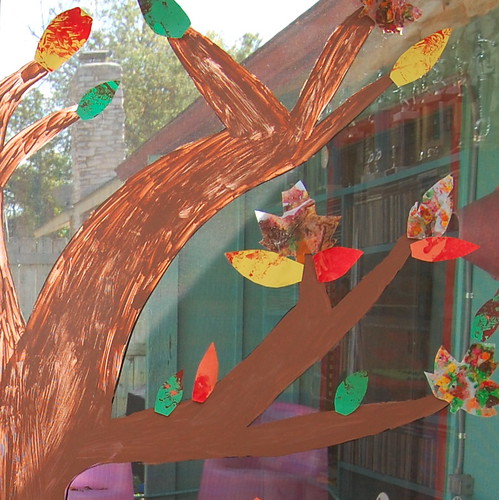

I'm kind of a nut about decorating for Halloween. Christmas is a close second. Easter and Valentines day even have their own decor around these parts. It was high time that I started showing fall and Thanksgiving the decorating respect they fully deserve. Today my daughter Tallulah and I whipped up a window to celebrate the season. Just don't tell her what I did with her crayons during nap time.
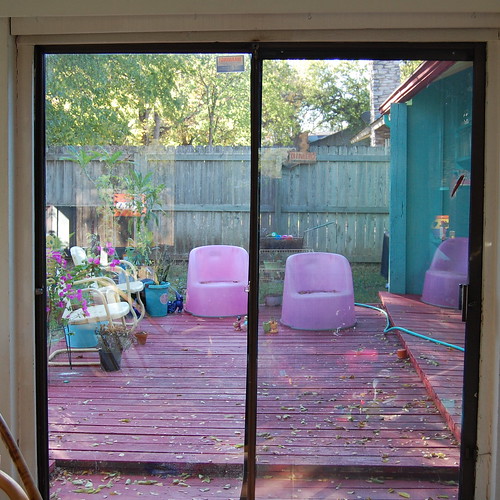
SUPPLIES
Tacky Dots
Scissors
Crayons in fall colors
Wax Paper
Iron
Pencil Sharpener
Tulip Soft Fabric Paint in Brown
Finger Paints
Construction Paper
Paint Brushes
Crafty Chica Fabric Marker
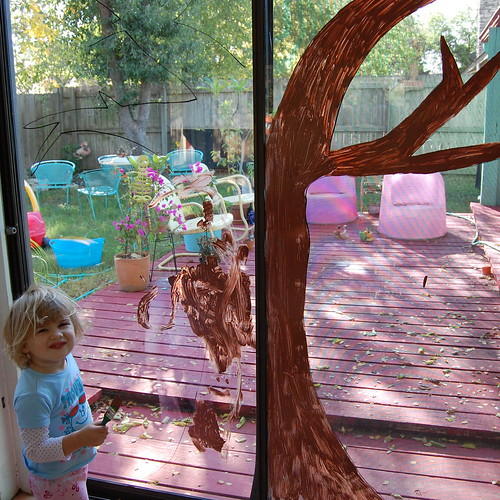
Using a Crafty Chica Fabric Marker (because it was what I had on hand) I drew a tree on one of the sliding glass doors in my house. Next Tallulah and I used Tulip Fabric Paint to fill in the tree. Yup, they both work on glass. You might check a small corner to test on your own windows.
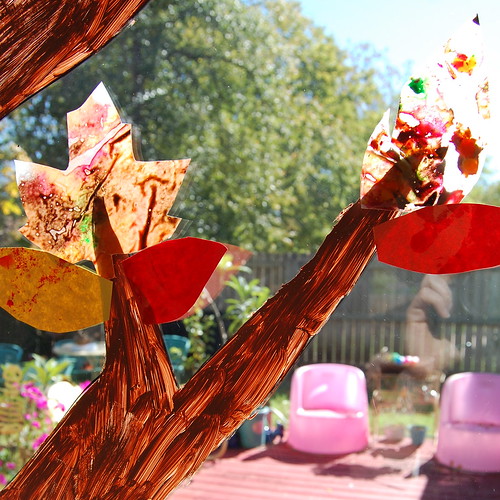
To make the stained glass leaves you will need crayons, wax paper and an iron. I stole a few crayons in autumn shades and using my eyeliner sharpener whittled them down to nubs. I then sprinkled the shavings between two sheets of wax paper. Using a low heat iron melt the shavings between the paper. When everything is cool cut out a few fall leaves.
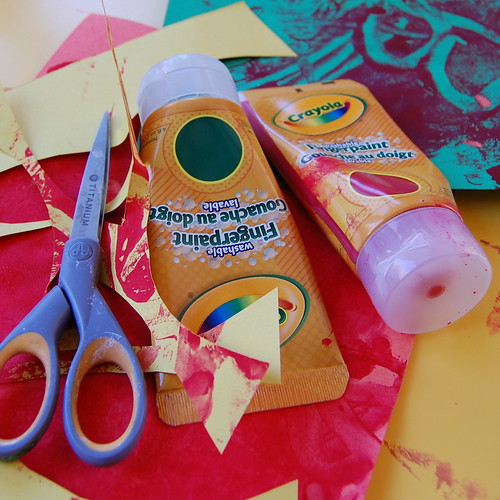
Tallulah helped make the second batch of leaves. I gave her some construction paper in fall colors and some red finger paint and let her have at it. When the paint was dry I cut out leaf shapes from the paper.
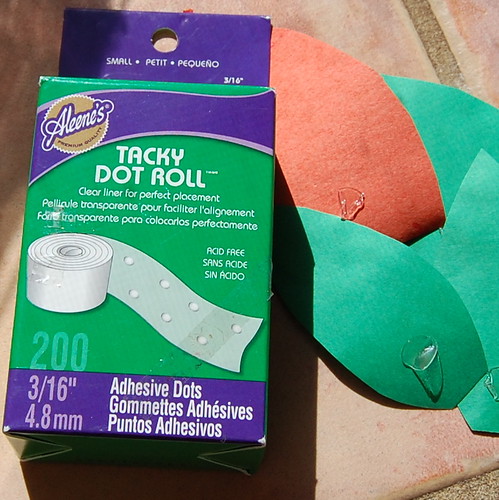
All that was left to do was to add my leaves to the tree using Tacky Dots. I put some in the branches and few falling to the ground. The crayon shaving leaves look great with the sun shining through them.
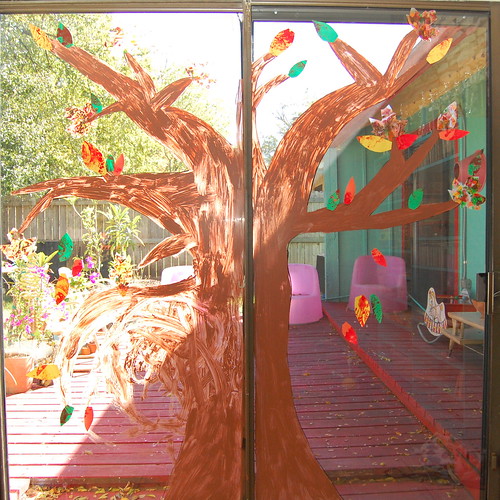
Fall has finally made it to Austin, TX. We may have had to help it along a bit, but it is here. Next week when I take all my Christmas stuff down from the attic I will just use a straight razor to scrape away most of the paint and a little Windex on the rest. Cute, festive and easy.
P.S. If you want to use window markers that would work too. I decorated for a birthday party with them once. Check out more I Love to Create posts here.
Visit us on Facebook!
Craft on!
Thursday, November 11
Cozy & Cute Yarn Headband

Yesterday I got inspired to make a yarn wreath. Looking at all the pictures of the adorable wreaths out there really got my creative juices flowing. However, in true form I looked at the wreaths and thought to myself: how can I make these wreaths wearable? I don't mean literally - I mean using the same techniques on something besides a wreath. Join me on my weekly I Love to Create journey as I bust out the yarn and Tacky Glue!
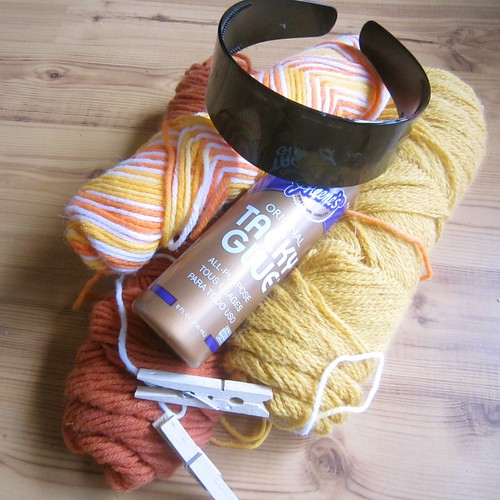
SUPPLIES
Yarn
Tacky Glue
Plastic Headband
Clothes Pins
Felt
Scissors
Acorns
Is there such a thing as sentimental yarn? This yarn belonged to my grandmother and I can remember her having it when I was a little girl knitting on an empty spool of thread will nails stuck in the top. I have always wanted to do something with the funky retro variegated yarn and a fall themed headband seemed perfect.
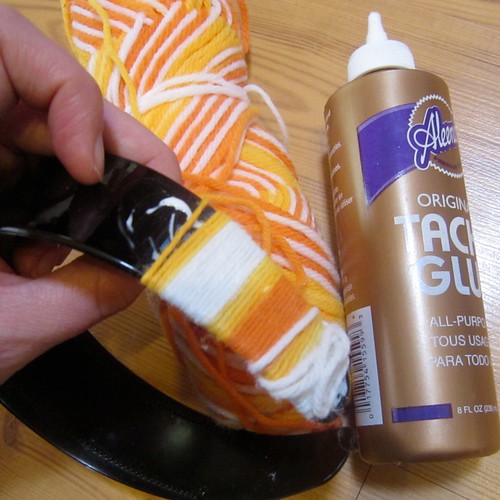
This project was super duper easy. I coated a section of my headband at a time with Tacky Glue and wrapped the yarn tightly around. The ends were a little tricky but that is where the clothes pins come in to hold all your handy work in place while the glue dries.
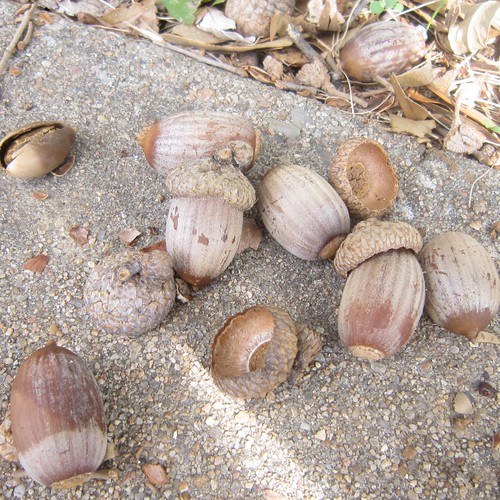
I wanted to incorporate some fall elements into my headband so I stole a few acorns from my neighbors yard. Shhhh don't tell. I used Tacky Glue to make sure their little toppers stayed on.

Nuts were not near enough pizazz for my special headband. I cut up felt, stapled ribbons and used Tacky Glue to make a cute little fall-ish arrangement.
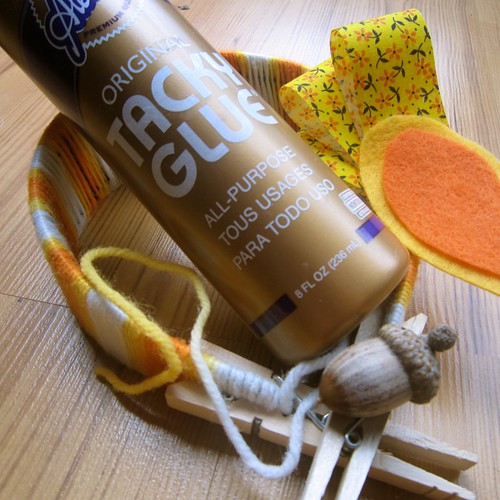
Once the glue had dried on my arrangement all that was left to do was add it to my headband. I also trimmed up my yarn edges.

I know what I'm wearing to Thanksgiving dinner, at least in my hair.
Craft on!Click here for today's daily giveaway!
Monday, August 23
Shimmering Autumn Leaf Craft
 (Photo by http://www.crafts-for-all-seasons.com)
This is a sweet idea we found on Crafts For all Seasons that uses Glittered Puffy Paint.
From the blog: "This autumn leaf craft makes a beautiful decoration for your home this Fall. This craft was taught to me by my friend Heather, who is a school teacher and uses this craft for her fifth grade class. It is a great craft for children around age 10 and up, and for adults. Leaf patterns are cut out of window screening. Window screening can be bought by at a hardware store, usually sold on a roll by the foot. For this reason, this craft is wonderful to do in a classroom since many leaves can be made from one foot of screening! The cheap, flimsy screening works the best for this craft. Then, the leaves are outlined using puffy paint and allowed to dry. These can be hung by a mantle, made into window hangings, made into a mobile, added to a fall wreath, or placed around the centerpiece on the table. Be creative!"
Click here to see the full project, pictures, and directions!
Tuesday, November 17
iLovetoCreate Teen Crafty Rockstar Necklace

iLoveToCreate Teen Crafty Rockstar Necklace
by Margot Potter
"Mom Crafted, Teen Approved."
Fall is upon us and winter isn’t far behind. I was thinking about fall friendly jewelry for teens and this idea popped into my head. I love the unexpected addition of soft blue with the traditional fall colors. You could easily make this same idea in other color palettes, but I really liked these earthy tones. My daughter Avalon thought this was super cool, and I trust her sense of teen style implicitly. And just for the record, I’d sport this myself in a hot second...in fact I may just sport it today!
Think about this for Christmas with holiday themed charms and papers...
...I’m just sayin’!
Materials
Traci Bautista’s Collage Pauge Glossy
Aleene’s Liquid Fusion Glue
Crafty Chica Little Paint Pack Paints Red and Yellow
3 Tim Holtz Acrylic Fragments charms
Die Cuts With a View The Rockstar Stack
8 frosted orange Lucite leaves (The Beadin' Path)
5 frosted green Lucite leaves (The Beadin' Path)
8 8mm olive green moonglow vintage Lucite rounds (The Beadin' Path)
2 frosted orange Lucite flowers (The Beadin' Path)
6 6mm cracked blue Czech glass rounds
Silver plated rolo chain
Silver plated swivel lobster
13 silver plated head pins
3 10mm silver plated jump rings
21 6mm silver plated jump rings
Flourish stamp
Tools
2 pairs chain nose pliers
Round nose pliers
Wire cutters
Foam brush
Paint brush
Pen or pencil for tracing shapes

Place pendent over segment of paper you desire and trace. Repeat for all three pendants.
Cut out papers. Spread a thin layer of Collage Pauge on pendants and adhere paper. Gently press on the back to remove any air bubbles. Paint collage pauge on back of tile. Allow this to dry for several hours.
Mix a small amount of red and a much larger amount of yellow Crafty Chica paints to create a warm pumpkin orange. Stamp into paint and stamp flourish on edges of your pendants. Allow to dry.

Attach an orange flower and a blue bead on to the top left corner of the largest pendant using Liquid Fusion. Allow to dry.
Create coil topped dangles for your blue and green round beads. Thread a blue bead, a flower and a green leaf on a head pin, then coil the back and bend it flush to the back of the leaf to create a small pendant for the back of your chain. (See this video for a quick and easy head pin coiling how to!)

Attach the largest pendant to the center of an 18” length of rolo chain using a 10mm jump ring. Move over 4 links and begin to attach elements on every other link using 6mm jump rings for beads and leaves and 10mm jump rings for the pendants, make sure they’re all falling to the bottom of your chain. The pattern on both sides is: orange leaf, green bead, green leaf with blue bead, green bead, orange leaf, pendant and the same pattern established in the first section of beads and leaves. (For a quick and easy tutorial on opening and closing jump rings see this video how to!)
Attach a lobster clasp to one end of your chain using a 6mm jump ring. Attach the flower pendant you created to the opposite end using a 6mm jump ring.
(Most of the products used in this design were donated for promotional purposes with the exception of the scrapbook paper and the rubber stamp.)
Subscribe to:
Posts (Atom)

