Wednesday, November 30

Studded Shoe DIY by Guest Blogger Kristen Turner


Editors note: We are so excited to have Kristen Turner of Glitter 'N Glue as an iLoveToCreate guest blogger.  If you don't know Kristen already, we suggest you get in the know!  As an L.A. stylist by day, and a fashion blogger by night, she's making waves in the fashion blogosphere with easy DIYs on a dime.  She has recently been featured on NBC's Today Show and has also showcased DIY projects on E! News. You can also find her in feature on top fashion sites like Refinery29, MyStyle, and Broke Girl's Guide. She's definitely one to watch!

I know for some of my reader the leaves are changing, the air is getting colder or maybe you’ve already had your first snow. Well, here in LA we’re now only reaching a daily high of about 60 -65 which means it’s officially winter. Ok I’m exaggerating a little but it is time for me to put away the sandals and pull out the flats. Which reminds me, my current wardrobe is lacking in the flats department because last season I ruined my favorite pair.

Louboutin’s Candy studded flat.
This was actually the first pair of Loubous that I ever bought. I ate noodles for weeks to pay for them. I’ll spare you guys the gruesome picture of my flats in their current state, but just so you know there’s a whole in the bottom of one of the shoes. And I’ve already had them resoled twice :-(.

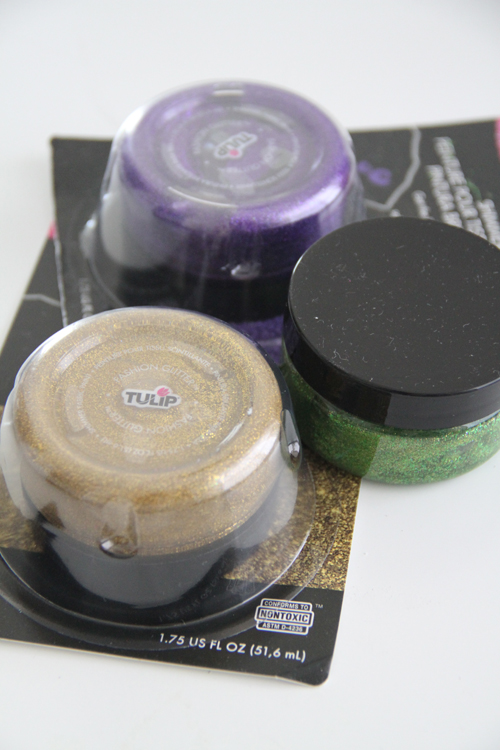
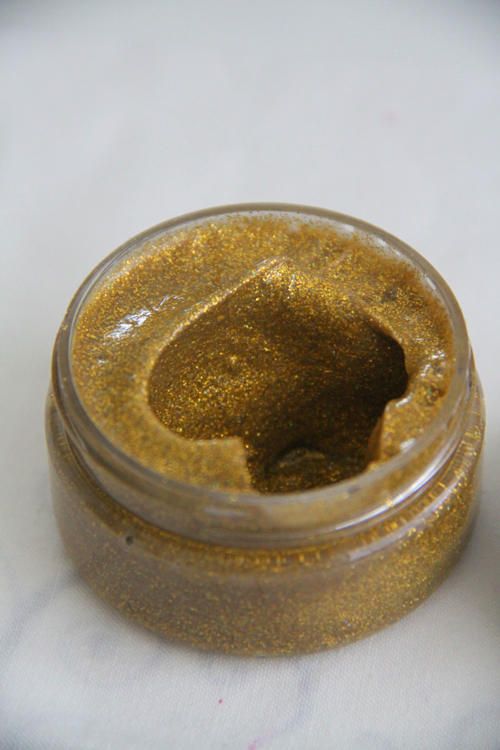
Dum dum dum dummmm…Beads In A Bottle to the rescue! At last years Craft And Hobby Association Conference I stopped by the I Love To Create booth and was introduced to the Tulip’s Beads In A Bottle! (For those of you who don’t know, CHA is a convention where craft bands unveil their latest and greatest products for the new year. It’s serious business.)  A few months later they finally hit the shelves at Michael’s and I scooped up one in every color. I’ve been holding on to them all year, until now…

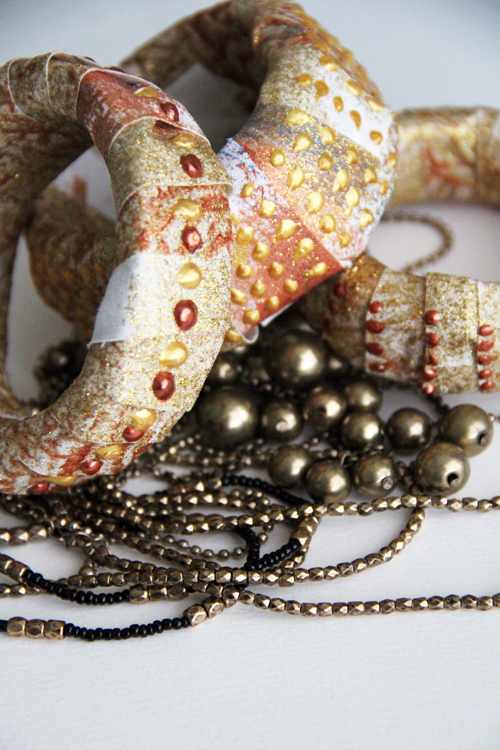
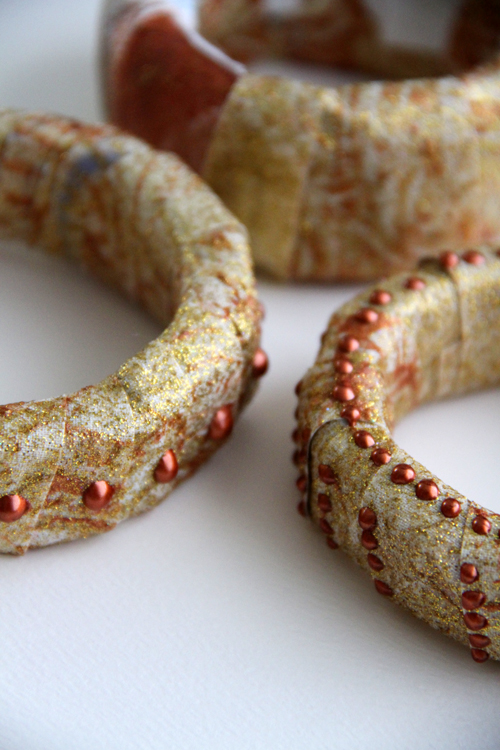
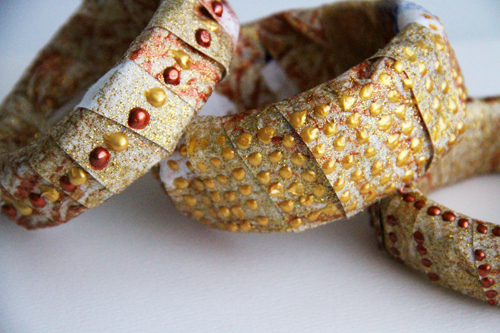
The Beads In A Bottle are amazing because after they dry they look like studs. Have you guys ever added studs to an article of clothing? I break out in a sweat! #TooMuchWork

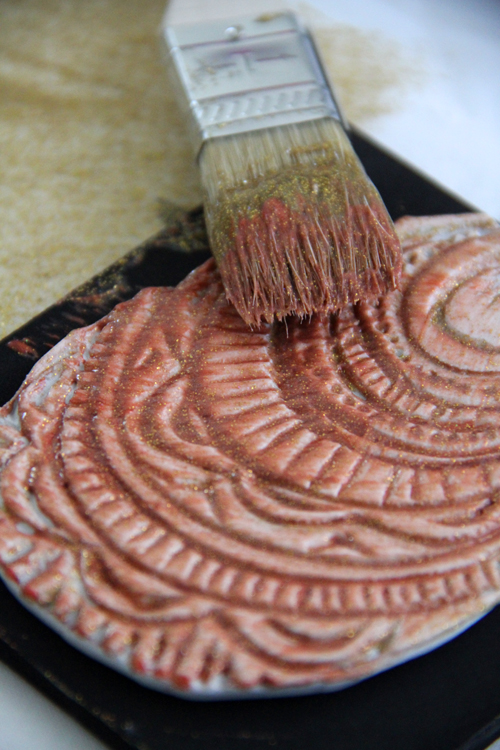
I was trying to recreate the look of my precious Louboutin’s…

but ended up completely covered the toe and the heel of my flats with beads for an undated variation.

I’m so excited about my new “studded” flats!


Visit us on Facebook!

Craft on!

Friday, November 25

Christmas Cutie Pattern Stand Up Doll


Ya, ya, ya I know I did a project using my vintage pattern girls just a few weeks ago. So sue me. She was fall themed, had a fabric dress and was in a frame. This new and improved Christmas cutie has a fresh spin on the same illustrations and it is the perfect project to kick off all the Christmas crafting you have planned.


SUPPLIES
Vintage Sewing Pattern Image
Scissors
Aleene's Quick Dry Glue
Rick Rack
Scrapbooking Paper
Foam Board
Chip Board
Collage Pauge
Tracing Paper
Pencil
Red Pen
Jolee's Scrapbooking Elements
Crafty Chica Paint White
Craft Knife
Paint Brush

Let me start by saying just because you don't have a vintage pattern book does not mean you can not play along. Pick up a vintage sewing pattern at the thrift store to use for the graphic. Choose a full length picture of a model from a magazine. Better yet have a friend take a picture of you to print out and use!

Once you have your desired image to make into a wee little stand up cut her out. Place your image on a piece of foam board, cardboard or chipboard and decoupage. I used a combination.


At some point either before or after you cut out your image trace the dress. This will give you a pattern to work with. I suggest using a fairly simple design. Also, a lesson I learned the hard way is you should cut out the hands to glue on separate. I'll explain in a minute.


After you have your pattern made from tracing paper you can place it on scrapbook paper or thin fabric to make a new and improved dress. Use a craft knife to cut out the detailed spots like between the arms and body. This is where I should have cut out her hands completely before I decoupaged her to chipboard. No worries, I just stole hands from another image. This way you don't have to do all the tedious knife work around the hands you can just stick them on top of the new outfit.


The next step after getting your dress decoupaged in place is cutting out your stand up. Leave a wide base at the bottom. This picture lies a little bit. I did cut a slit in the center, but I used a small piece of foam board instead of chipboard as the second part of the base. The foam board is thicker and helps her stand better.


Now for the fun part! Using various vintage bits and pieces, scrapbooking elements, pens and sewing notions you can gussy up your stand up. I used Aleene's Fast Dry Tacky Glue to hold everything in place.


I finished things up by painting the backside and base white with Crafty Chica paint. I used a few wrapped gifts around the base to make things extra festive.


Set your Christmas Cutie anywhere to add an extra touch of kitschy cheer. I can't wait to make a whole slew of these lovely ladies. I also see a shelf sitter version in my future! Love to know if you make your own version.


Visit us on Facebook!
Craft on!

Cool2Craft TV for Monday November 28, 2011


Cool2Craft TV for November 28, 2011: Gifts from the Heart

Join host Tiffany Windsor for a new episode of Cool2Craft TV. This week's show theme is Gifts from the Heart. Tiffany creates a textured glue heart frame with Aleene's Original Tacky Glue in the Gold Bottle, EcoHeidi Borchers designs watercolor gift tags with Tulip's Beads in a Bottle and special guest Candace Jedrowicz is crafting teddy bead gift wrap.  It's a terrifically tacky and creatively cool show!

It’s easy to watch the Cool2Craft TV Channel right from your computer. Airing Monday November 28, 2011 9am Pacific/10am Mountain/ 11 am Central/ Noon Eastern. Go to http://cool2craft.com and find the Livestream player and chat box. See you Monday!

Visit us on Facebook!
Craft on!

Wednesday, November 23

iLoveToCreate Teen Crafts: Technicolor Turkey Card

Visit us on Facebook!
Craft on!
Technicolor Turkey Card Copyright 2011 Avalon Potter for iLoveToCreate

iLoveToCreate Teen Crafts
Technicolor Turkey Card
Copyright Avalon Potter

I needed to make a thank you card for my Mom Mom and with Thanksgiving coming up, a Turkey seemed like a great idea!  My mom helped with the pattern and I picked out the papers, embellishments and colors and put it all together.  It's really simple to make a card like this, one big circle, one oval, rounded and pointed feathers, a funky hat, half circles for wings and bird feet are all stacked together using Aleene's Dry Adhesives.  We added a few 3D embellishments for fun. It's easy to make this project your own with a few changes, have fun with it!


Materials
Coordinated patterned scrapbook papers
Cardstock in light and dark pink and light and darker green
3D embellishments (googly eyes, spoon and fork charms, paillette and Tulip Beads in a Bottle Studs and Crystals)
Aleene's Tacky Sticker Sheets
Aleene's Tacky Dot Roll
Aleene's Tacky Line Roll

Tools
Scissors
Paper cutter
Bone folder
1.5" circle punch

1. Fold an 8.5x11" sheet of dark pink cardstock in half and crease edge with a bone folder. This is the base card.

2. Use circle punch to create light pink card stock turkey head.

3. Fold any paper in half and cut oval body shape, trace this on light pink card stock and cut out.

4. Cut feet out of darker green card stock.

5. Cut hat shape out of patterned paper and make a hat band out of light green card stock.

6. Cut the feathers, there are rounded and pointy feathers, the round go on top and the pointy in between them. Cut beak and wings out of light green card stock and gobbler out of patterned paper. Cut a bib out of patterned paper to fit center of body.

7. Attach the beak and gobbler on face using sticker sheet. Add googly eyes with Tacky Dots. Attach hat to top of head adding hat band with sticker sheet and add embellishments with tacky dots.

8. Attach the bib to the front of the turkey using sticker sheet. Attach wings on either side of bird followed by the head at the top with sticker sheet.

8. Attach feet with sticker sheet. Use Tacky Line Roll to attach silverware.

9. Build feathers around the back of the card using the sticker sheet to attach. Layer the pointy feathers in between the rounded. Attach the turkey to the base card using the sticker sheet.

Monday, November 21

Retrofabulous Christmas Craftabration: Upcycled Holiday Cards

Visit us on Facebook!
Craft on!
Retrofabulous Upcycled Holiday Cards Copyright 2011 Margot Potter for iLoveToCreate

Christmas Helps 1966-Family Circle
From Christmas Helps 1966-Family Circle

From Christmas Helps 1966-Family Circle
iLoveToCreate Retrofabulous Crafts
Upcycled Holiday Cards
Copyright 2011 Margot Potter 

Today's Retrofabulous Christmas Craft is a simply delightful upcycled card project.  In the original project from Christmas Helps 1966-Family Circle they used tissue paper, but I love using recycled magazine images in my work.  Can you guess what the images are on the Christmas balls and candles?  The trees use some old scrapbook paper scraps and text from a magazine.  You could easily cut up last year's Christmas cards, wrapping paper, ad flyers...it's truly endless!  Aleene's new paper friendly glues make quick work of these cards.  Have you seen how expensive cards are?!  This saves money and gives a personalized touch to your holiday greetings. 


Materials
Cardstock in holiday colors
Recycled magazines
Aleene's Tacky Sticker Sheets
Aleene's Tacky Line Roll
Aleene's Tacky Dot Roll
Tulip Glam-it-up Crystals
Paillettes
Wired tinsel
Fine marker

Tools
Bone folder
Scissors
Paper cutter
Circle punches in graduated sizes

1. Select papers for card. Cut card to size on paper cutter. Fold paper in half and use bone folder to make a sharp edge on card.

2. Cut images into shapes (I used graduated circle punches to make the Christmas balls.)

3. Adhere large images to card using Aleene's sticker sheets.

4. Use Aleene's Tacky Line Roll for wired tinsel and Aleene's Tacky Dot Roll for small embellishments.  I used a fine tip marker to draw the thread on the Christmas balls.

Upcycled Holiday Card Detail

Upcycled Holiday Cards Detail

Friday, November 18

Cool2Craft TV for Monday November 21, 2011


Cool2Craft TV for November 21, 2011: EcoHeidi Green Bling

Join host Heidi Borchers for a new episode of EcoHeidi TV on the Cool2Craft Channel. This week's show theme is Green Bling. EcoHeidi is creating a super cool bangle bracelet from brown grocery bag handles and Aleene's Original Tacky Glue in the Gold Bottle, a bright and fun buttons bracelet from a clear water bottle and a bigger than big pendant from a drink bottle bottom (yep! nothing goes to waste!). Special guest Candace Jedrowicz is crafting blue bling dangle earrings.  It's a terrifically tacky and creatively cool show!

It’s easy to watch the Cool2Craft TV Channel right from your computer. Airing Monday November 21, 2011 9am Pacific/10am Mountain/ 11 am Central/ Noon Eastern. Go to http://cool2craft.com and find the Livestream player and chat box. See you Monday!

Visit us on Facebook!
Craft on!

Thursday, November 17

Fun Festive Fall Window


I'm kind of a nut about decorating for Halloween. Christmas is a close second. Easter and Valentines day even have their own decor around these parts. It was high time that I started showing fall and Thanksgiving the decorating respect they fully deserve. Today my daughter Tallulah and I whipped up a window to celebrate the season. Just don't tell her what I did with her crayons during nap time.


SUPPLIES
Tacky Dots
Scissors
Crayons in fall colors
Wax Paper
Iron
Pencil Sharpener
Tulip Soft Fabric Paint in Brown
Finger Paints
Construction Paper
Paint Brushes
Crafty Chica Fabric Marker


Using a Crafty Chica Fabric Marker (because it was what I had on hand) I drew a tree on one of the sliding glass doors in my house. Next Tallulah and I used Tulip Fabric Paint to fill in the tree. Yup, they both work on glass. You might check a small corner to test on your own windows.


To make the stained glass leaves you will need crayons, wax paper and an iron. I stole a few crayons in autumn shades and using my eyeliner sharpener whittled them down to nubs. I then sprinkled the shavings between two sheets of wax paper. Using a low heat iron melt the shavings between the paper. When everything is cool cut out a few fall leaves.


Tallulah helped make the second batch of leaves. I gave her some construction paper in fall colors and some red finger paint and let her have at it. When the paint was dry I cut out leaf shapes from the paper.


All that was left to do was to add my leaves to the tree using Tacky Dots. I put some in the branches and few falling to the ground. The crayon shaving leaves look great with the sun shining through them.


Fall has finally made it to Austin, TX. We may have had to help it along a bit, but it is here. Next week when I take all my Christmas stuff down from the attic I will just use a straight razor to scrape away most of the paint and a little Windex on the rest. Cute, festive and easy.

P.S. If you want to use window markers that would work too. I decorated for a birthday party with them once. Check out more I Love to Create posts here.

Visit us on Facebook!
Craft on!

Tuesday, November 15

chunky shimmer bangles

IMG_1400
I love accessories and I am always looking for new ways to create my own bling.


IMG_1363
Recently I decided to use Tulips Fashion Glitter Shimmer Paint to create some chunky shimmer bangles.

The shimmer paint is a really cool product because its all glitter but no mess!! Great for transforming fabric into something a little fancy.


IMG_1365
I used gold shimmer paint


IMG_1125
and painted a nice thick layer onto the surface of scrap fabric.


IMG_1366
I wanted a little bit of texture so I used a stamp and some copper acrylic paint and stamped into the wet surface of the fabric.


IMG_1369
The result is a very subtle imprint of the stamps that adds a little texture to the surface.


IMG_1364
Now, for the next step your could use wooden bangles, plastic bangles or really anything that will fit around your wrist but I like to use craft foam because it is a little stretchy and very light to create a big chunky bangle.

I used craft foam pencil holders- they can be found at just about any craft store in the kids aisle near the craft foam.

IMG_1127
I cut sections of the foam to create the bangle.

IMG_1372

IMG_1378
After my shimmer fabric was dry I cut out strips


IMG_1381
and using hot glue I wrapped and glued them to the craft foam bangle.


IMG_1382

IMG_1377
Once the entire bangle was wrapped I could't resist adding some little details and embellishments with Tulip Beads in a Bottle.


IMG_1384
The result is chunky and funky bangles!


IMG_1397
IMG_0212
alisa-burke

Visit us on Facebook!
Craft on!
Clicky Web Analytics
Pin It button on image hover

Subscribe to our newsletter

* indicates required
I am interested in products and inspiration for...
Close