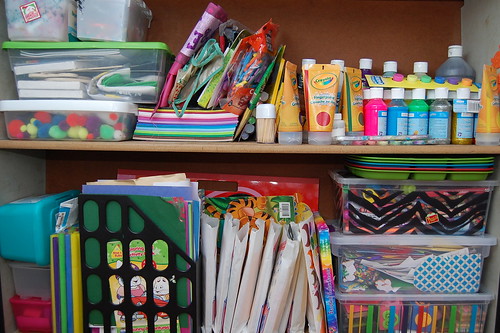
I hope Santa was good to everyone. Around here we are up to our ears with blocks, pirates, puzzles and more. Santa also replenished the kids craft stash. Using a holiday or a birthday as an excuse to load the kids up with craft supplies is always one of my favorite ploys. Just because Christmas is over does not mean you are too late on this gift idea. Spend the money Aunt Gertrude sent on a slew of paint and glue and make it your New Year’s Resolution to get your kids crafting.
Looking for a little inspiration? Here is a list of what Santa brought my kids....
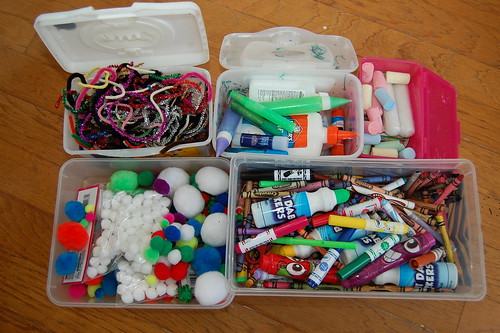
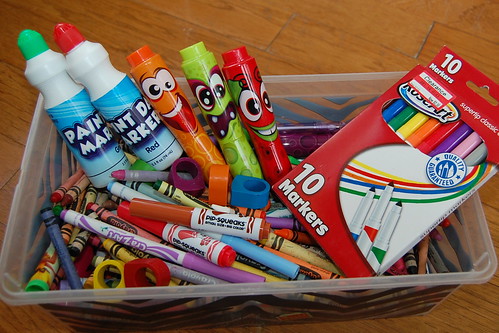
PAINT
Finger Paints
Paint Dot Markers
Glitter Poster Paint
Neon Poster Paint
Pack of Paint Brushes (be sure to include round sponge brushes and a roller brush)
DRAWING
Crayon Rings
Plain Markers
Plain Crayons
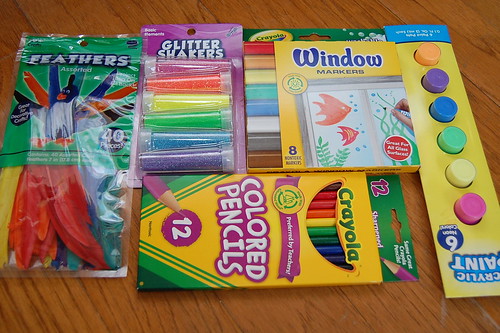
Window Markers
Colored Pencils
Scented Markers
Fabric Markers

THINGS TO PAINT
Small canvases
Wooden Frames
Paint with water books
Jumbo sized coloring books
Blank canvas tote bag

PAPER CRAFTS
Toddler Scissors
Array of foam stamps
Scented stamp pads
Stickers (TONS of stickers)
Construction paper
Craft Glue
Glue Sticks
Glitter Glue
Blank Cards
Pre-inked stamps
BLING
Glitter
Colored Sand
Pom Poms
Feathers
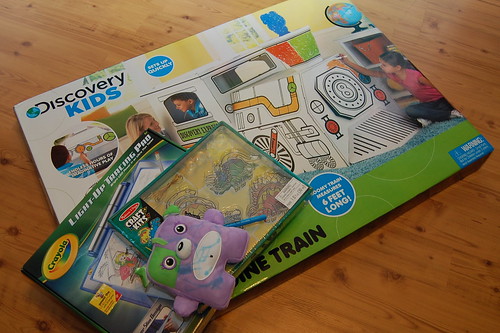
Santa also brought a few things that are not exactly craft supplies, but are intended to spark creativity...
Tallulah asked for a Doodle Bear. This is a stuffed animal that comes with a washable fabric marker. Doodle the bear, wash and repeat.
Santa wanted to have the elves make a light table for the kids, but alas it was cost prohibitive. Instead a small table top version was delievered that is actually a light tracing box. Sure we will trace, but we are also doing things like playing with our Magna Tiles on top.
Choo-Choo's are big around these parts. Santa brought a giant cardboard train to paint, color and adorn on a rainy day.
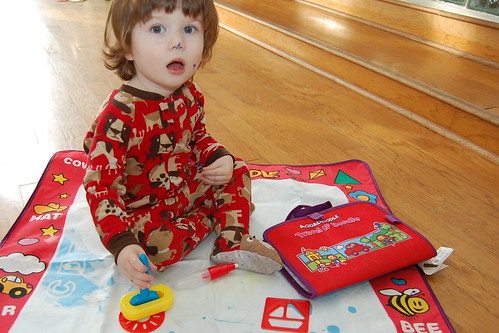
Aqua Doodle is a big hit with Baxter. We received a small lap top shaped mat for our birthday last year and I found a giant floor mat at a thrift store this summer. Santa brought a variety pack of sponge brushes, sponge tipped pens and stencils especially made for Aquadoodle. Not familiar with this toy? It is a piece of fabric that changes color with water. Let the fabric dry and start all over.
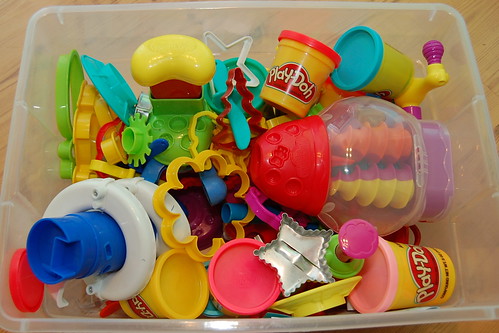
Play Doh. Last year I made my own, this year Santa brought the real stuff. Two kits were also stuffed down the chimney. One makes Play Doh candy and another makes Play Doh jewelry.
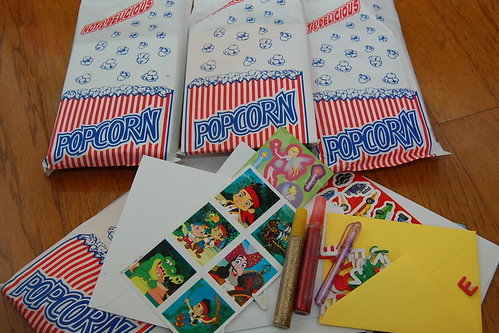
Pre-assembled card making kits. Tallulah loves to decorate cards. Santa stuffed 10 popcorn bags with a random assortment of stickers, blank cards, colored pens, stamps and more. This is much easier than handing over a giant box of stickers and paper that Baxter inevitably dumps all over the floor. I keep the finished cards to send for holidays and thank yous.
So what crafting supplies did your kid’s get from Santa? More importantly how do you plan to store it all? Do you keep it tucked away and get it out when the kid’s ask or do you have it accessible for them to get to on their own?


 Learn new techniques, chat with us while watching the show and ask
questions about all your favorite Aleene's products! Drop by our chat
room during Monday's show and mention that you saw this post on the
iLovetoCreate blog for your chance to win Aleene's Tacky Glue!
Learn new techniques, chat with us while watching the show and ask
questions about all your favorite Aleene's products! Drop by our chat
room during Monday's show and mention that you saw this post on the
iLovetoCreate blog for your chance to win Aleene's Tacky Glue!